Thoughts on Tool Sharpening

I recently heard from a friend about a carver in Maryland. His name didn’t ring a bell so I Googled him.  His name is Jim Calder. From the info on his website, WWW.carves4u.com, he’s an accomplished carver worthy of the title on his site, the Wood Wizard. You can visit his site for more info and pictures if you like but I want to comment on something that caught my attention.  Jim’s history includes a mentor named Norbert Munson. He mentions a sign in Mr Munson’s woodworking shop that I think will be a discussion starter. The sign stated “Sandpaper is for fools who can’t sharpen their tools.”. Wow! Does that hit a nerve? It calls to mind another saying I heard. “Only fools speak in blazing generalities.”, which in itself is a blazing generality.

Sandpaper can actually be used to put an extremely sharp edge on a tool. Maybe Mr Munson wasn’t familiar with modern high-tech sandpaper. Of course he was referring to sanding a project after using carving tools. That would be “carvers” who use dull tools for half the project and then sand the rest of the way. For me, sanding the surfaces chewed by dull tools takes more time and effort than carving all the way with sharp tools.

What about a carving that requires an ultra smooth surface to convey a life-like image?  I’ve seen spectacular award winning carvings that would have been much less impressive without a smooth surface.  I’ll bet those award winning carvers know how to sharpen their tools anyway.

I think Mr Munson was trying to shame carvers into learning to sharpen their tools. Imagine an artist not knowing how to sharpen a pencil. Too bad it isn’t as easy to learn to sharpen carving tools. Rarely do  carving tools arrive from the store with a usable edge. Maybe that’s why I can’t convince carving buddies to buy a new tool.

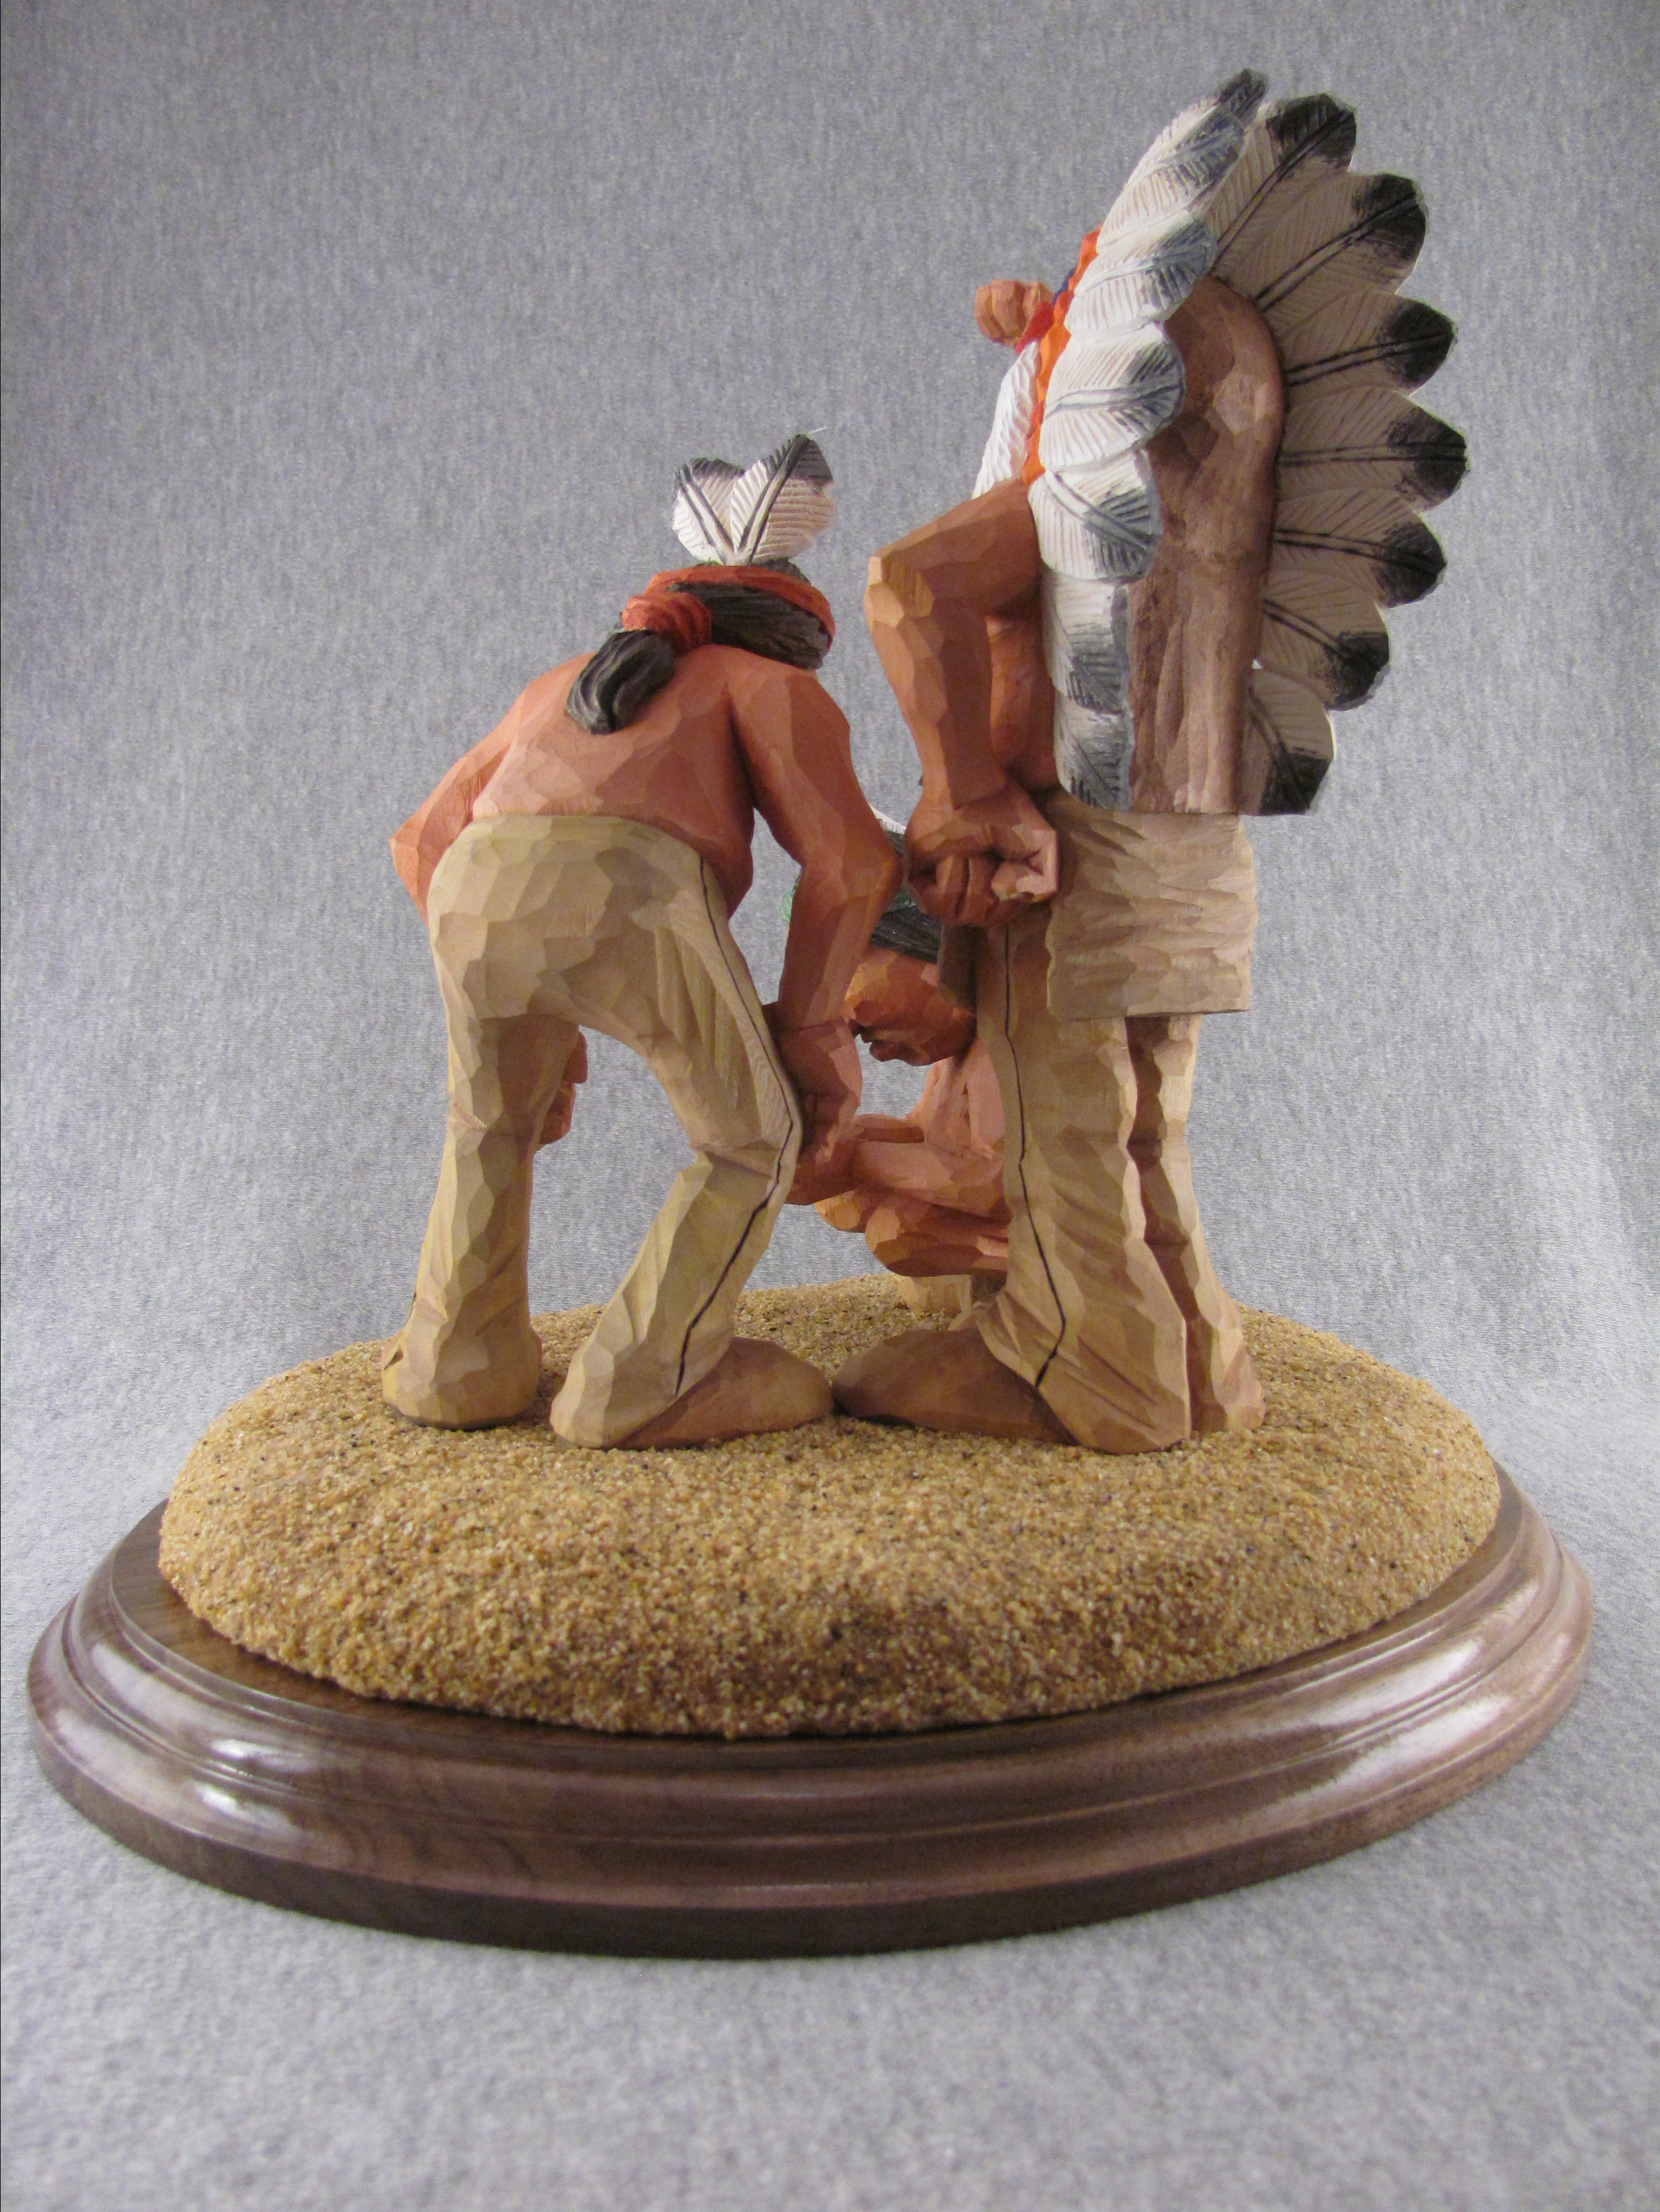
My style of carving does not require a finished surface that is free of obvious tool cuts. As a matter of fact, I have to try hard to not carve the tool cuts away. Sharp tools leave a smooth surface ready for paint or stain. Sanding, no matter how fine the sand paper, leaves the wood surface rougher than the surface made by a sharp tool. You can test that statement if you have a sharp tool. A surface made by a sharp tool will actually reflect light. Try that with sandpaper. I know some carvers that hide the surface with something that resembles house paint. In that case, I guess the surface of the raw wood doesn’t need to be cut with a sharp tool and any “chewed” surfaces can be filled with paint.

I’ve read about the stone carvers in Italy requiring the apprentices to sharpen tools for a year before they could begin to carve. In our society of instant gratification, who can delay the impulse to carve by spending time learning to sharpen tools? I’ll have to confess that my carving experience was no different than those of my carving pals. My first carving tool was a pocket knife that could have been sharper. My first real carving gouges arrived with a very sharp edge. Harold Enlow sold them that way in the late 70’s. I was able to keep them in working order with a leather strop.  I carved without giving much thought to sharpening until 1989 when I actually met Harold and carved with him for 3 days. He pointed out the problem with my tools and something clicked that made me begin to perfect the art/science of sharpening.

I’ve sharpened lots of tools since then. Some of them have belonged to friends. It was great for my learning curve but did nothing for theirs. I started with bench stones and still use them when my motorized sanding belt is too aggressive. There are many methods of sharpening. That tells you there is no one right way to sharpen. It seems like a new device appears every year. Of course it’s always the answer everyone’s been looking for. The magical way to sharpen so you won’t have to actually learn to sharpen. Some are really expensive and, guess what, you still have to learn how to sharpen.

I won’t try to teach sharpening in a blog posting because that just won’t work. Many books and articles have been written on the subject. If you don’t have someone to teach you personally, I would recommend watching an instructional video. I gained confidence by watching Harold. In any case, you’ll never learn unless you practice. How many swimmers do you know that never got wet?

As I wind this post down, I’ll tell of another personal experience related to sharpening. For years I avoided taking a class from a well known and extremely talented carver. He had the reputation of expressing his displeasure of a student’s dull tool by throwing it. I had the opportunity a couple of years ago to take his class in a local venue. By then I was pretty confident in my sharpening skill to risk experiencing his displeasure. The class was very gratifying and a real treat to see this man carve. As he visited my station and used my tools to demonstrate the instruction, he announced that I won the prize for the sharpest tools. What more can I say? It was a very good day.

I’ve come a long way from the thought of “carving with sandpaper” but if you’re still reading, I’ll end with another thought. How do chip carvers, who don’t know how to sharpen, finish their work with sandpaper?

Carved Chess Set

For the last three summers our grandson and I have collaborated on a project while he spends two weeks with us. The projects are always made of wood. The first one was a helicopter. Last year it was a robot. Both were non-motorized. This year the project was a chess set. He has just turned 8 and chess is his latest interest. He knew it would be a big project so, to reduce the effort and improve the “sales pitch”, he said the design should be plain. It should not be fancy or elaborate. The eyes would be painted on and the hands would not have fingers. His contribution, in addition to design suggestions, would be painting. I would just do the carving. I figured I needed to carve four pieces each day to fit around our other plans for the two weeks. Oh, and another little detail, his plans included a board with room for storage in a drawer. I have no idea when the board and drawer will appear.

I began by using graph paper with quarter inch squares to develop patterns for his approval. The rooks came first and were just in a traditional castle format. His idea for the knights was a toy soldier in a uniform similar to the Queen’s guard (England). The kings and queens were stiff figures with mitten hands. The pawns were to be dogs on one team and cats on the other. I found a dog pattern from Harold Enlow’s chess set and copied it. Reminding my grandson of the specification for plain and simple, I convinced him that 8 copies of the same dog and same cat would work. I’ll have to admit I also used my influence to convince him of my design for the bishops. A compromise was struck and there would be two male and two female bishops. He thought his mother, a minister, would like that. I think she liked the concept but not the unflattering rendering of the women. The pictures that follow show the progress of the project.

Future basswood chess pieces

Cardboard patterns were made from the original drawings

Cardboard patterns were made from the original drawings

Painting takes place while more pieces are carved

Two kings and a very sober queen

A pair of kings and a grinning queen

First Bishop

First bishop. Another angle.

Woman Bishop

Unpainted Pawns for the black team

Pawns for the white team in progress

Presenting the white team

Presenting the black team

Ready for battle

Chris Hammack Design Class

Chris Hammack Design Class

If you have looked at my post showing the wood carving instructors I’ve had, you know I’ve taken a lot of classes. Especially when you consider I’ve had some instructors multiple times. I was so inspired by the unique class I’ve just finished, I want to share a little of my experience. The class was five days with caricature carver Chris Hammack. Chris has been carving professionally for many years. Chris is a great addition to the Caricature Carvers of America (CCA). Both times I’ve carved with Chris in the past, the class has been in a more traditional format. That format is where a project or a choice of projects have been provided by the instructor. This time Chris was waiting for his seven students with a block of bass wood four inches thick, ten inches wide and four feet long.

Chris (on the right) and Randy developing a sketch. Notice the block of wood.

He also had a few supplies in addition to his Helvie brand knife. He brought a lined spiral binder, a pencil, a Sharpie pen and some scissors. We arrived with our tools and ideas for a project.

Chris had sketches of his earlier projects.

Chris visited with each of us to discuss our ideas and develop a pattern. He explained the technique for sketching the figure. This included a front and side view. The student cut the paper pattern, transferred it to the wood and used a band saw to cut the blank.

Sketch of my first figure.

Blank of my first figure

By lunch time, everyone was making the chips fly.

Progress by lunch the first day

Progress by lunch time first day. Some of our projects were multiple figures and some had the heads carved separately. As the additional pieces were needed, Chris would assist with another sketch and the process would repeat.


My first figure at 5 PM, day one.

The block after each of us had our first blank

Because of the small class size, Chris spent plenty of time with each of us, sharing his thoughts about proportions and details as well as brainstorming about project features. We talked about what makes a successful and entertaining caricature carving. I was impressed by the six other projects and amazed as I watched them take shape knowing they had just been ideas a few hours earlier. Although none of the projects were completely ready to be displayed at the end of the fifth day, we knew what was needed to add the finishing touches. We all had a great time, got to make new carving friends and endured good and bad jokes. We were also fed very well by the club that hosted the class.

The Eastern Woodlands Carving Club is located in Converse, Indiana. EWCC is everything I think a carving club should be. They are unique in having their own building. The leadership is able to maintain the building and a variety of programs to keep the local members active. They offer space for basket making classes and wood turning. The first floor has space to accommodate four carving classes at a time. It has a fully equipped wood shop, three restrooms, and a kitchen where hot lunches are prepared by volunteer members. I’ve carved at EWCC seven times and have had delicious lunches each time. My first visit was in 2007. I was treated so well, I make the trip from Pittsburgh at least once a year. The membership is about 200 including myself. I wish I lived closer so I could help with the many events they host.

During the first two days of our class, another class was being held on the other side of the first floor. Richard Wetherbee from Colorado Springs, Colorado was working with students carving their choice of a realistic mountain man or a caricature of a bear playing a washtub bass. Rich is one of the founding members of the CCA and an excellent carver. I had never met Rich but was delighted to make his acquaintance. We enjoyed Rich’s company for the remainder of the week.

We had two special visitors during the week. Rich Smithson spent the day with Rich Wetherbee. Rich is the owner and operator of the Helvie knife company. He donated a knife to be raffled with the proceeds going to the club. Luck was with me that day. Thanks again Rich.

Friday, club founder and resident CCA member, Tom Brown stopped in to say hi. Tom’s health keeps him from being out and about very much so it was nice to see him this trip.
I’m including pictures from our class with each student’s project represented. Some are from earlier in the week but you can tell they are all works in progress. You should be able to get the idea behind the project.

Catcher having words with the umpire

Bob Folk’s umpire

Catcher to umpire

Bob’s catcher

Jack Shelton’s musician to be accompanied by a howling dog.

Frank Witt’s fisherman and dog. They both have worms. The dog is skidding along pulled by his front legs.

Jerry Childres’ Pirate

Close-up of Jerry’s Pirate

Jim O’hara’s old timer who is mad at his truck
Jim's cat

Jim O’Hara’s Old Timer about to shoot his broken down truck. The cat is not happy either.

Randy Hurst is ready to paint his troubadour.

These are the three figures in my project. They’re using a GPS to find their way.

Chris is a great instructor and easy to spend a week with. I’ll definitely be watching his schedule for another design class. I recommend his design class for anyone who has been carving for a while. Check with Chris if you’re not sure about your skill level. Contact him at chrishammackart.com. Check my separate post of my painted project.

Instructors I Have Had

Time spent with these instructors have lasted from ninety minute seminars to two weeks. I’ve taken multiple classes from many of the instructors.

  • Georg Keilhofer
  • Harold Enlow
  • Ronald Rondo
  • Jeff Phares
  • Phil Bishop
  • Vicki Bishop
  • Harley Schmitgen
  • Floyd Rhadigan
  • Steve Brown
  • Gary Falin
  • Jon Nelson
  • Gerald Sears
  • Peter Ortel
  • Dennis Thornton
  • Tom Wolfe
  • David Sabol
  • Mark Gargac
  • Pete LeClair
  • Vic Hood
  • Mike Shipley
  • John Burke
  • Wayne Shinlever
  • Bruce Henn
  • Keith Morrill
  • Desiree Hajny
  • Joe Schumacher
  • Dave Stetson
  • Mark Akers
  • Chris Hammack
  • Allen Goodman
  • Marvin Daniels
  • Mitch Cartledge
  • P.J.Driscoll
  • Steve Prescott
  • Don Mertz
  • Harley Refsal
  • Sandy Smith
  • Richard Wetherbee
  • Janet Cordell
  • Joe You
  • Ryan Olson
  • Dale Green
  • Dwayne Gosnell
  • Rodger Stegall
  • Jim Hiser
  • Ron Dowdy
  • Butch Clark

Golf ball brands and models I prefer

I have kept a list of my favorite brands and models within those brands. There are many more brands and models that are enjoyable to carve but be aware there are models that are not “2 piece” construction. They are made with multiple covers, multiple layers and of course the wound rubber band.  Since I lean toward the Titlest brand, I keep a list of Titlest models I avoid. They resist even the sharpest tools or have rubber bands. I’ve included them in the “Not Acceptable” category at the bottom.

An acquaintance named Tom Rhodes has a book that will provide inspiration for thinking inside AND outside the ball. The book also has an extensive list of ball characteristics for hundreds of balls.

Acceptable

    Titlest:

HP Tour
HP2 Tour
HP and a number
DT Distance
DT 2 Piece
HVC and a number
HVC Tour
HVC Distance
HVC Distance-L
HVC Soft Feel
HVC Spin

    Topflite:

Tour Edition
Tour-SD90
Infinity Awesome Distance
Infinity Absolutely Straight
XL2000 Exceptional Spin
XL2000 Super Titanium
XL3000 Super Feel

    MAXFLI:

Noodle Long and Soft

    Pinnacle:

Gold
Gold Spin
Gold Velocity
Gold – FX Long
Gold – FX Soft
Equalizer
Extreme
Performance
Power 392
392 LS
Pinnacle 90
332
384 90 Compression
Distance LS

Not Acceptable

    Titlest:

Anything with titanium
Tour Prestige
Tour Distance
Tour Distance SF
HP2 Distance
HP Distance
HP Eclipse
Pro V 1
Pro V 1*
DT So/Lo
DT Spin
Professional
DT and a number
NXT Tour
NXT Distance
Anything with “wound”

Drawing a Center Line on a Golf Ball

A tip to establish a center line starts back when the ball is placed in the template. (See the post on Opening a Golf Ball) The cardboard is positioned perpendicular to the brand name printed on the ball with one complete brand name showing on each side of the template. Notice the pencil line on the template to aid in positioning the brand name. After the cover has been removed, it’s easy to continue the imaginary brand line around to the exposed rubber.

Small reference mark.

I make a small reference line on the rubber to indicate the middle of the brand line on both (and opposite) sides. (Click on image to enlarge.)

Compass point on reference mark. Pen near middle of rubber.

Adjust a compass, that uses an ink pen, so it reaches from one cover edge where you just made a reference mark to your best guess at the center. Make a small mark there.

Using the second reference mark to locate the middle of the rubber.

Without adjusting it, move the compass to the reference mark on the other side and check to see how good your center guess was. If you are lucky, or just very good at guessing, the pen will land on the first center mark.

Compass adjusted to make first center line.

Otherwise, adjust the compass to split the difference between the two center measurements and draw a complete line from “top” to “bottom” on the rubber.

Line drawn from second reference mark.

It’s important to reposition the compass at the other reference mark and draw a “top” to “bottom” line from that side, too. Rarely do the two lines match perfectly but you now have a center reference.

Opening a Golf Ball

I remove the cover as follows. (Click on the picture to enlarge.)

Cardboard template used to draw line on ball.

I made a cardboard template with a hole cut slightly smaller than the diameter of a standard ball. I position the ball in the hole so there is just a slight bit more cover on one side of the cardboard. I use a ballpoint pen to mark the ball tracing the template. I clamp the ball in a vise having a jaw used for holding pipe or bicycle frames. I cut along the line with an Xacto saw. Forty-two teeth per inch.

Sawing on the line while ball is in the vise.

After the line has been cut, I use small screwdrivers to remove the cover. It is very important that you wear a glove to hold the ball while you work with the screwdrivers. I force one screwdriver into the cut and under the smaller side of the cover. That allows room to place a second screwdriver next to the first one.

Inserting the second screw driver under the cover.

Try to keep the screw drivers perpendicular to the cut to reduce the risk of slipping and stabbing your hand. Remove the first one and insert it on the other side of the second, alternating this way, each one reaches further under, until the cover pops off. I normally keep the loose cover with the ball.

Cover is breaking free.

The Captain

While taking a weekend class in 2006 with the Bishops, Vicki told me about the new class projects she was designing. The one that really caught my interest was a pirate bust. I ordered one to be sent home when the roughouts were available. The plan was to prepare the surface for the one day class I would take with the Bishops in March. As I worked on the piece, I decided to do a little carving, too. Before I knew it I had finished carving. I painted and mounted the piece and it was ready to show to Vicki in March. She and Phil encouraged me to enter the piece at the 2007 Woodcarving Congress show in Davenport, Iowa. Much to my surprise and delight,  I won 2 blue ribbons. The piece was entered in Group Q, Carvings from a Roughout. I received the first place award for that group and also for the Class (981 Humans). Here are some shots of the piece.

4804271283_57526c493b_o

My Largest Project

I began a project 12 years ago that took about 10 years to complete. Following a visit to the Pacific Northwest, I wanted to carve a totem pole. I approached the director of a church camp north of Pittsburgh and presented the idea. With his approval the search began for a suitable log and a pattern. After several years a poplar log was acquired and by then I had a design and a prototype carved. It wasn’t exactly a traditional design so I began referring to it as a theme pole. The theme was Noah’s Ark. The work site was 90 minutes from home and I was still working full time so progress was slow. You see here the finished project but for the full photo documentation of the project, click here. There captions and comments for each of the pictures.

2197324177_ea85c20a82_o