Build your own knife

Build your own knife

Sometimes you have an interest in creating your own knife. You may want to customize the handle shape and size or you have a special piece of wood that you think will make an especially attractive handle. Crafting a blade is a job requiring a special skill so, if you’re like me, you can purchase a blade that has already been shaped and tempered. That means it’s ready for you to add a handle. I am a big fan of Helvie knives and although they can make a knife perfectly suited for me, I have ordered blades without handles so I can add my own. I know the blade will be high quality and my efforts will produce a highly effective knife.

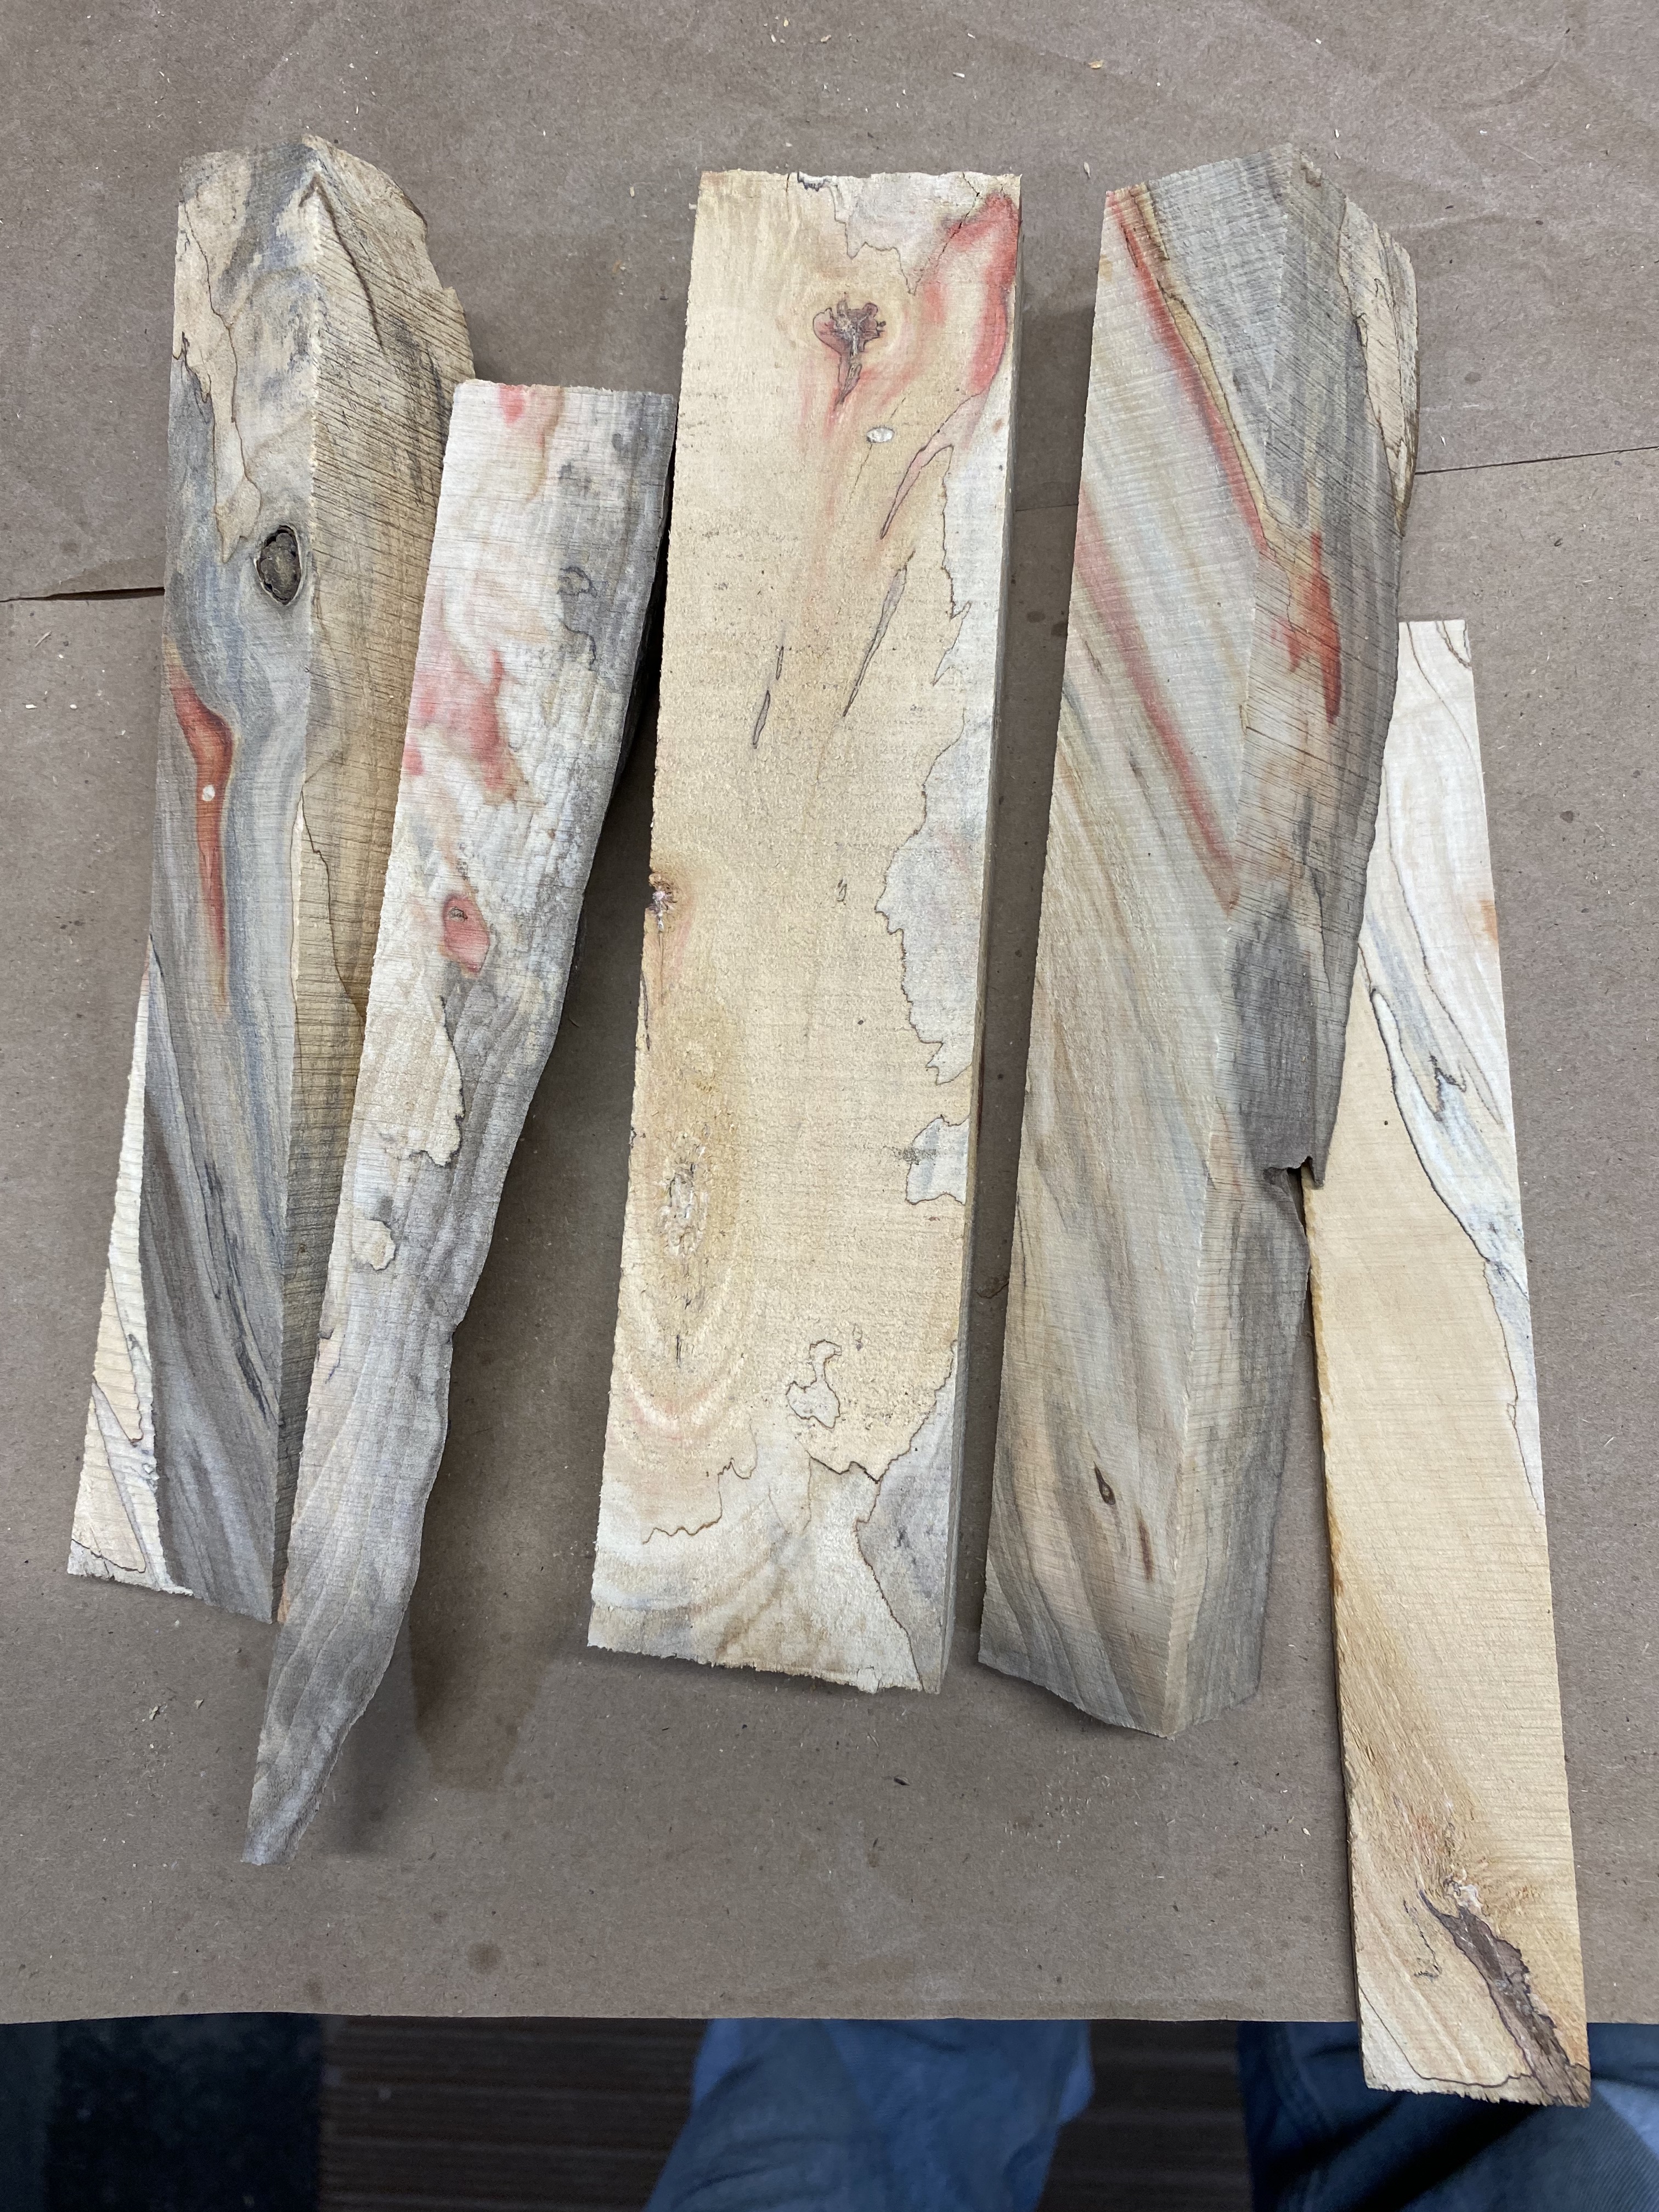
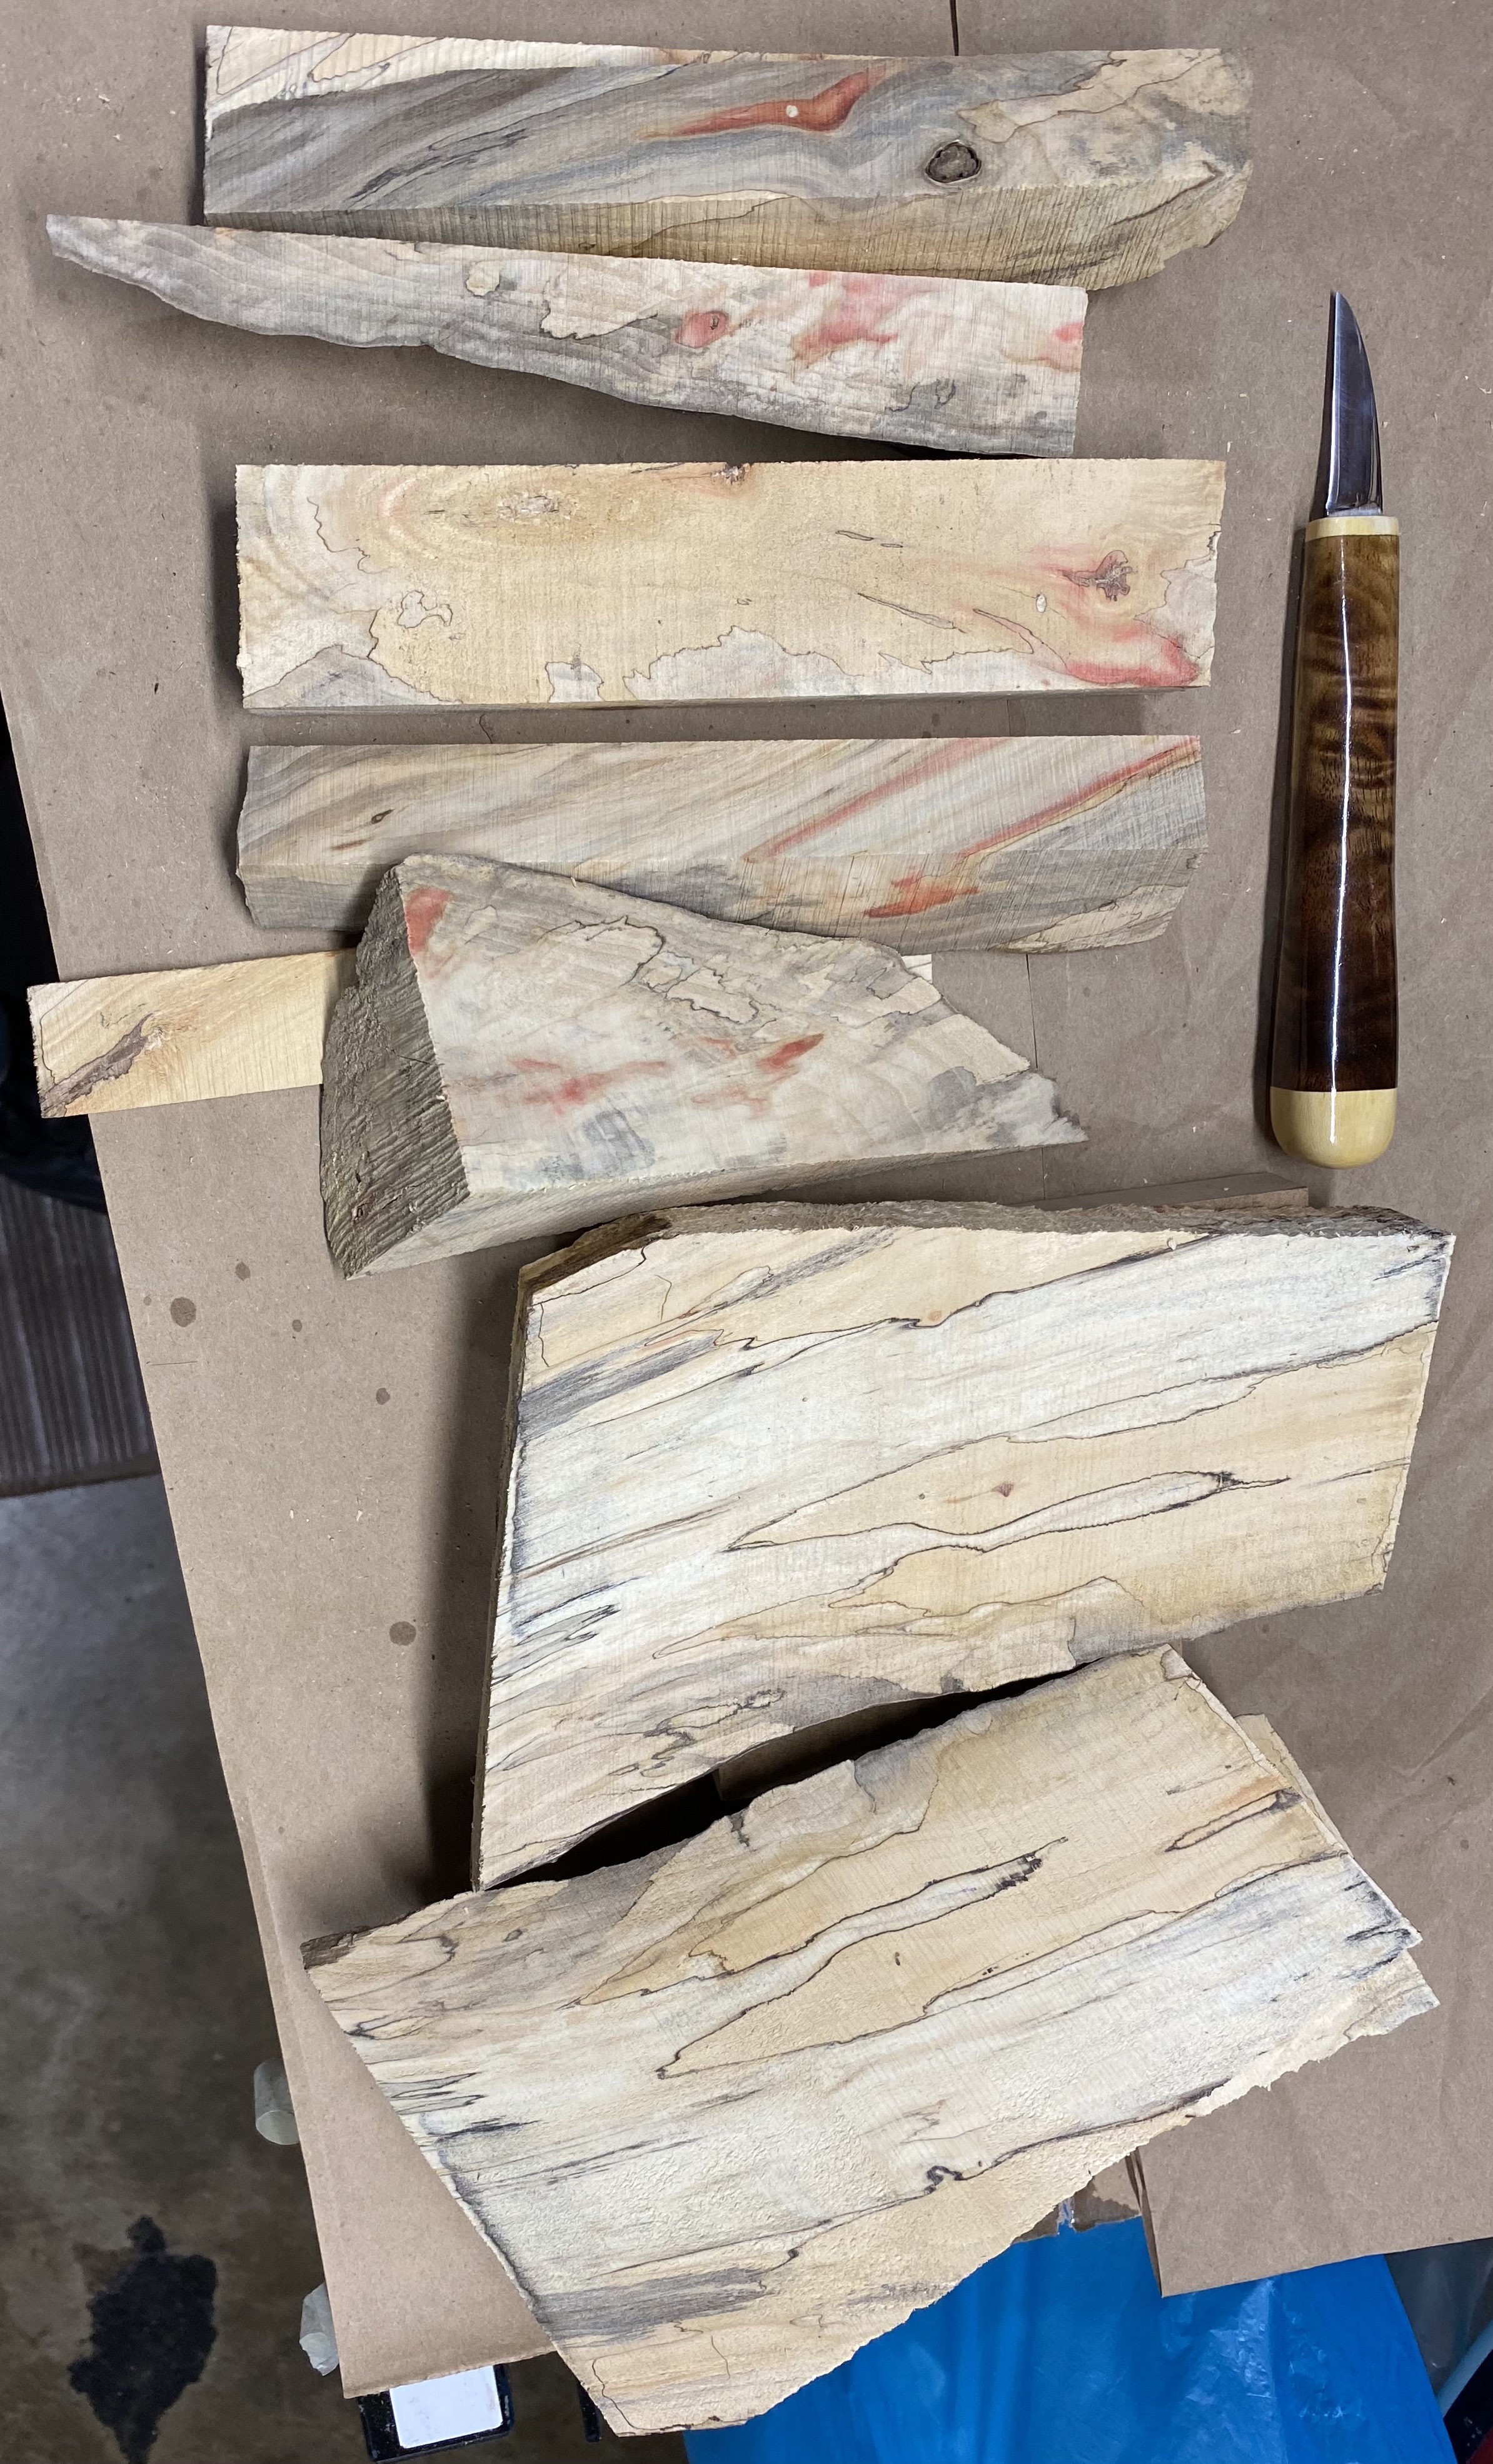
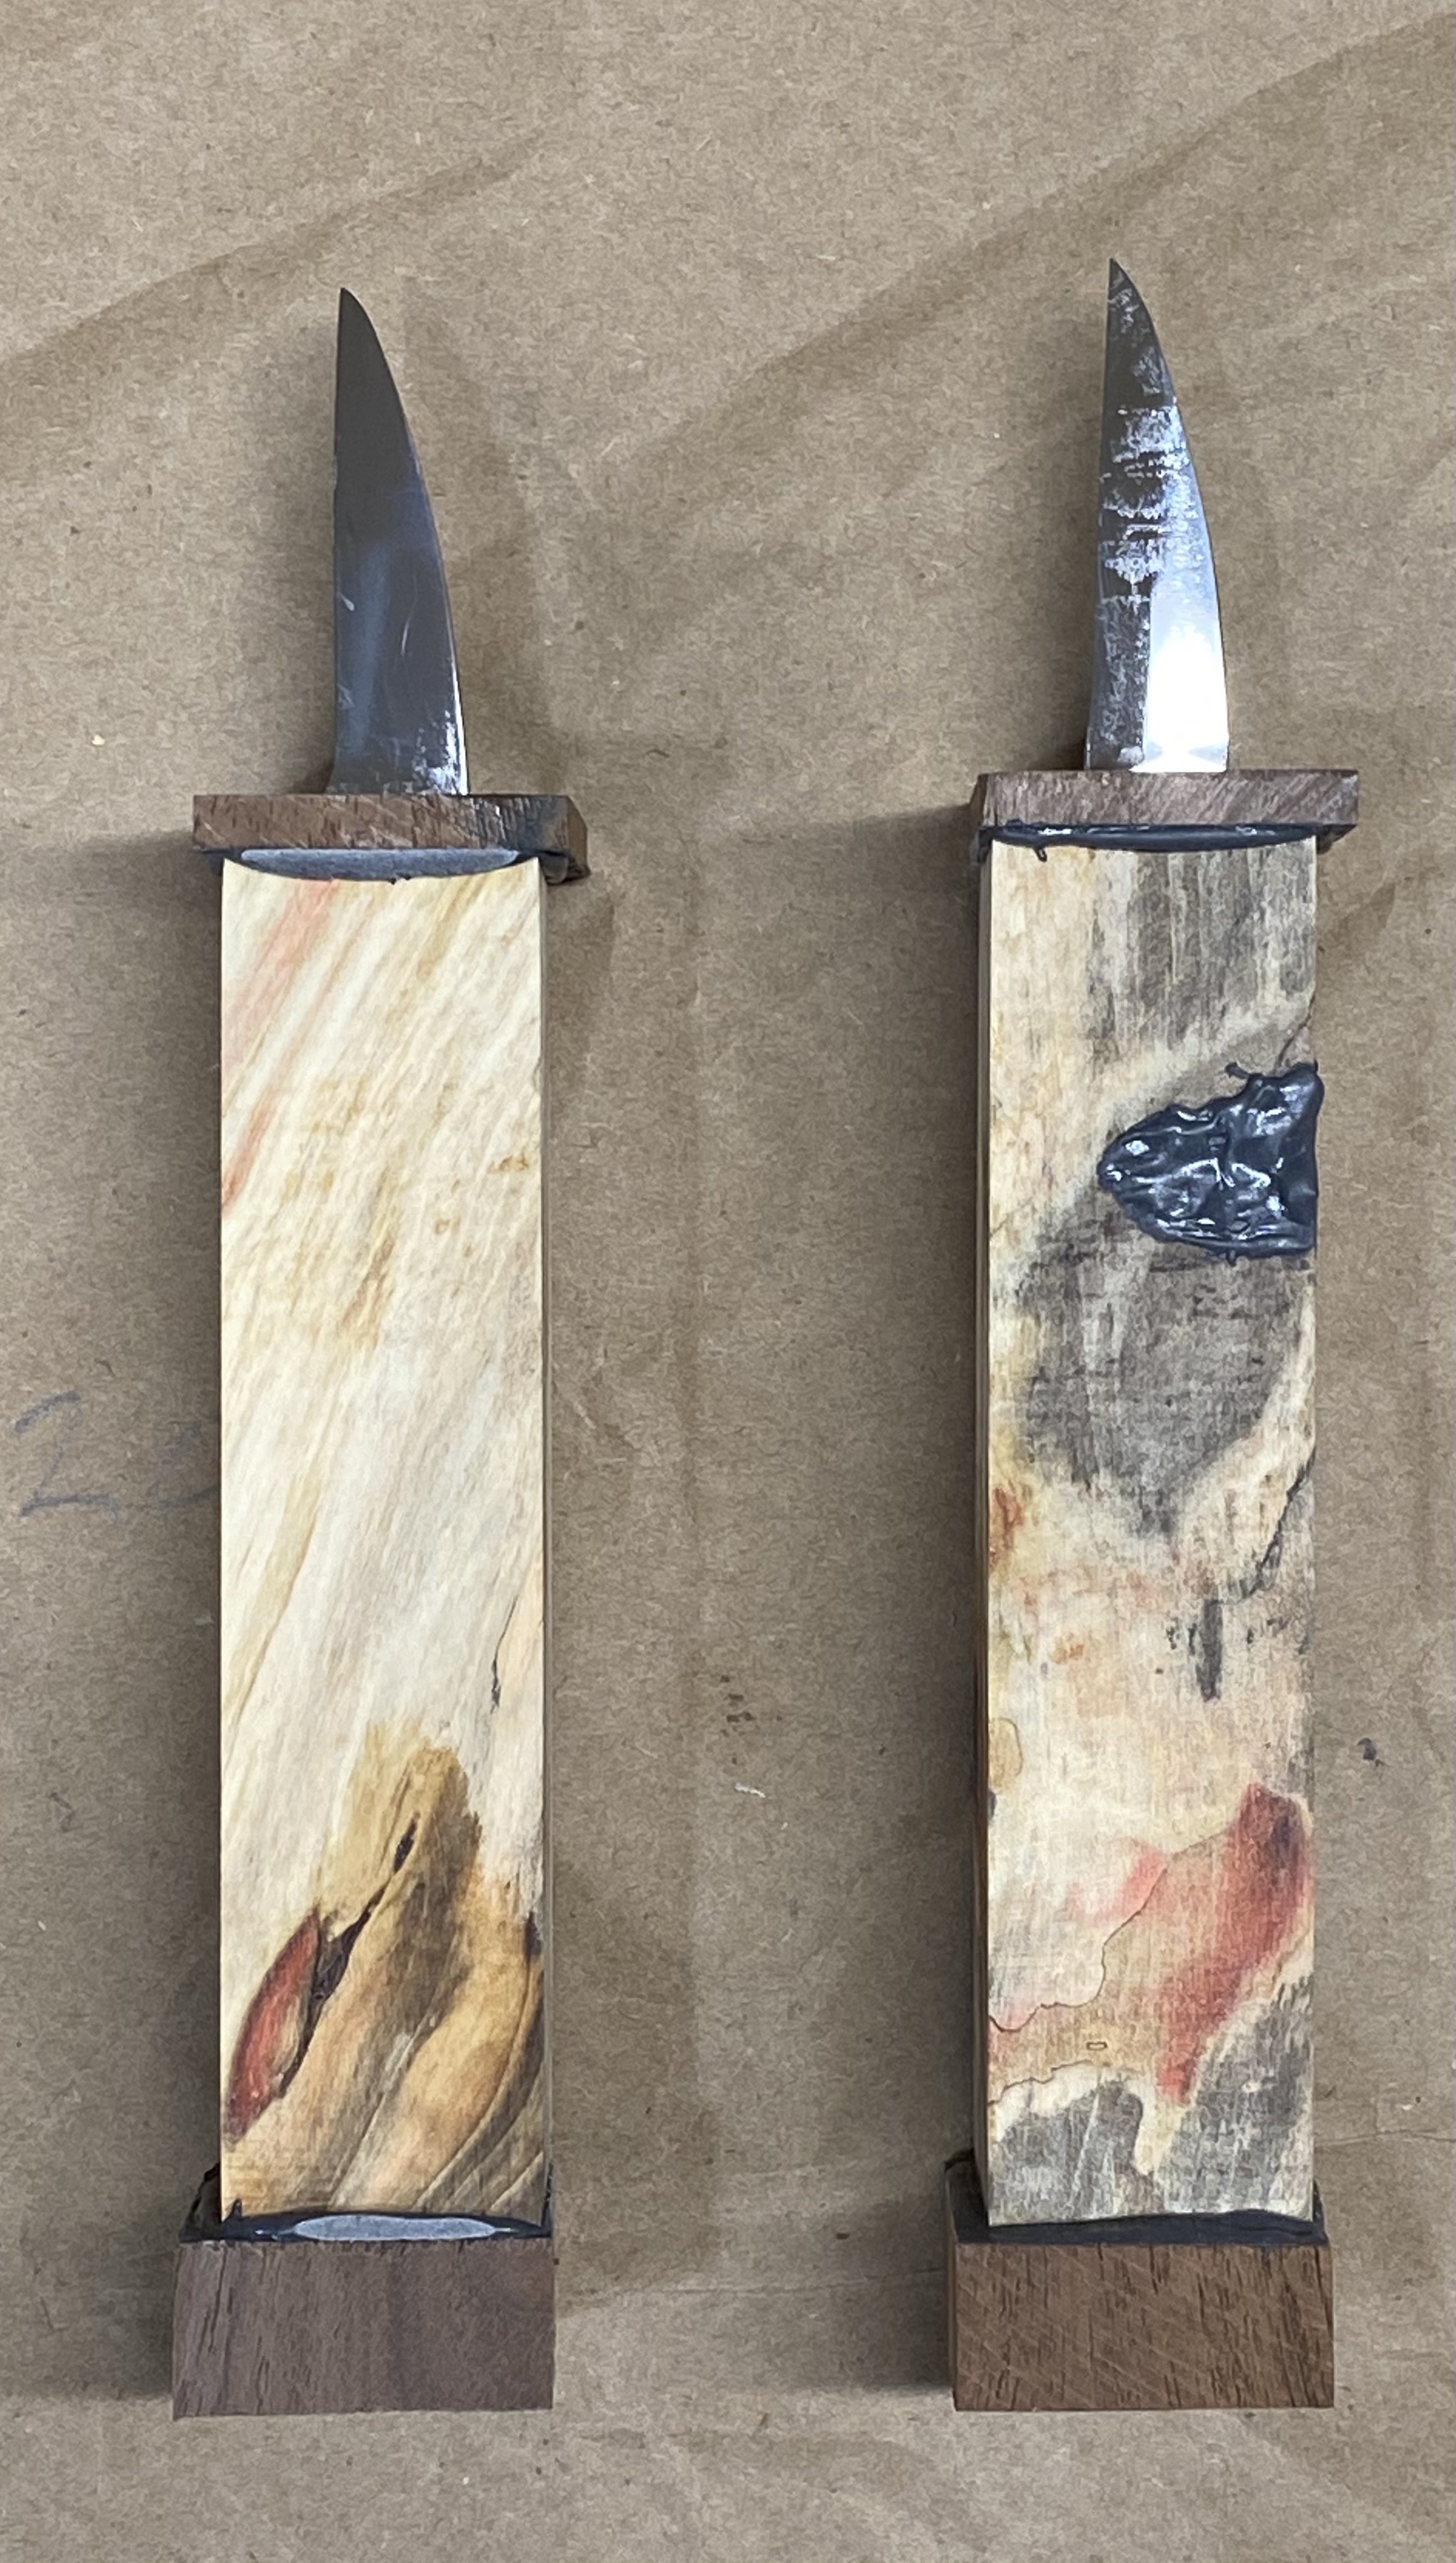
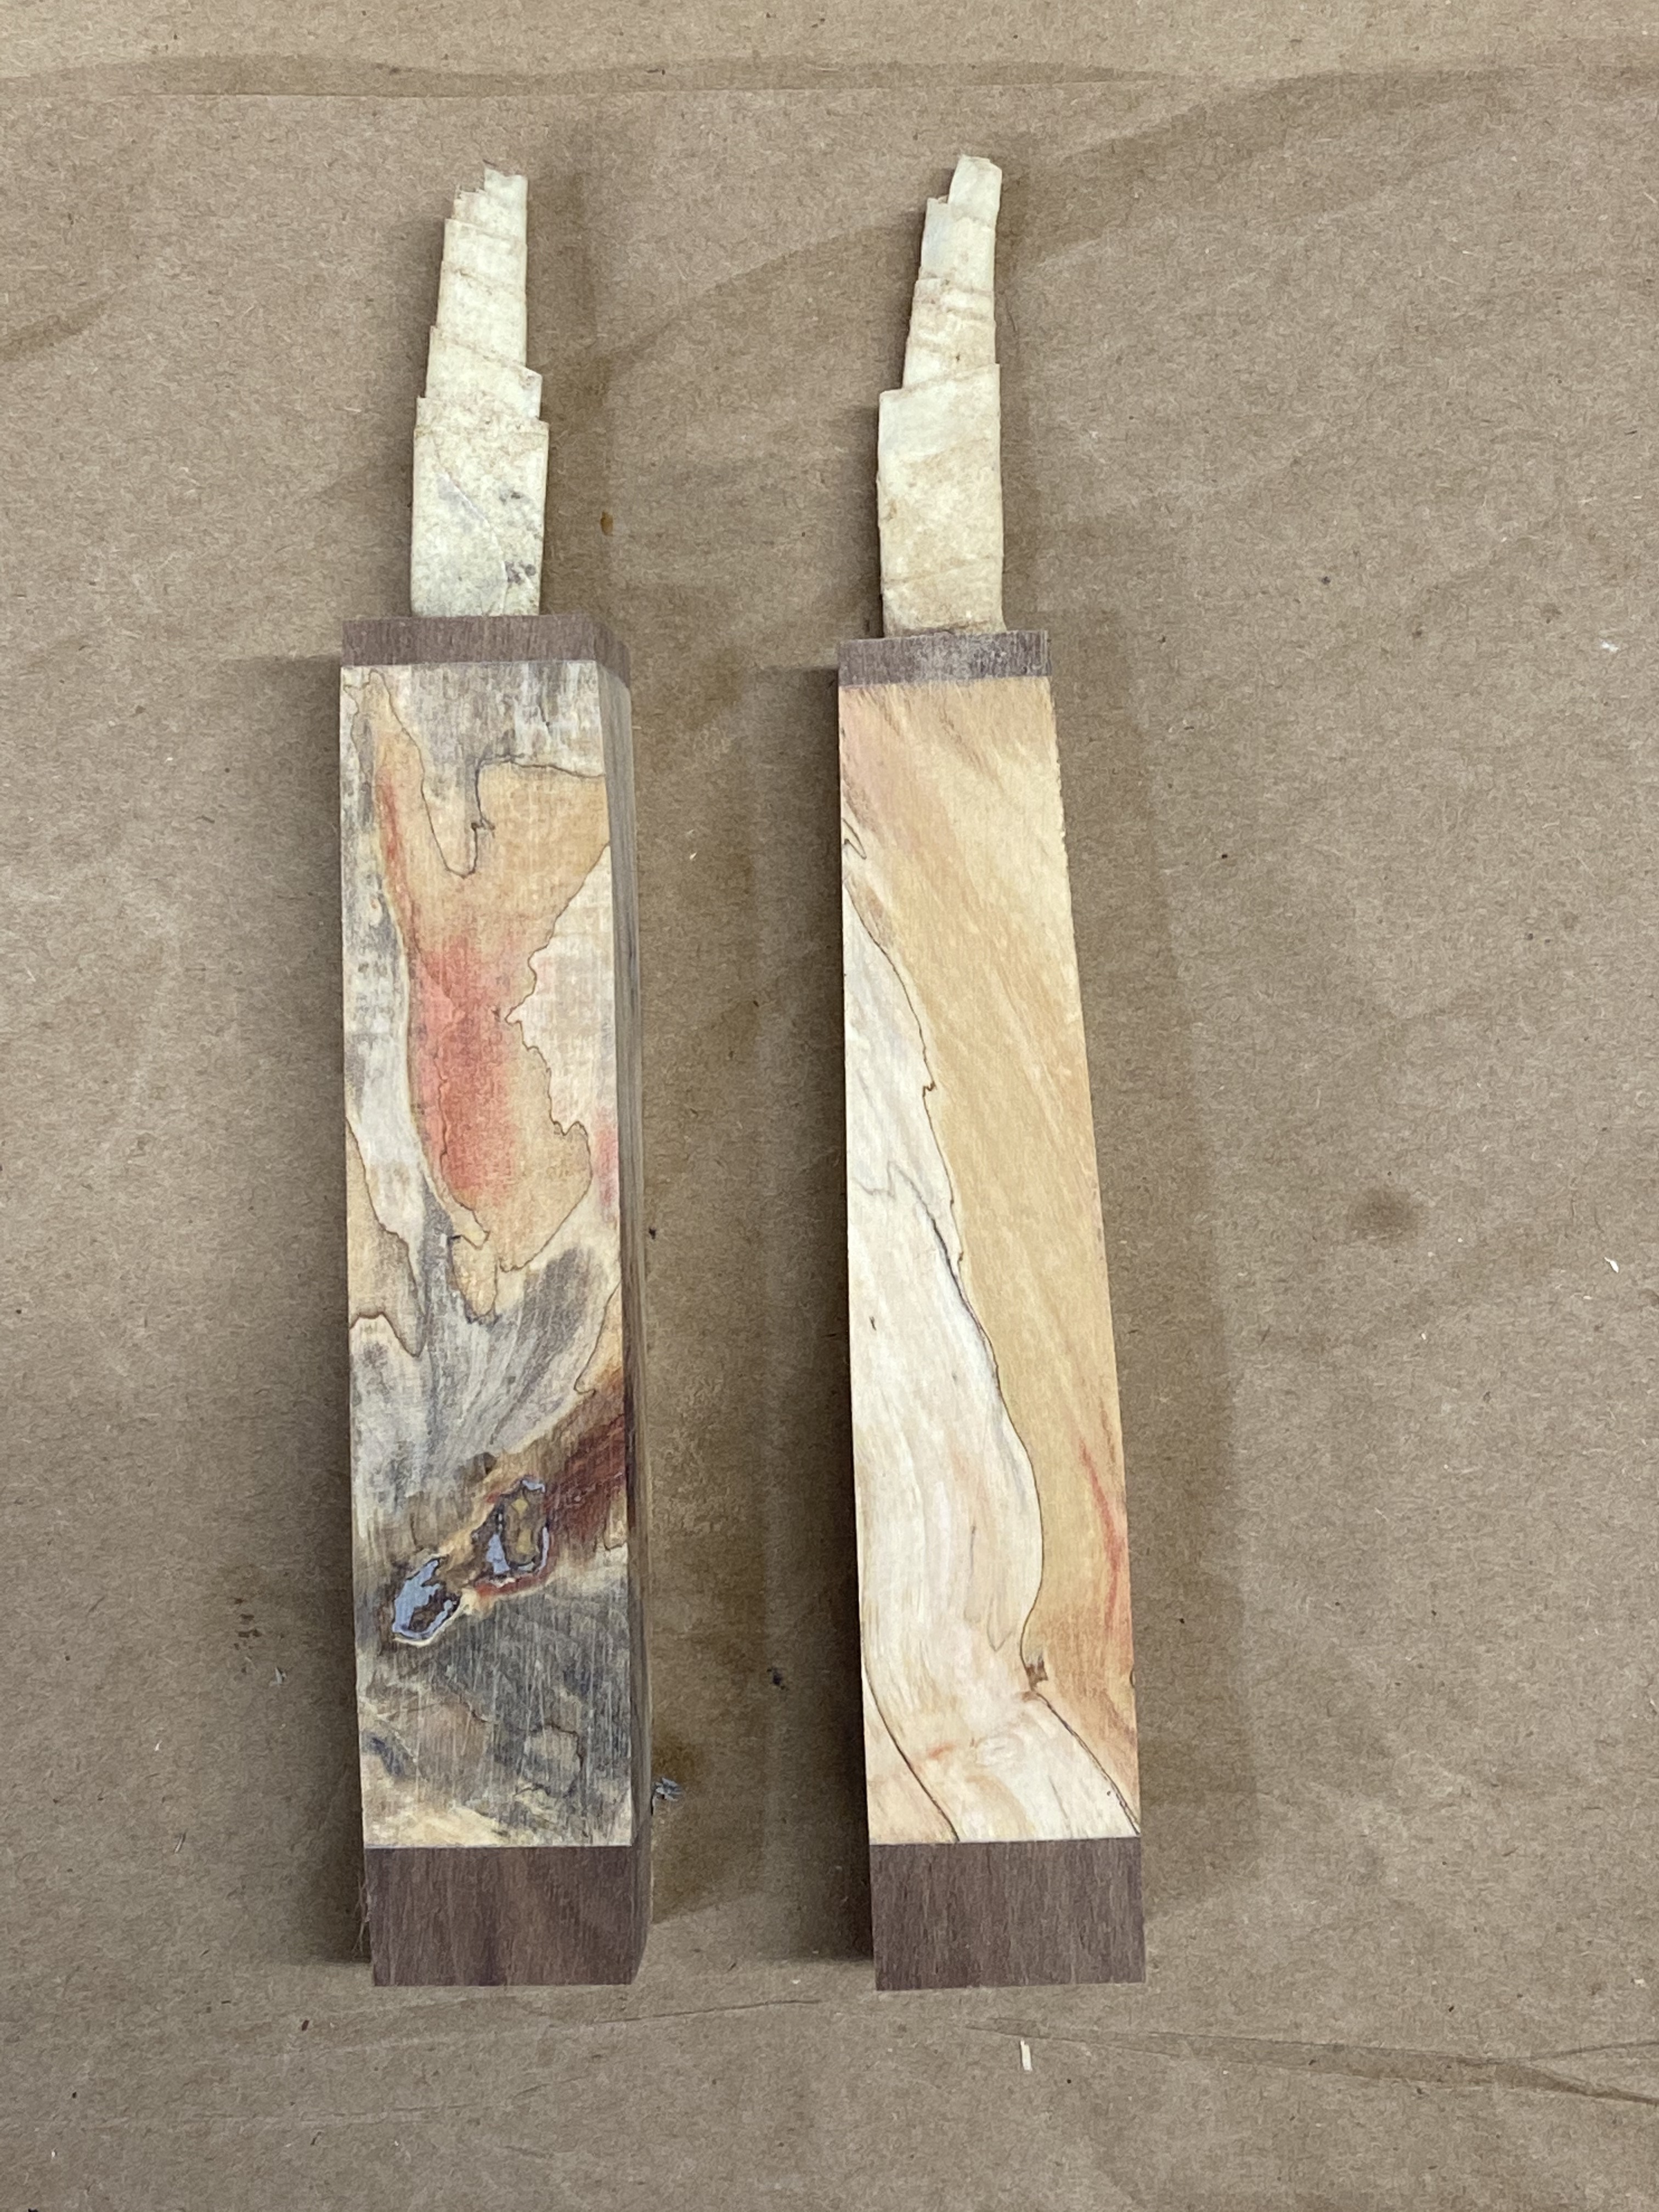
I will show the steps I took to prepare the wood for the handles and how I combine the wood and blades to create knives I am proud to own. My first attempt was with a special piece of Walnut. I selected and purchased a small piece that had been commercially prepared from an abnormal growth on the side of the tree. The grain pattern was unusually attractive. I capped the ends of the Walnut with small pieces of American Holly. This completed knife is shown in the pictures along side the latest selection of wood. The wood for this project was from a Box Elder tree. Box Elder is in the Maple family. It has a tendency to absorb minerals from the ground as well as bacteria. This can be seen in the grain patterns. I sliced the raw wood to expose the grain pattern and coloration that occurs naturally. The pictures show the pieces I selected with all four faces displayed. This includes the inside faces that will be glued together in the final product. I show the inside surfaces because they are as attractive as the outside surfaces.

Here we see the blades have been placed inside recessed openings in one side of each handle. The caps for the handle ends are made from Walnut.
These are the blades shown with the Walnut caps for the end of the handle.
This is one knife being clamped to allow the epoxy glue to bind the two handle parts around the blade. I use a two part epoxy from my local hardware store. I like the slow curing time so I don’t have to rush the process.
These are the two knives with the blades in place and the end caps waiting to be attached.
These are the two knives with clamps holding the end caps while the epoxy glue cures.
These are the two knives before sanding the end caps to the dimensions of the handles.
These are the two knives after sanding the end caps to match the main handle pieces. The knife on the right has been tapered on the sander to the general form before the corners are sanded to complete the handle shape.

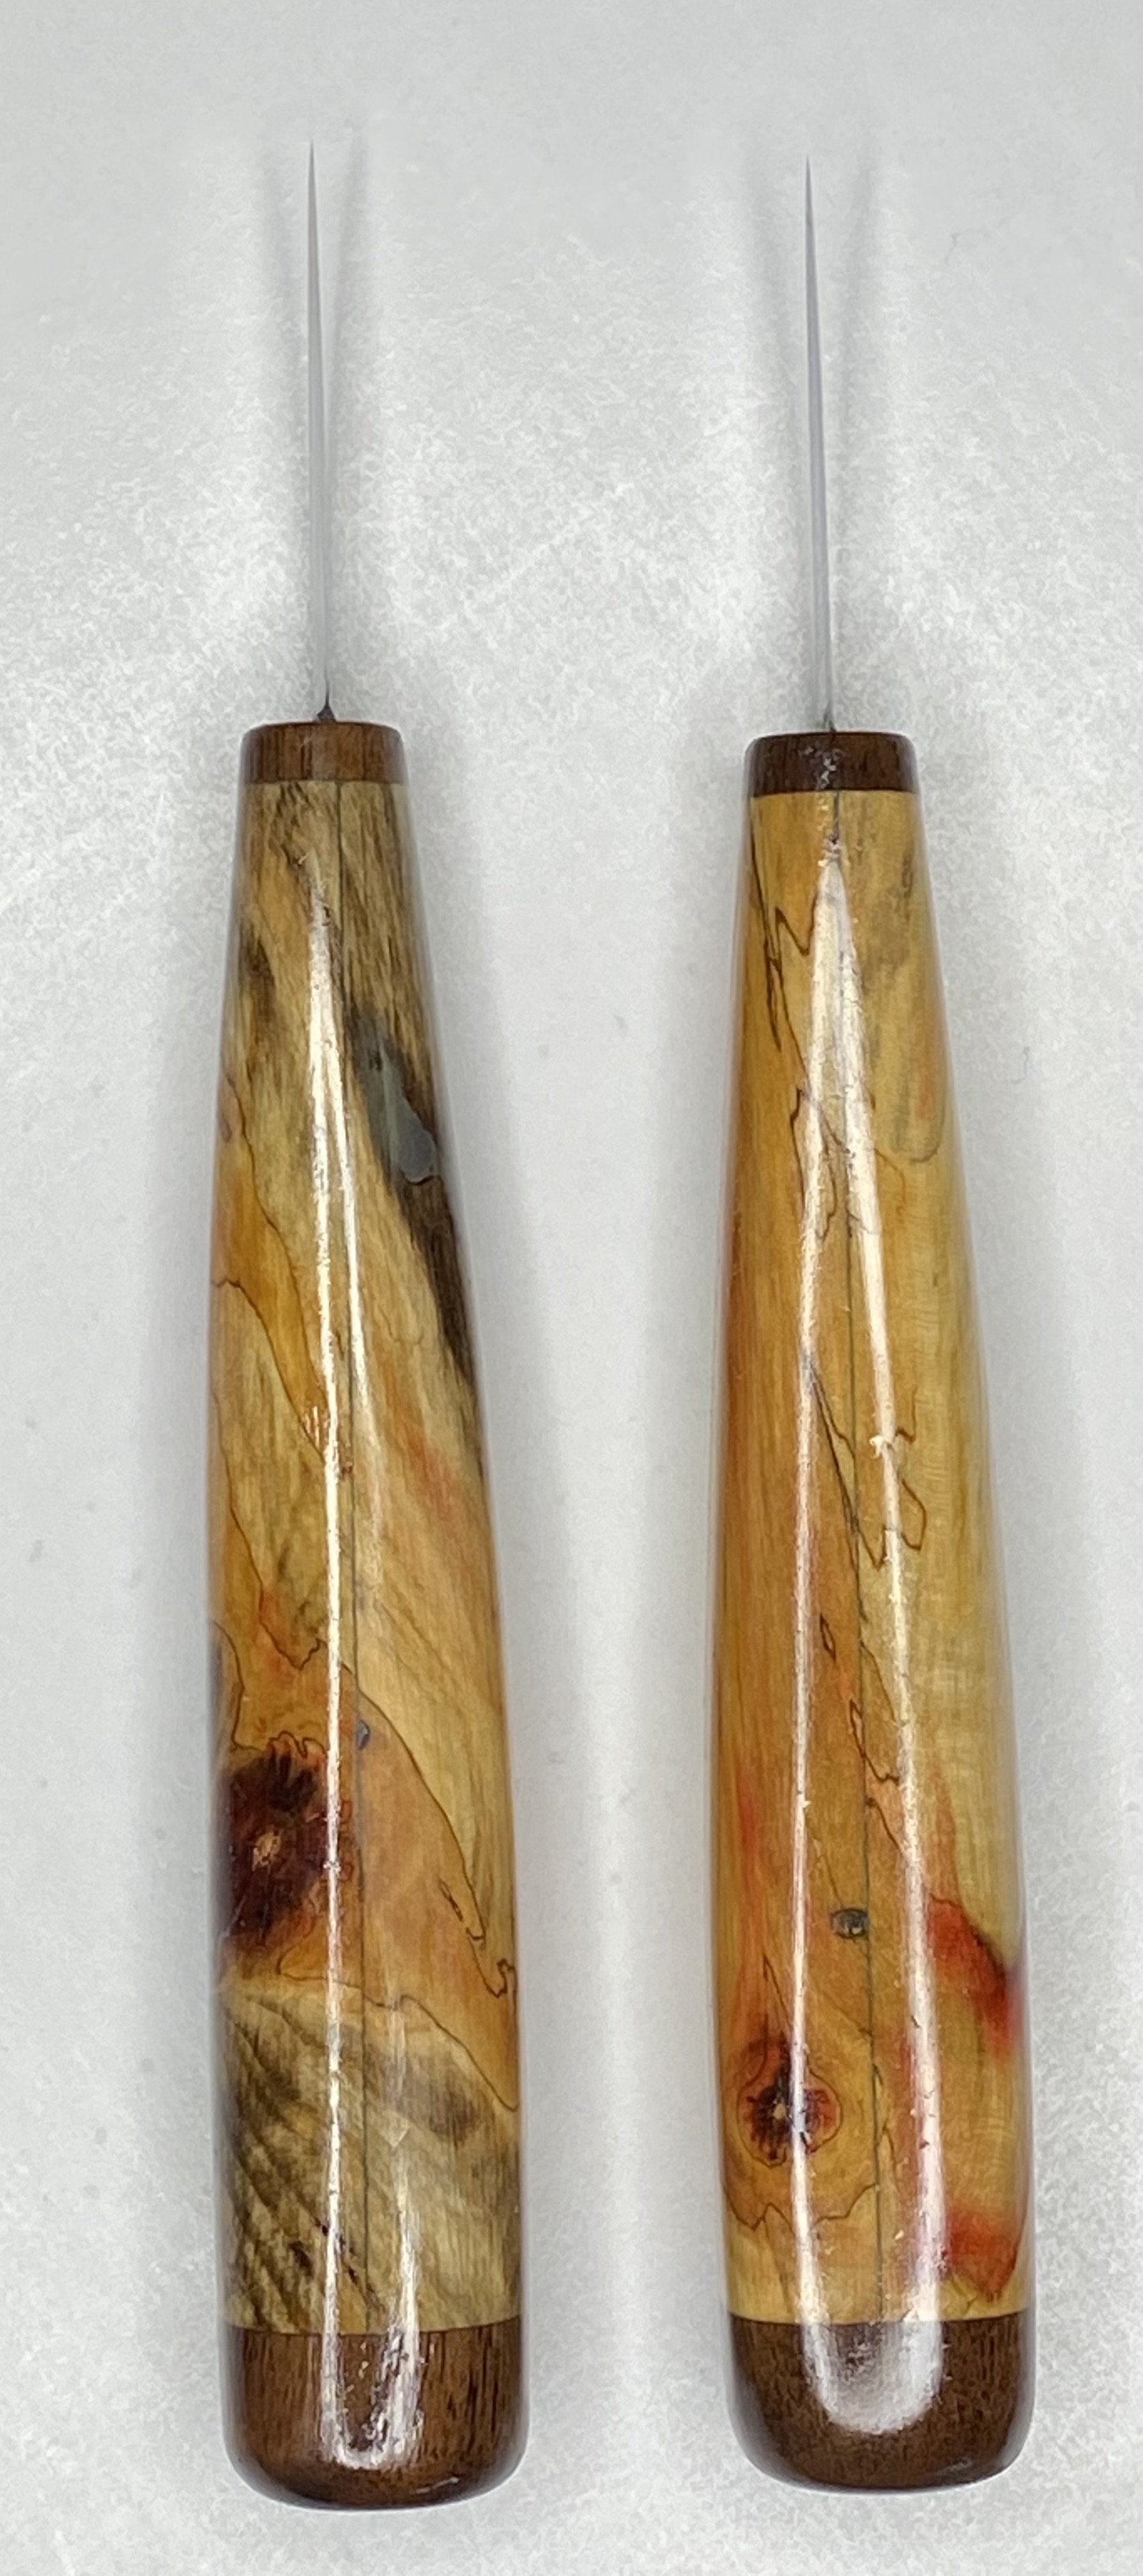
I use a product called True Oil as a final finish. I always use several coats and lightly sand between coats.

Knives designed by Mertz

Don Mertz, a member of the Caricature Carvers of America, has a history of collaboration with the Helvie Knife company. Over the years they have produced a successful line of custom knives that suit Don’s whittlecarving style. Don’s work can be viewed at WoodBeeCarver.com. I own several of those knives but since the blade style was different from the one I use, I’ve delayed giving his a try. The other day I decided to see what I could or could not do. The pictures show the project I chose and the knives I used. They are in Don’s Signature series as numbers 2, 4 and 6. There are many more knife choices on the Helvie site. I did not succumb to the urge to grab my usual knife and a gouge or two because this was a whittlecarving challenge.

I thought a reasonable challenge would be a project offered by Dave Stetson, also a CCA member. It was in the Summer issue 2015 of Woodcarving Illustrated magazine. Dave’s advice is to make no cuts that would leave flat surfaces or sharp shadows. In other words, a soft smooth appearance. I, like Dave, would normally use gouges to achieve that look. My results were not exactly like Dave’s, but then I have trouble matching his results using the tools he recommends. I’m still reasonably happy with my result. I’m not ready to toss my straight edge knives but I know I have more options if the circumstances need the Mertz touch.

I used a block of Basswood one and a half inches square (38mm) by 3 inches long (76mm). I used Howard’s Feed n’ Wax as a finish on the raw wood.

IMG_3393

IMG_3394

IMG_3395