Dave Stetson’s Zoom Class: Heirloom Santa Carving

Dave Stetson’s Zoom Class: Heirloom Santa Carving

In July of 2020 I attended a carving class conducted by Dave Stetson of Scottsdale, Arizona. Dave is a founding member of the Caricature Carvers of America. I have taken three Zoom classes with Dave and have learned a lot. I recommend Dave’s classes either in person or on Zoom. Dave offers a wealth of information on design, including human anatomy, carving techniques and painting. He has been teaching for many years and is genuinely concerned for the student’s comprehension and learning experience.

This class was based on a woodcarving roughout developed by Dave. Not all of Dave’s classes use roughouts. Depending on the subject, and the level of difficulty, a single block of basswood may be the only requirement. A roughout will reduce the amount of wood removal and therefore reduce the time required to complete the project. This class required 12 hours of instruction time. That time was divided into six two hour sessions. Painting the completed project was included. Because the class was held via Zoom, students could ask questions during the sessions. The other advantage for the student was each session is recorded and was available for review after the class. Dave also encouraged students to email pictures of problem areas so he could offer advice before the next session.

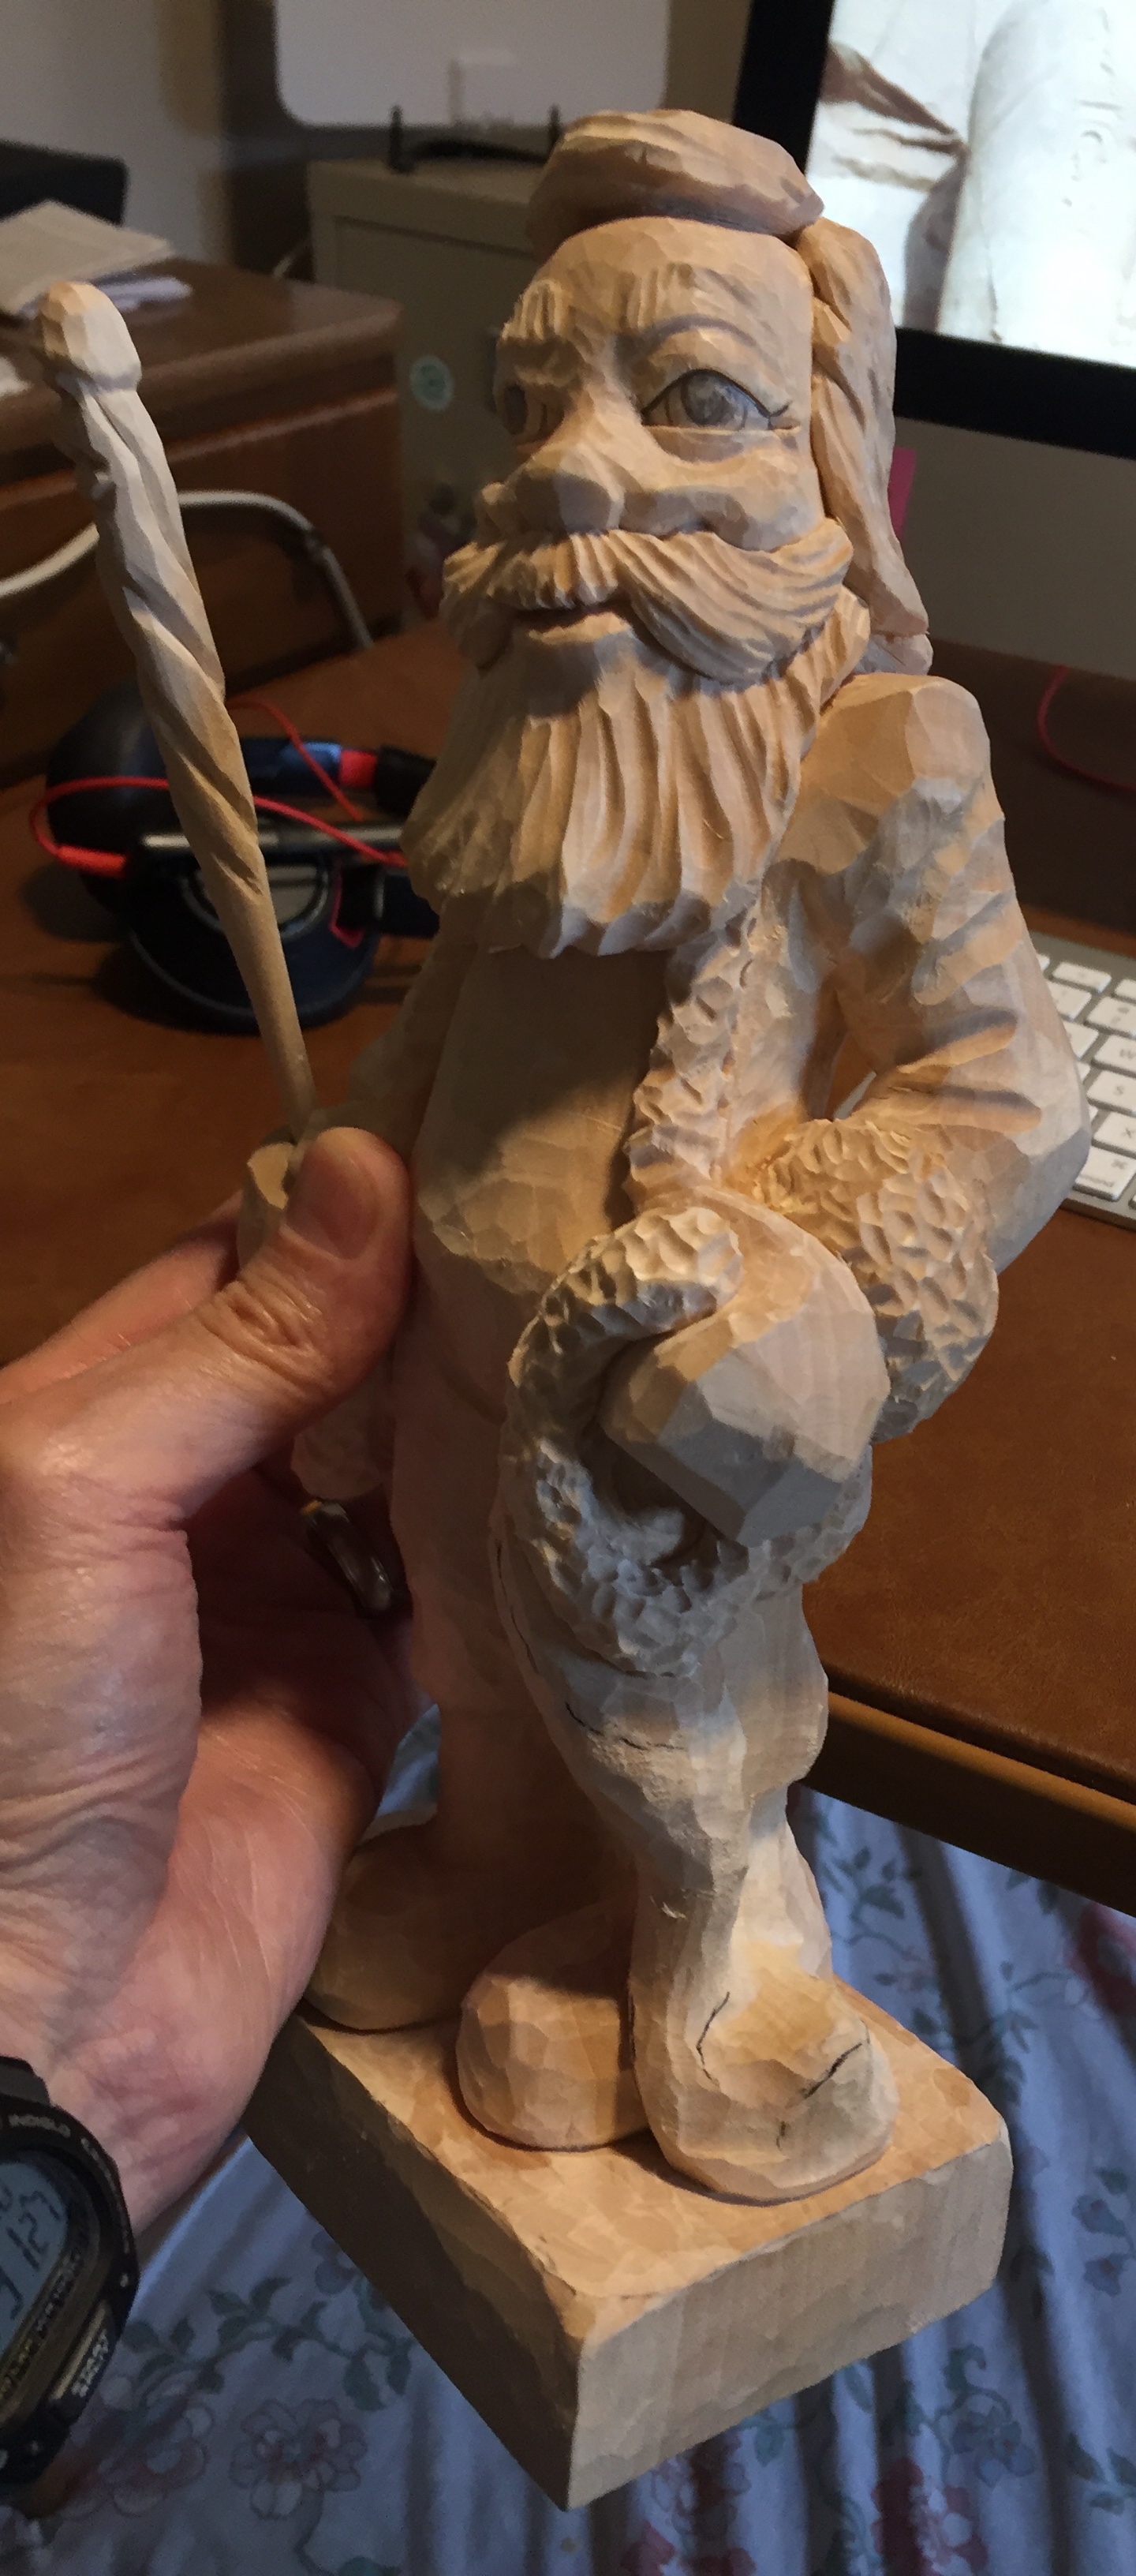
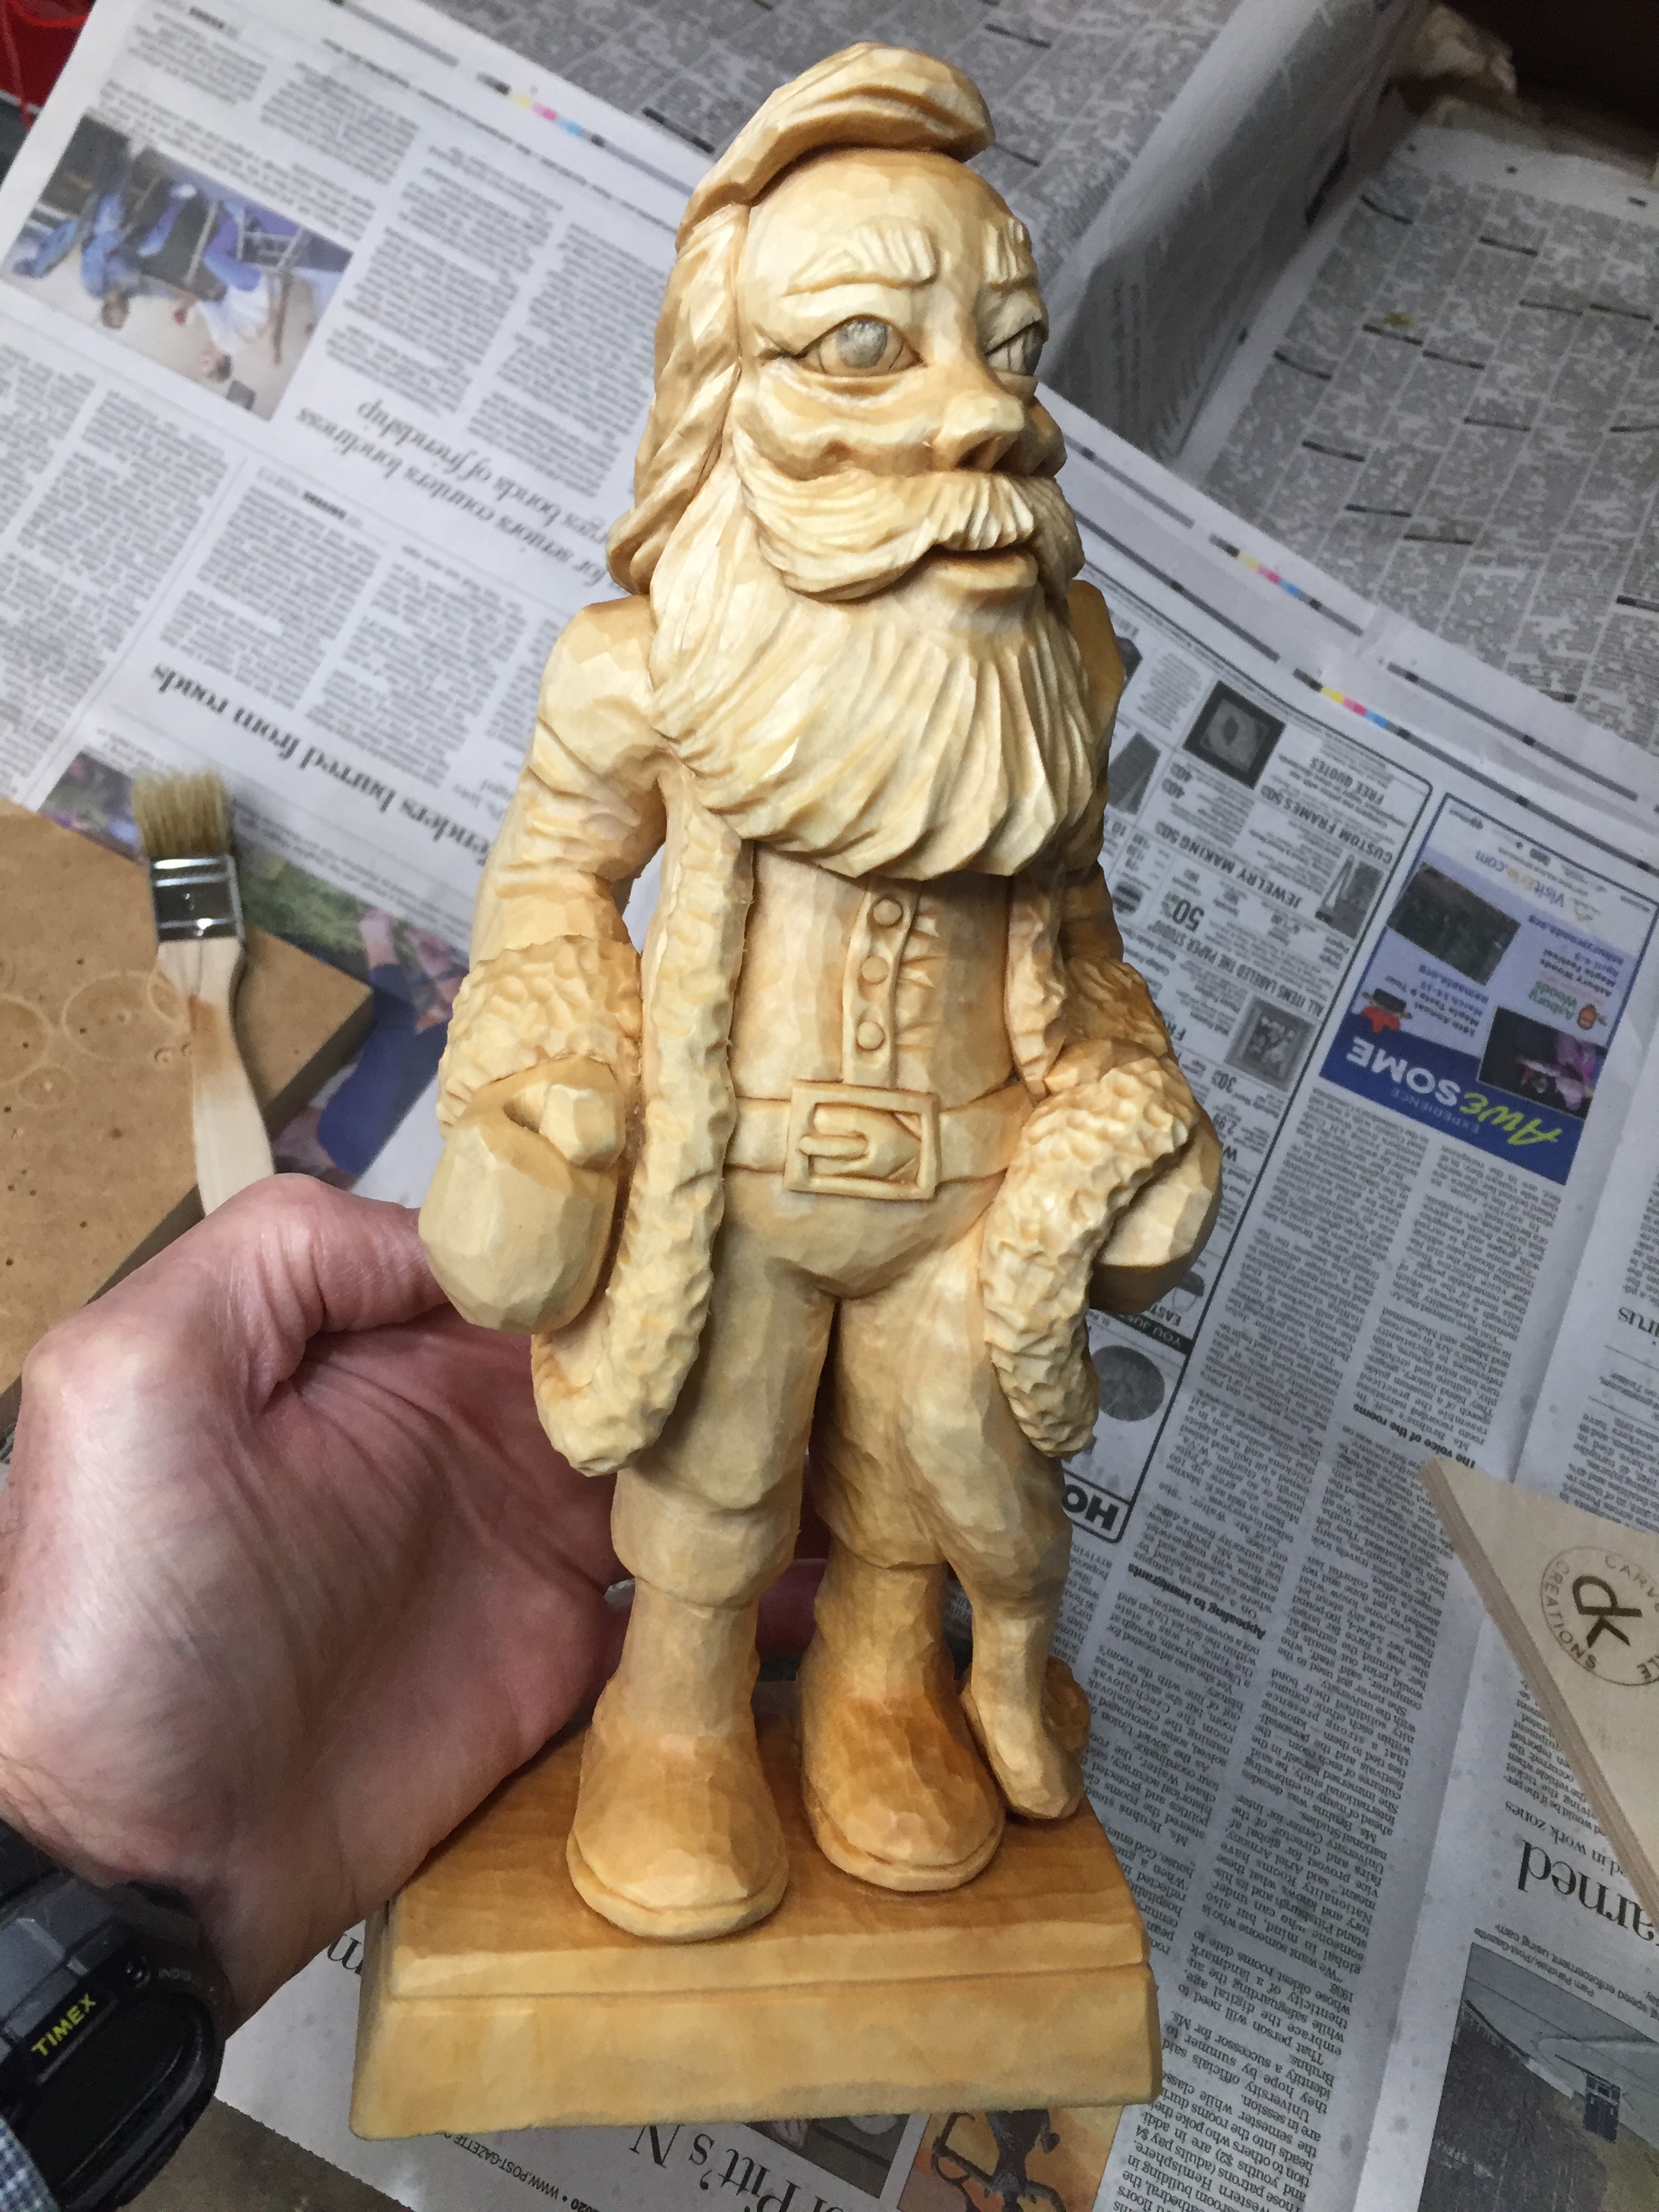
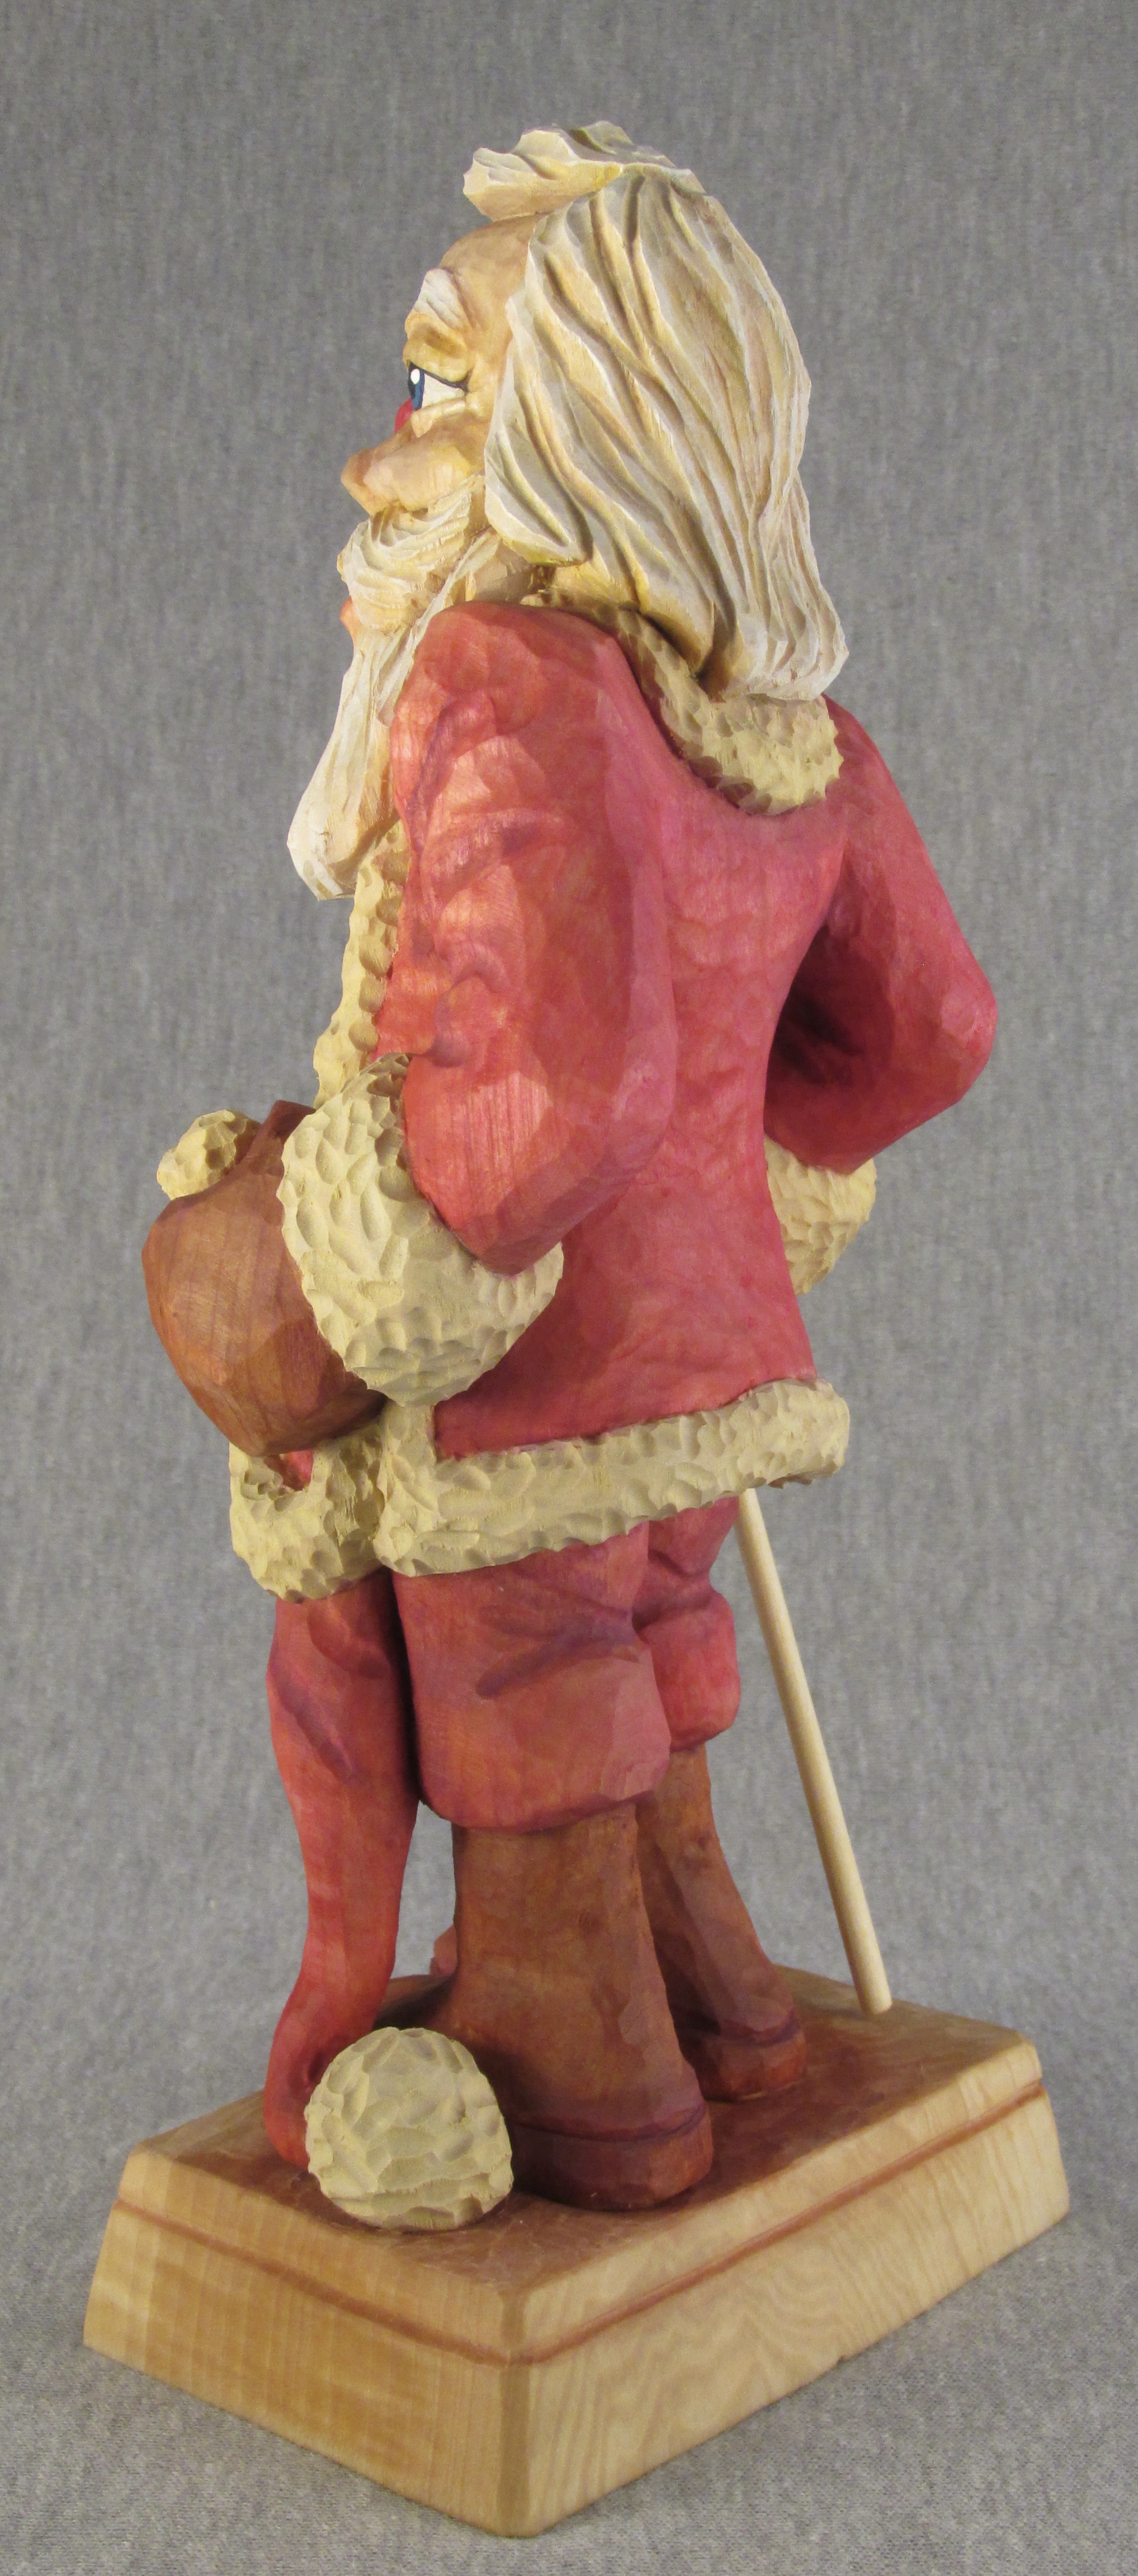
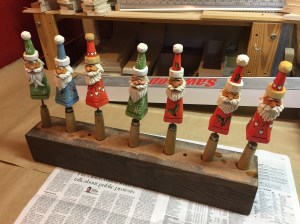
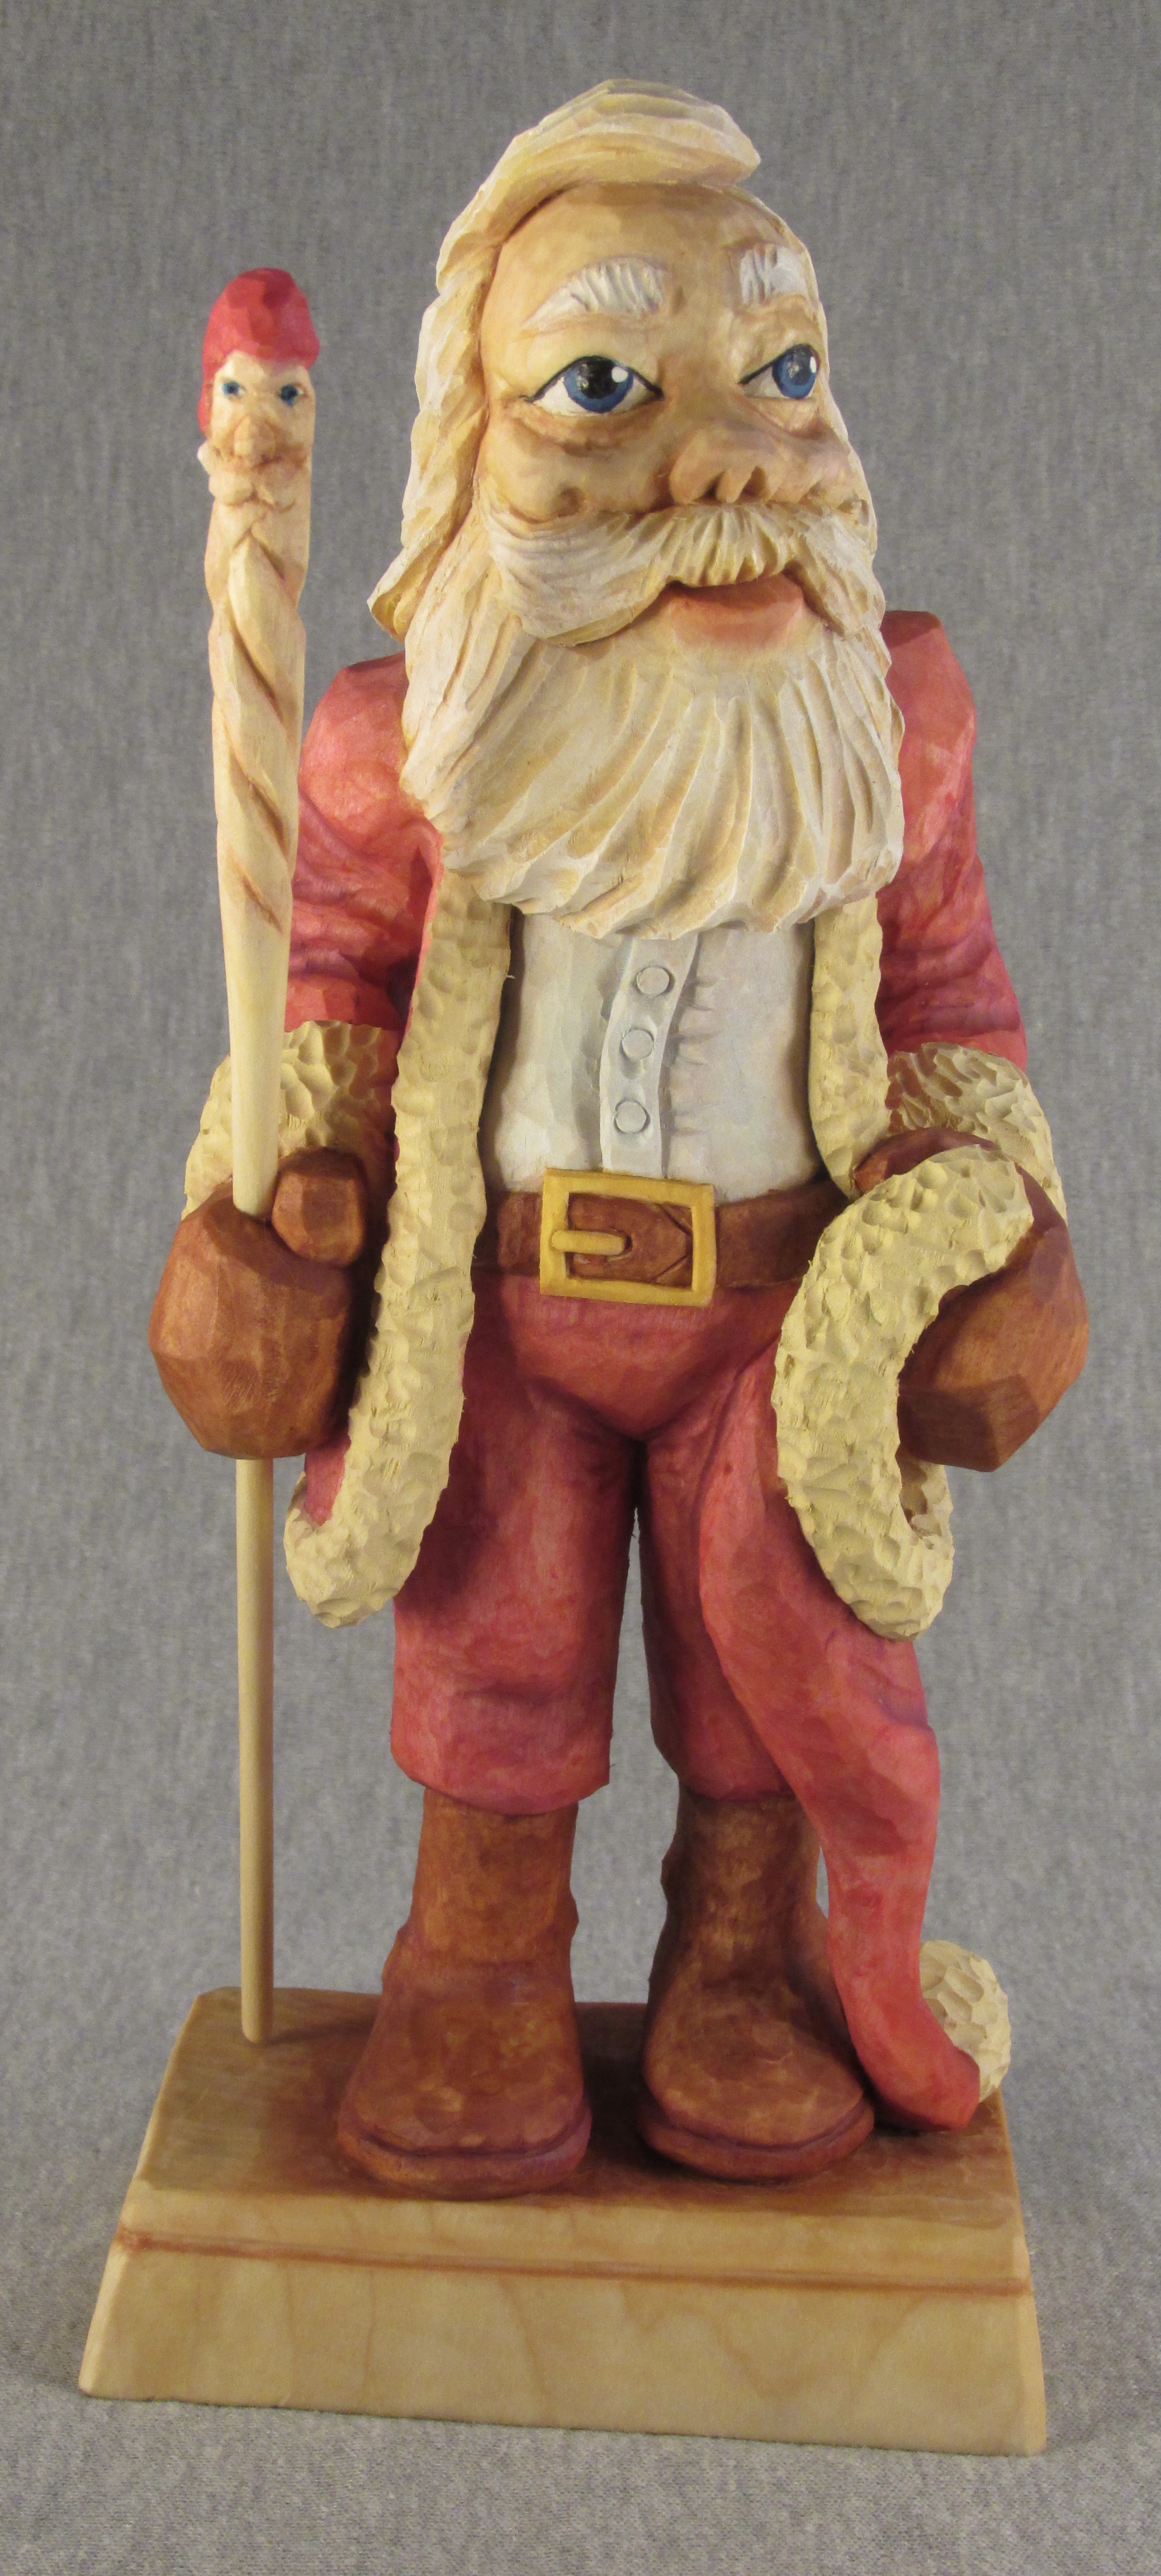
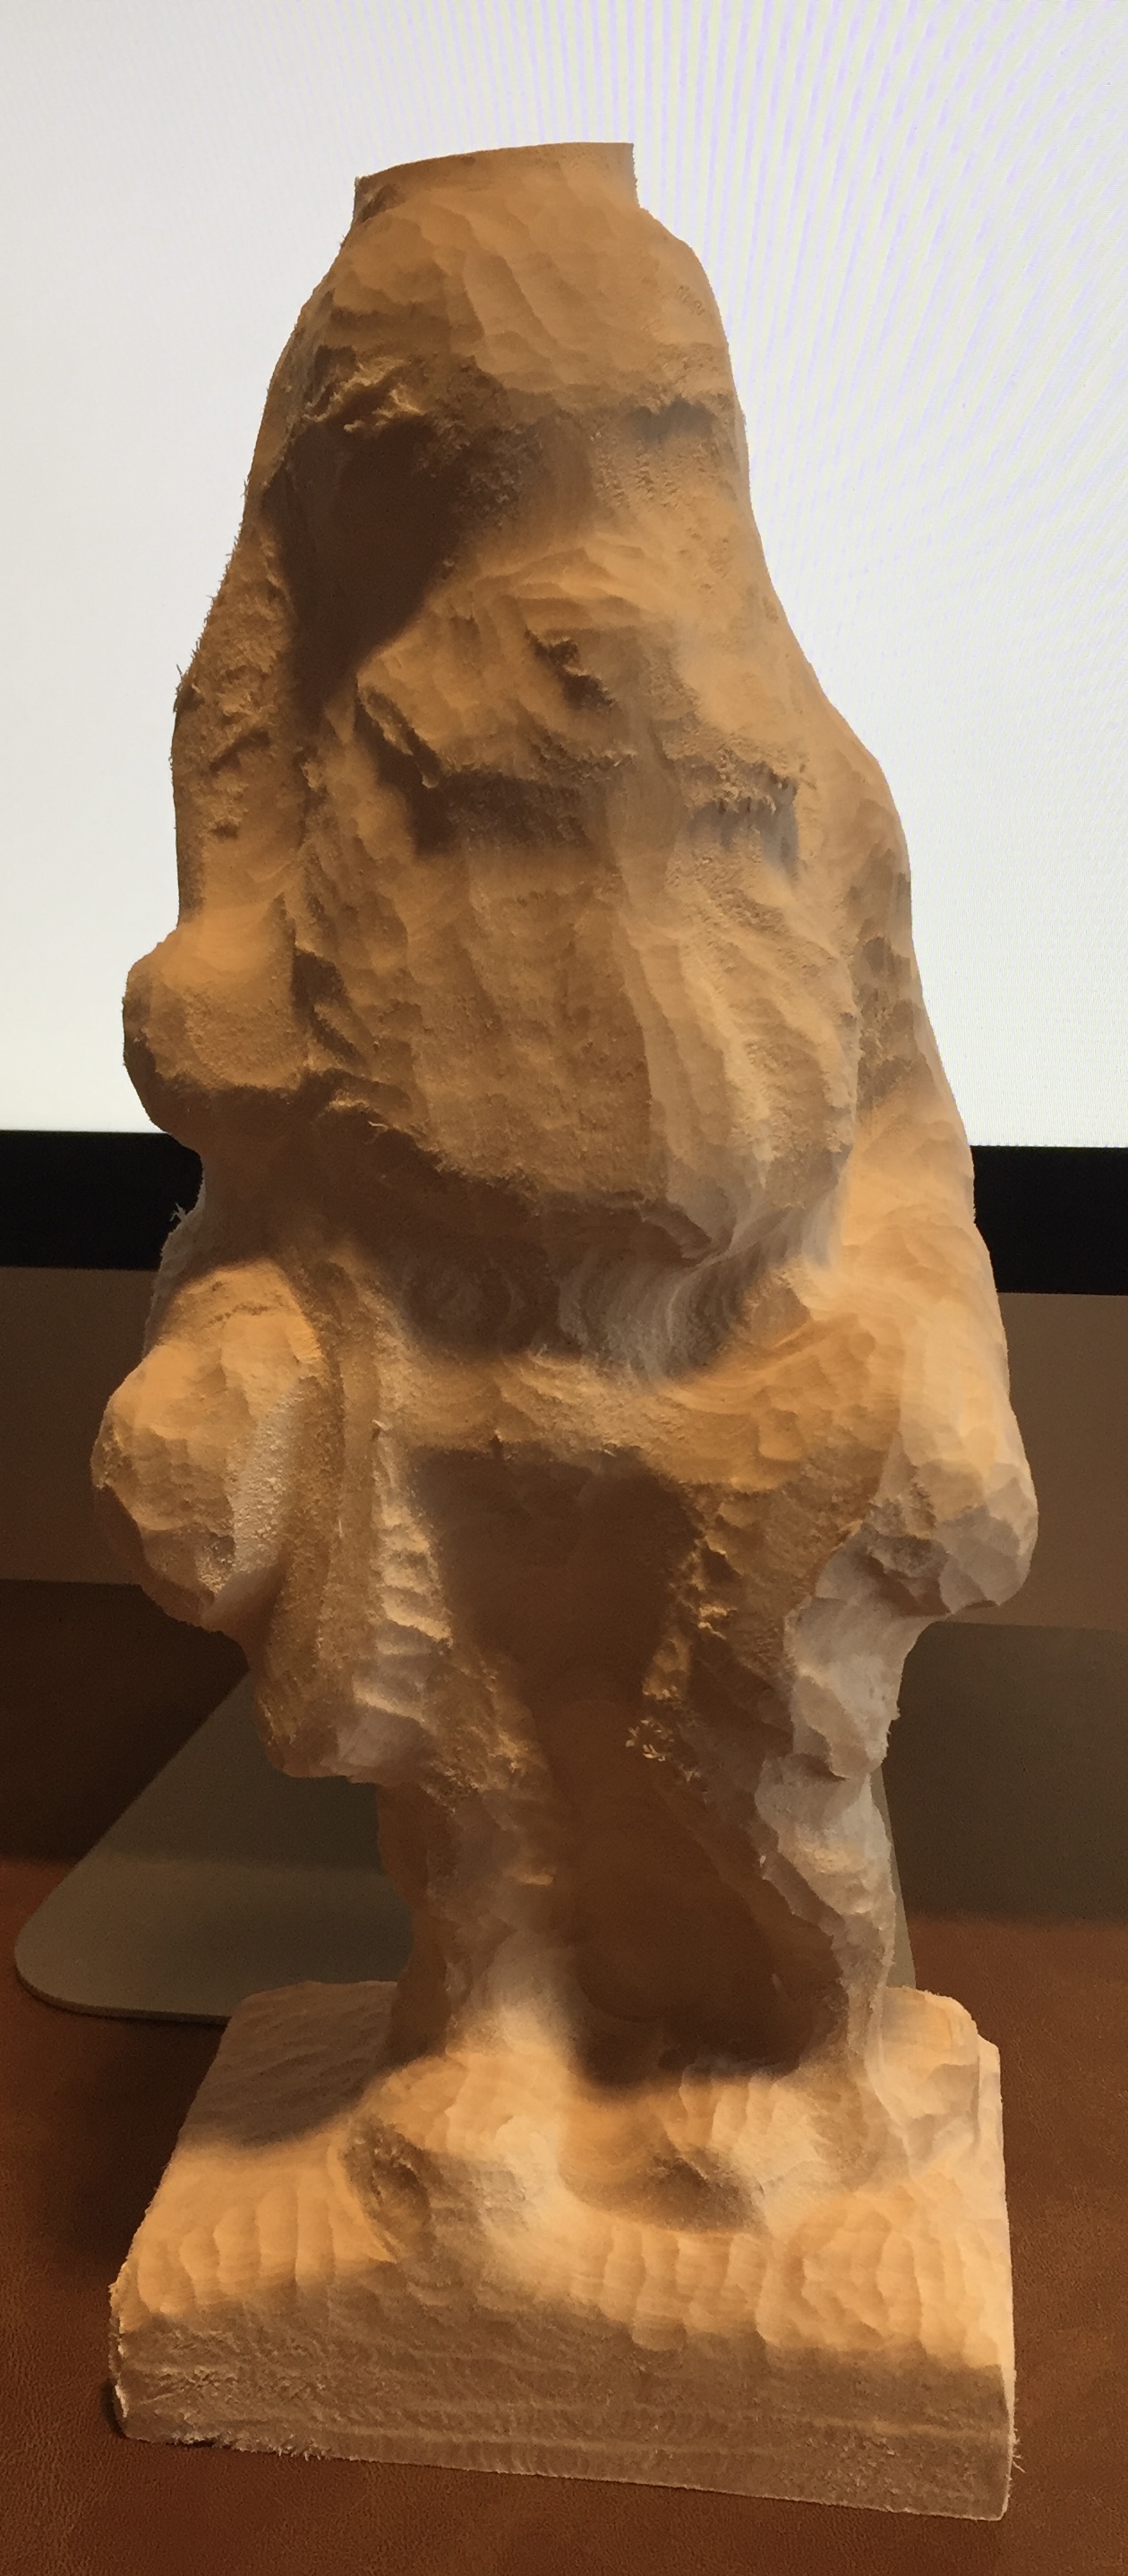
I am including several photos of my project showing my progress.The total height of the figure and base is eleven and a half inches (29.5cm). The design included enough wood for options to place Santa’s hat on his head or in his left hand. Santa’s right hand was designed to hold a walking staff to be carved separately.

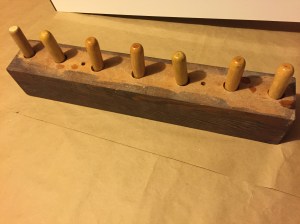
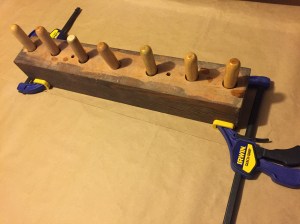
This is the “roughout” provided for the class.

Painting Tip

Painting Tip

fullsizerender-3

Several people have offered painting tips on Facebook so I thought I would expand the tip about a holding device. A handle can be used to hold a small carving while carving and/or painting. Some have suggested carving a handle-shaped stick or some other form for ease in holding a carving. I found some cheap tool handles that were probably meant for files or replacement screwdriver handles. Flea markets and yard sales are good for these items. I cut the heads from drywall screws and other assorted self drilling screws. I made sure each one would fit in the pre-drilled handle hole and used epoxy glue to set a screw in each handle. If the hole is larger than needed, you will have to support the screw so it remains in line with the handle until the glue sets up. That’s not a big deal but it will be a better experience using the handle if you can easily screw it into the carving.

img_4042Using different sized screws is not necessary but can be helpful if you have a small base on your carving and a large screw will cause the wood to split.

img_4028-2

I happened to have a big chunk of pine, 3.5″ X 3.5″ X 21″ (90mm X 90mm X 533mm), that had seven holes conveniently drilled so I could use my handles. Each hole also had a pilot-hole in the bottom. This allows me to invert the handles for storage when they’re not in use.

img_4041img_4040-2img_4053

I took a class with CCA member Tom Wolfe where painting was part of the instruction. Tom used the same concept but instead of a heavy chunk of pine, he had a short log with angled chainsaw cuts to form a rough dome shaped top so it looked like a stump. That allowed holes to be drilled at angles around the top. I don’t remember how many holes were in his base.  If I have carvings that cause my base to tip, I add a clamp at the bottom to increase the size of it’s footprint.

img_4027

fullsizerender-4 By the way, the carvings pictured were inspired by an article by Dave Stetson (CCA) in the Winter issue 2016 of Woodcarving Illustrated Magazine.

Knives designed by Mertz

Don Mertz, a member of the Caricature Carvers of America, has a history of collaboration with the Helvie Knife company. Over the years they have produced a successful line of custom knives that suit Don’s whittlecarving style. Don’s work can be viewed at WoodBeeCarver.com. I own several of those knives but since the blade style was different from the one I use, I’ve delayed giving his a try. The other day I decided to see what I could or could not do. The pictures show the project I chose and the knives I used. They are in Don’s Signature series as numbers 2, 4 and 6. There are many more knife choices on the Helvie site. I did not succumb to the urge to grab my usual knife and a gouge or two because this was a whittlecarving challenge.

I thought a reasonable challenge would be a project offered by Dave Stetson, also a CCA member. It was in the Summer issue 2015 of Woodcarving Illustrated magazine. Dave’s advice is to make no cuts that would leave flat surfaces or sharp shadows. In other words, a soft smooth appearance. I, like Dave, would normally use gouges to achieve that look. My results were not exactly like Dave’s, but then I have trouble matching his results using the tools he recommends. I’m still reasonably happy with my result. I’m not ready to toss my straight edge knives but I know I have more options if the circumstances need the Mertz touch.

I used a block of Basswood one and a half inches square (38mm) by 3 inches long (76mm). I used Howard’s Feed n’ Wax as a finish on the raw wood.

IMG_3393

IMG_3394

IMG_3395