I was so happy the way the first cover (see previous post) turned out, I decided to make another. I have two knives, might as well make two covers. Here are the pictures.


I was so happy the way the first cover (see previous post) turned out, I decided to make another. I have two knives, might as well make two covers. Here are the pictures.


Swedish Mora Knife
I just purchased a knife that comes from Sweden. A Mora. It’s blade is 3 1/8 inches (80 mm) long. I first saw this knife in use when I took a one week class in March led by Harley Refsal, a CCA member. During that week Harley showed us how he uses it for a special purpose, which isn’t carving. Actually he doesn’t cut with it at all. You’ll have to ask Harley if you want to know more. Anyway, being a person who always needs a new tool, I ordered two. One for myself and one for a friend.
To my surprise, it arrived with an extremely sharp edge. Considering my friend’s safety, I decided to make a blade cover for him. There have been several articles in carving magazines for making wooden covers and then cleverly carving them into keepsakes. In case you missed the articles, here are the steps I used to make the cover.
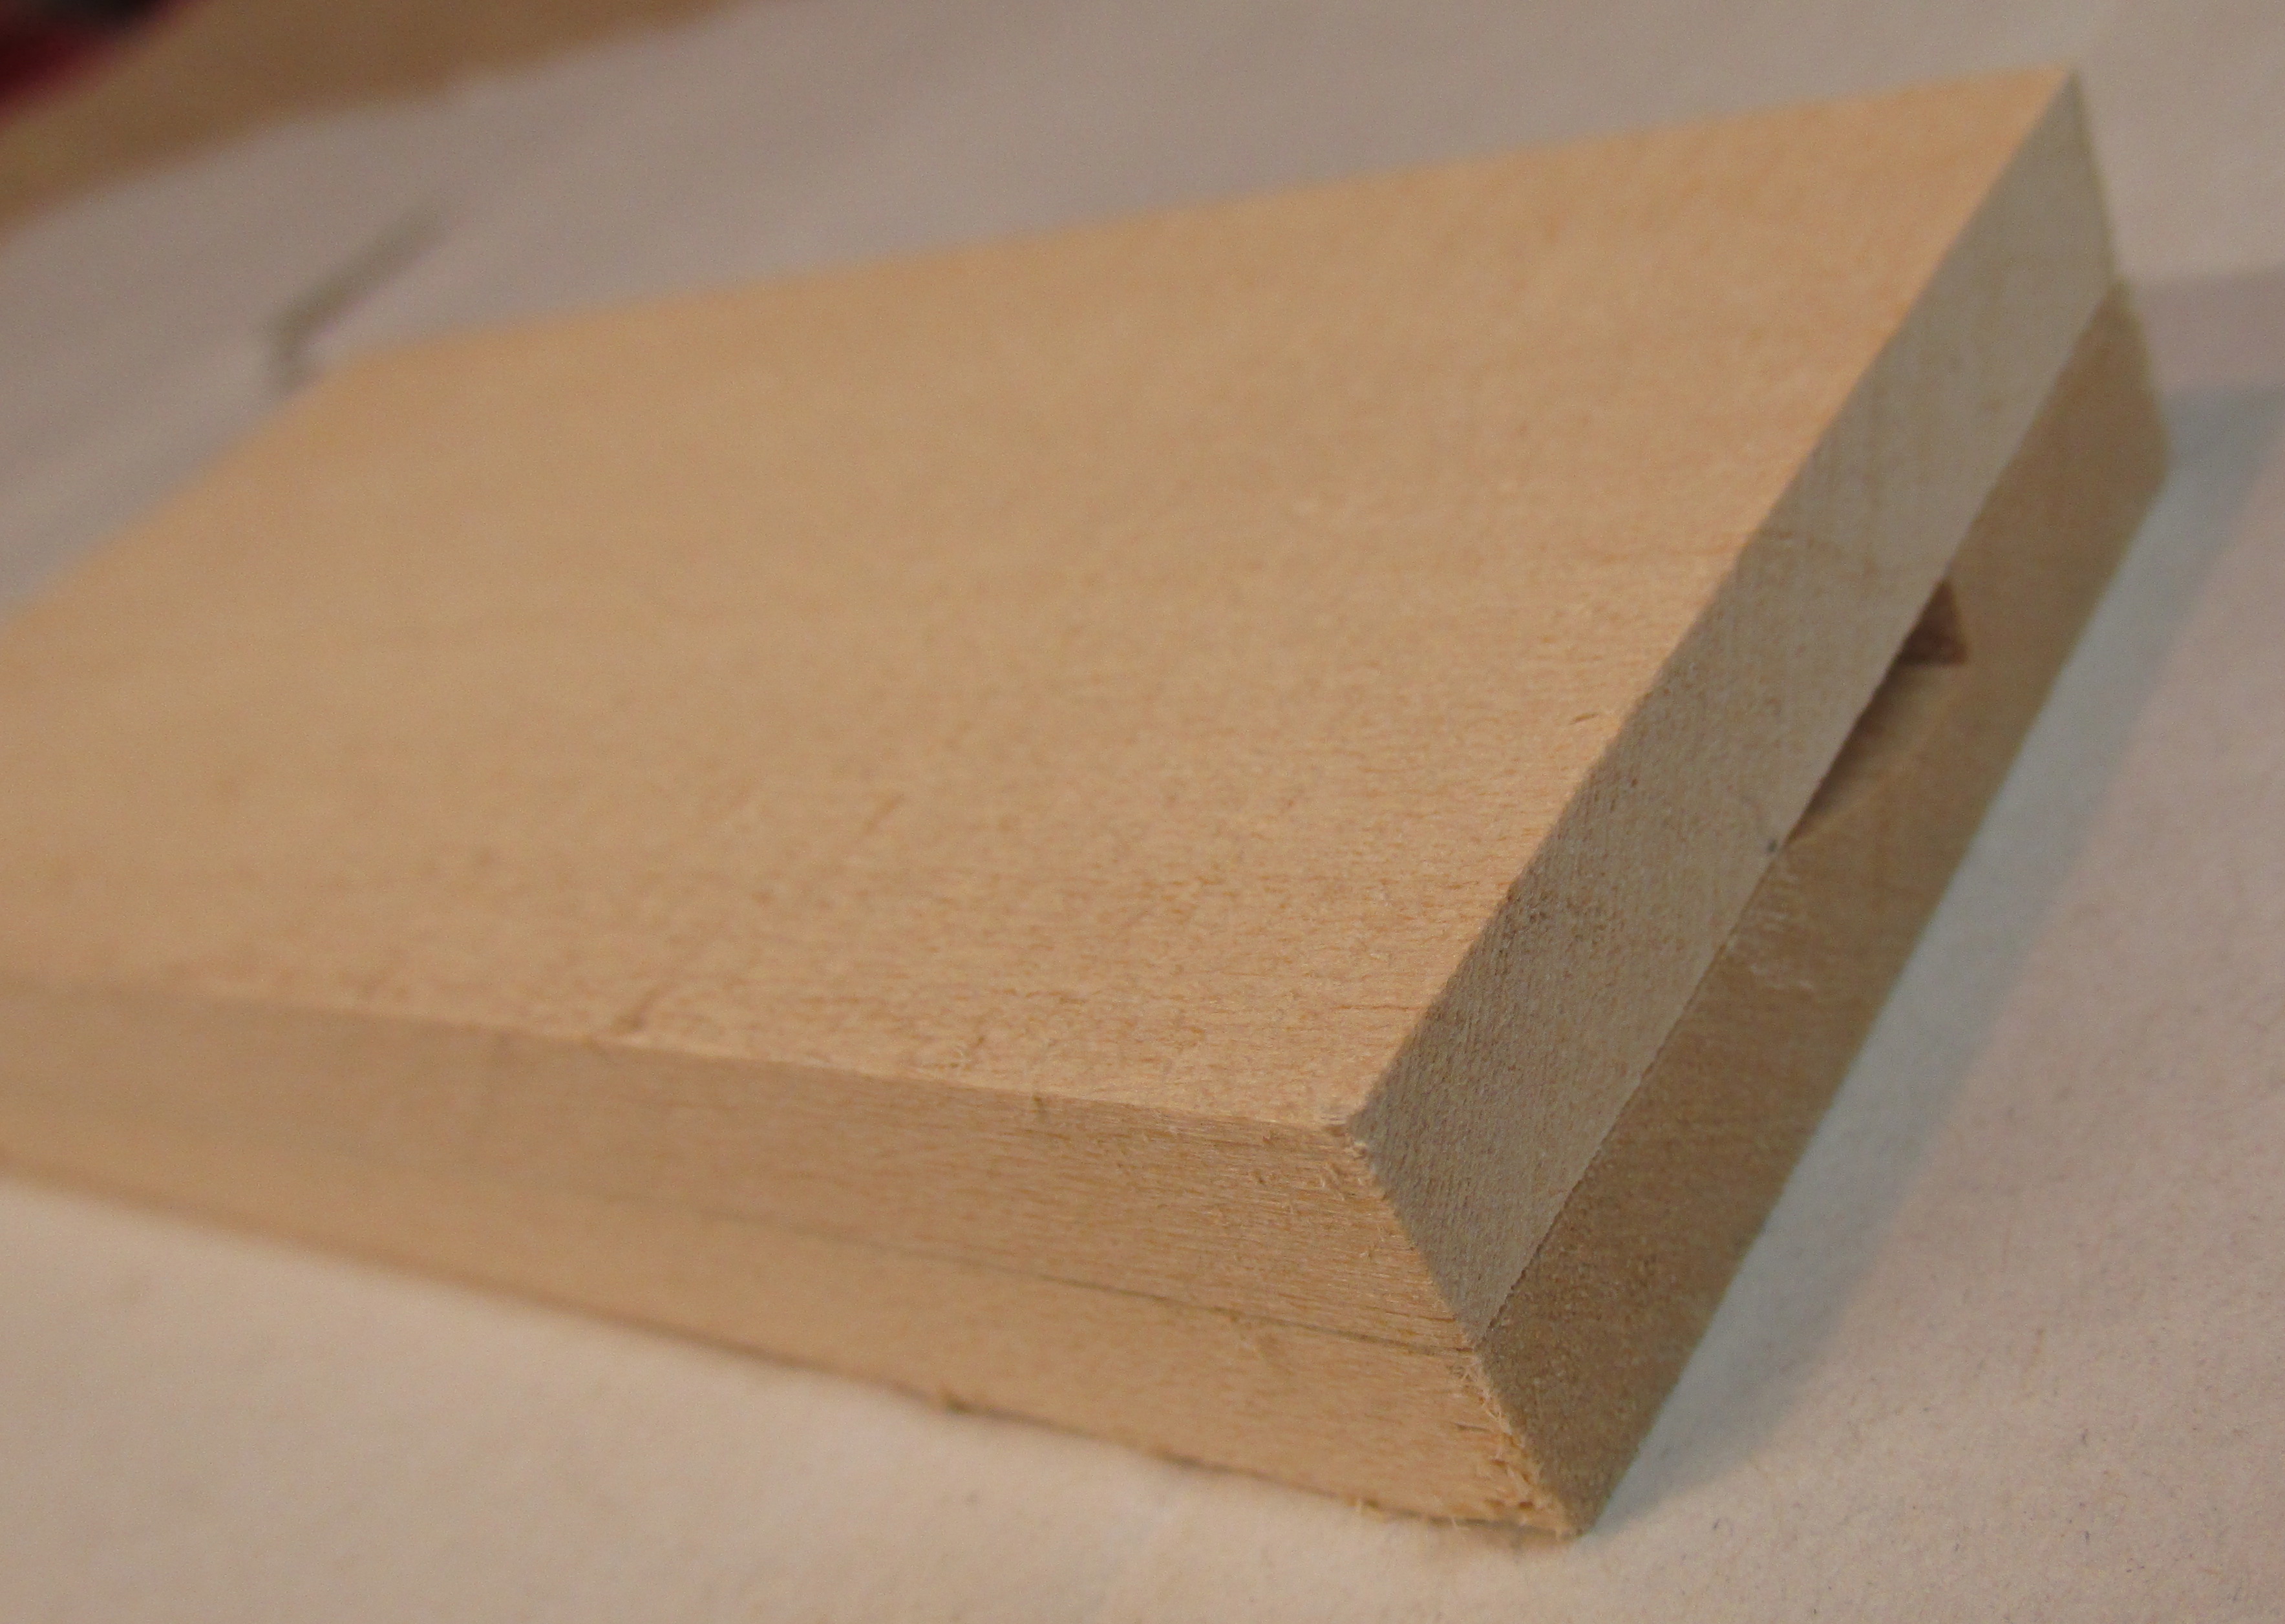
I started with two scraps of basswood 2 1/4 by 5 3/4 inches (58mm by 122mm). The pieces were about 3/8 inches (9mm) thick. Because the blade was extra large, the wood was large, too. I added the extra inches to the length to allow more room for creativity. The surfaces that will be glued should be smooth and flat so no gaps occur.

I traced the profile of the blade onto the middle of one piece of wood. Then I used a carving knife to make a “stop” cut just inside the profile lines. A #3 gouge was perfect for relieving the wood inside the “stop” cuts. I tapered the area so the “cutting edge” side was very shallow and the depth of the other side matched the thickness of the back of the blade.

Many test fittings were made before the recess was perfect. Test the progress by placing the blade into the recess and covering it with the second piece of wood. If the second piece rocks on the blade, more wood must be removed. The goal is to have the blade squeezed slightly between the two pieces of wood, specifically at the thickest part of the blade. The final test should be made by clamping the pieces together as if they were glued. Insert the blade into the opening; too tight and the force required to remove the blade may cause an accident, too loose and the cover could fall off or become loose after sharpening several times.
Carefully spread a thin coat of wood glue on the surface with the recess. Because the glue may squeeze into the recessed area, don’t spread glue too close to it. Clamp the two pieces. Before the glue dries, insert the blade and remove it immediately. Check for glue on the blade. CAREFULLY remove any glue and repeat this step until no glue appears on the blade. Allow the glue to dry. Do NOT leave the blade in the cover while the glue drys.


Before adding your design, you have to reserve the area that contains the blade. Position the blade on the outside surface of the wood by aligning it with the opening. Once again trace the blade profile onto the wood. Because my design was the same on both sides of the cover, I just did my sketch on one side. Make sure your design does not come too close the the profile line. You can remove the scrap with a scroll saw, band saw or simply carve it away. Please don’t leave the knife in the cover while you shape the cover.
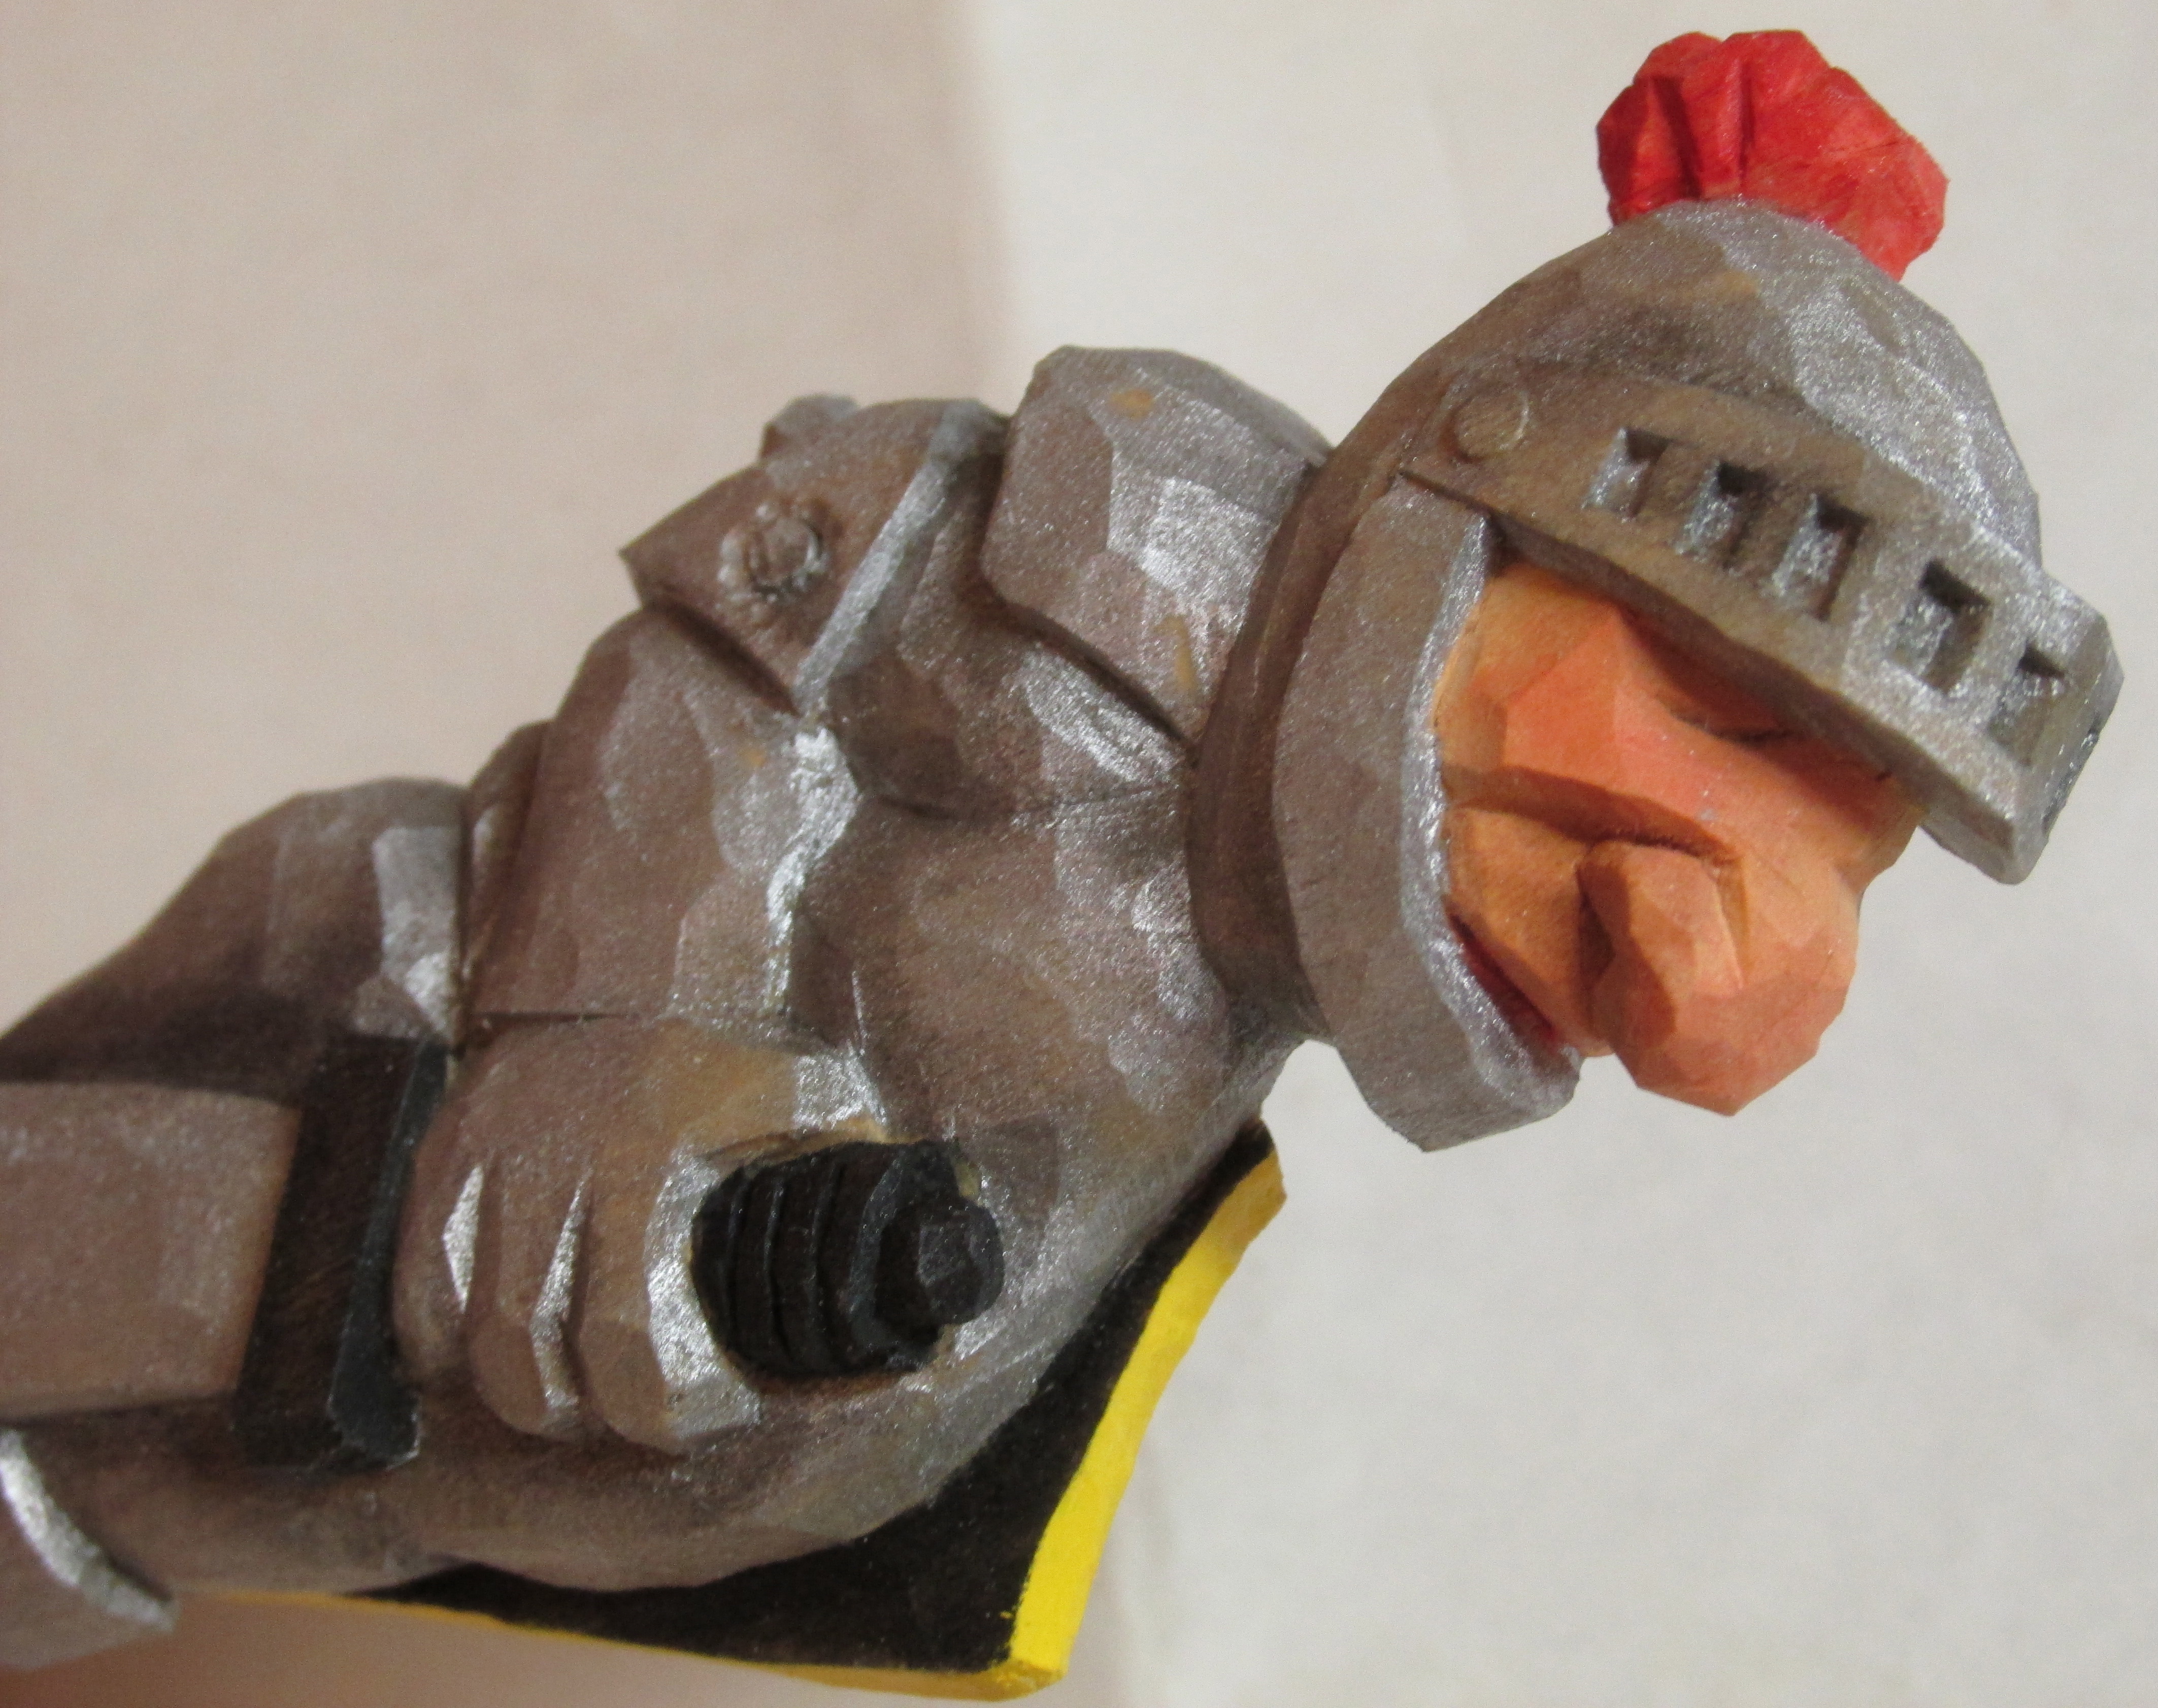
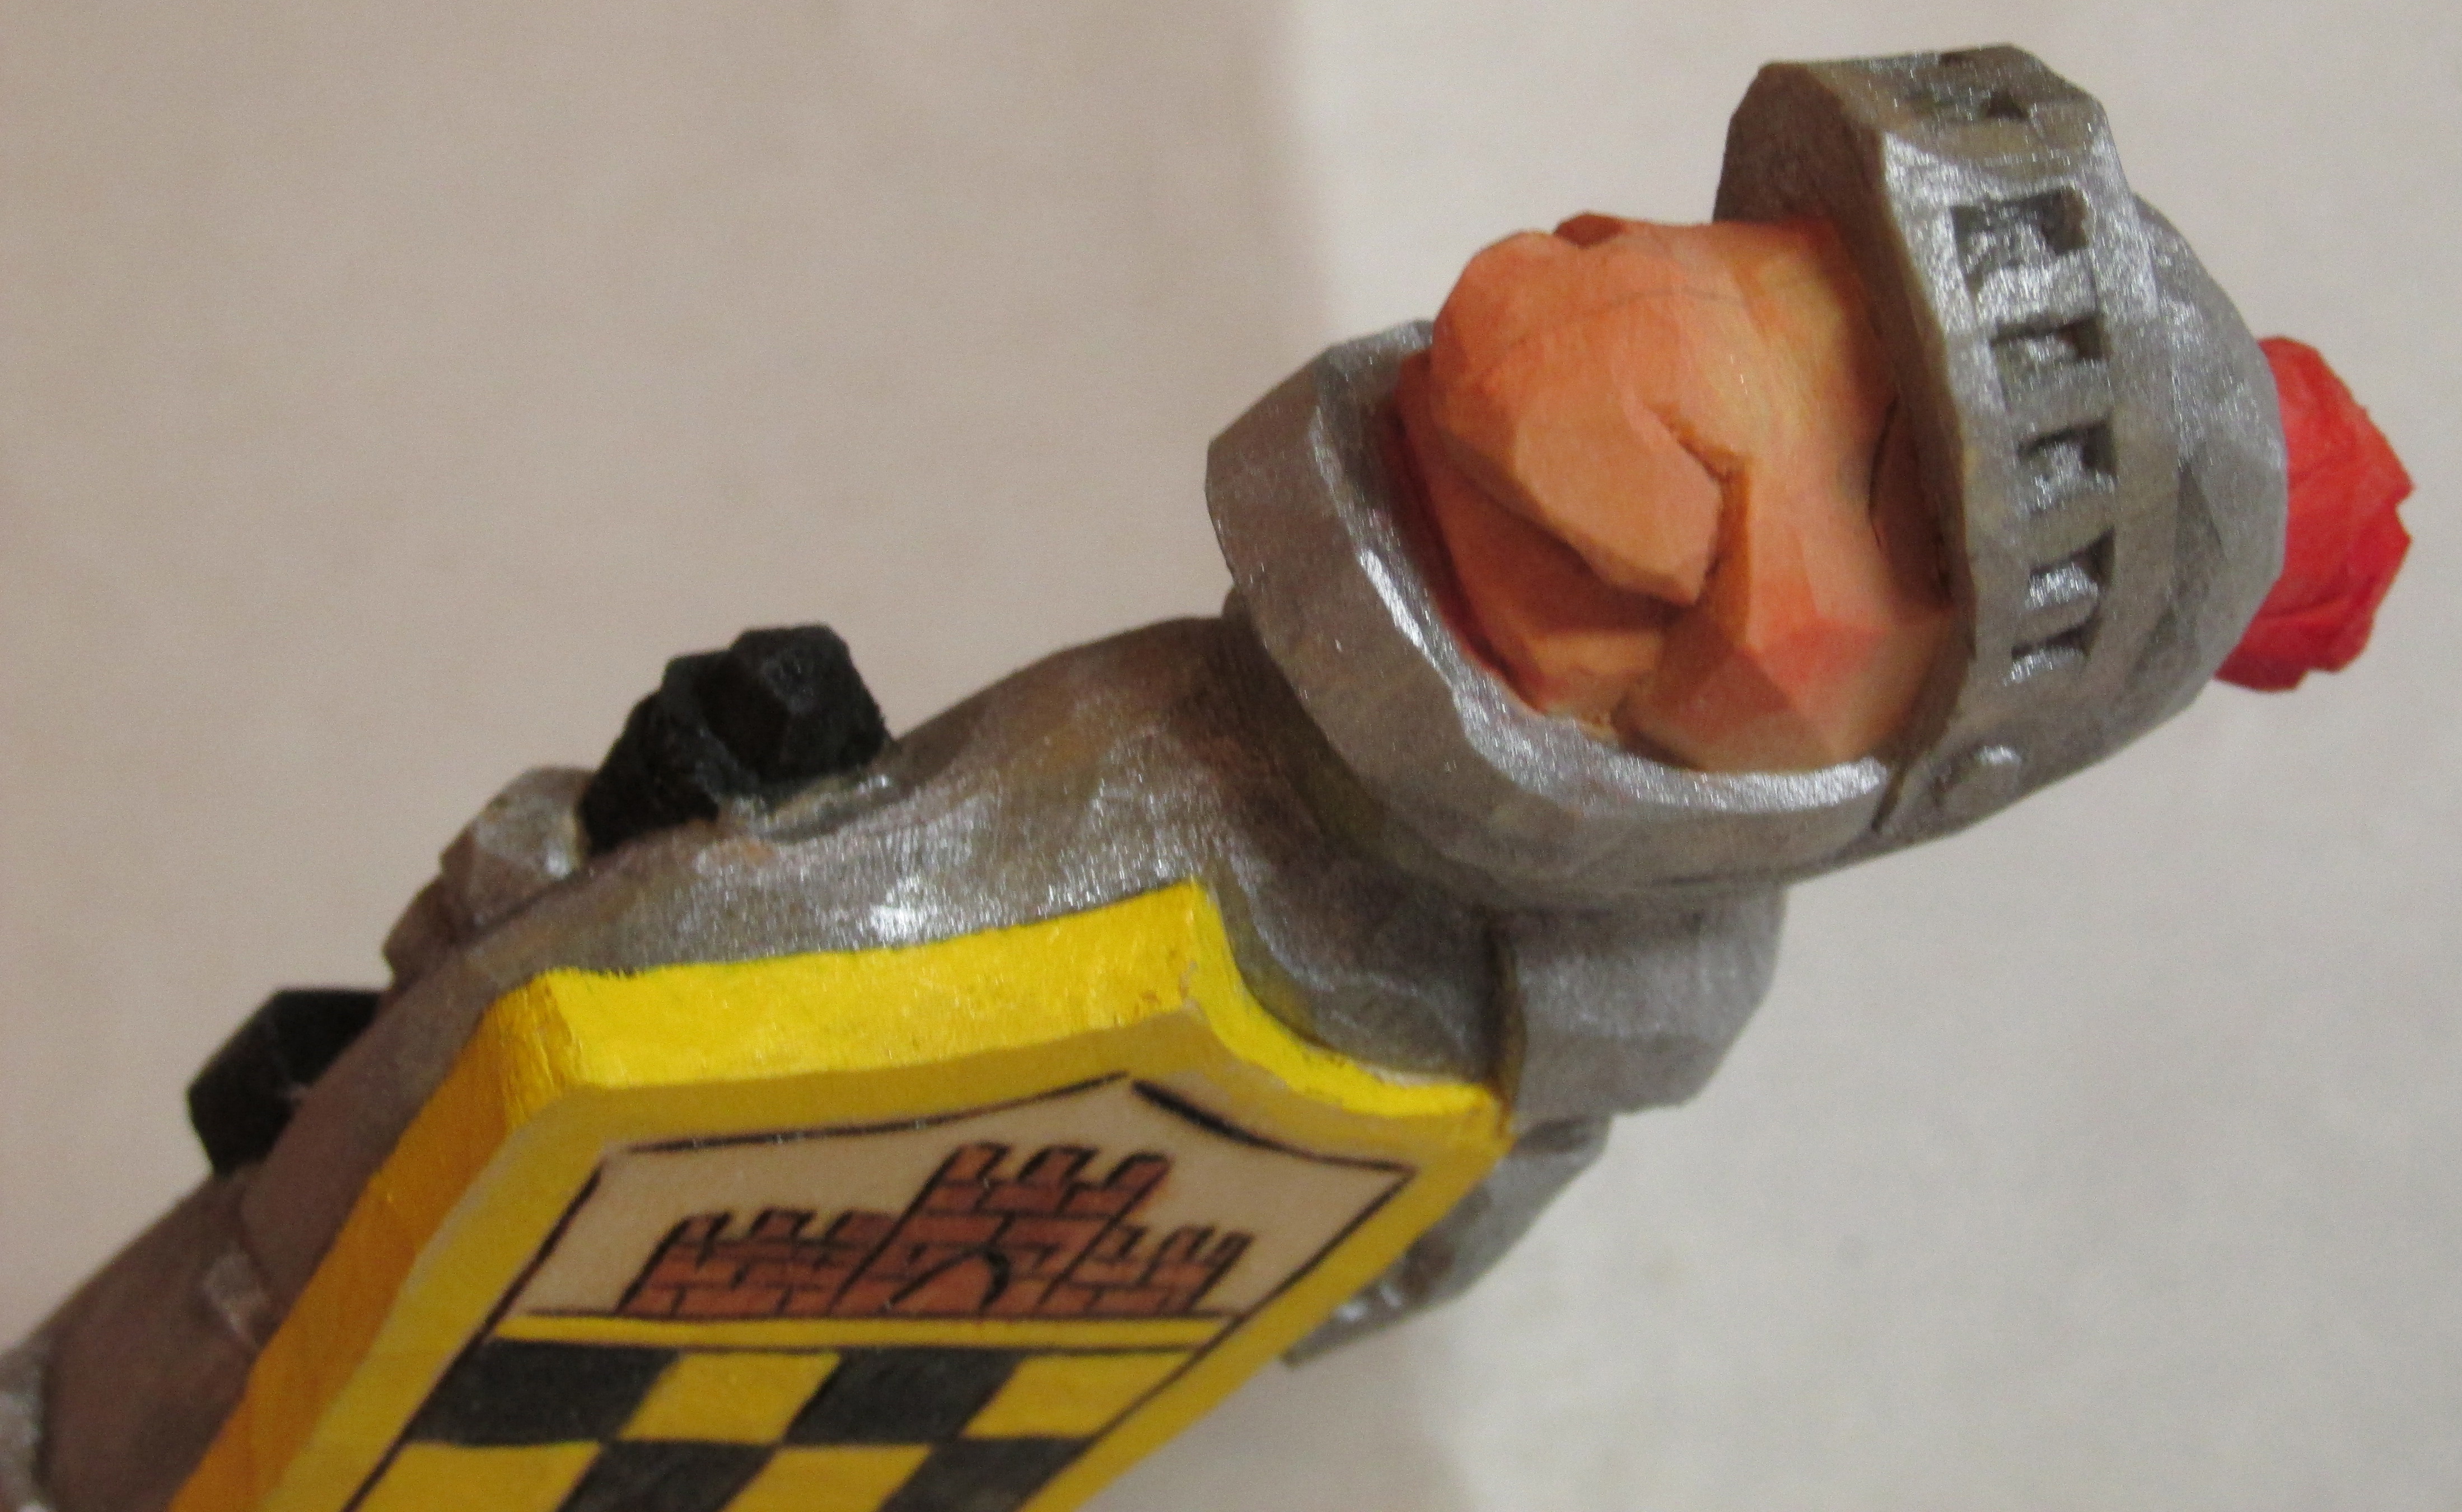
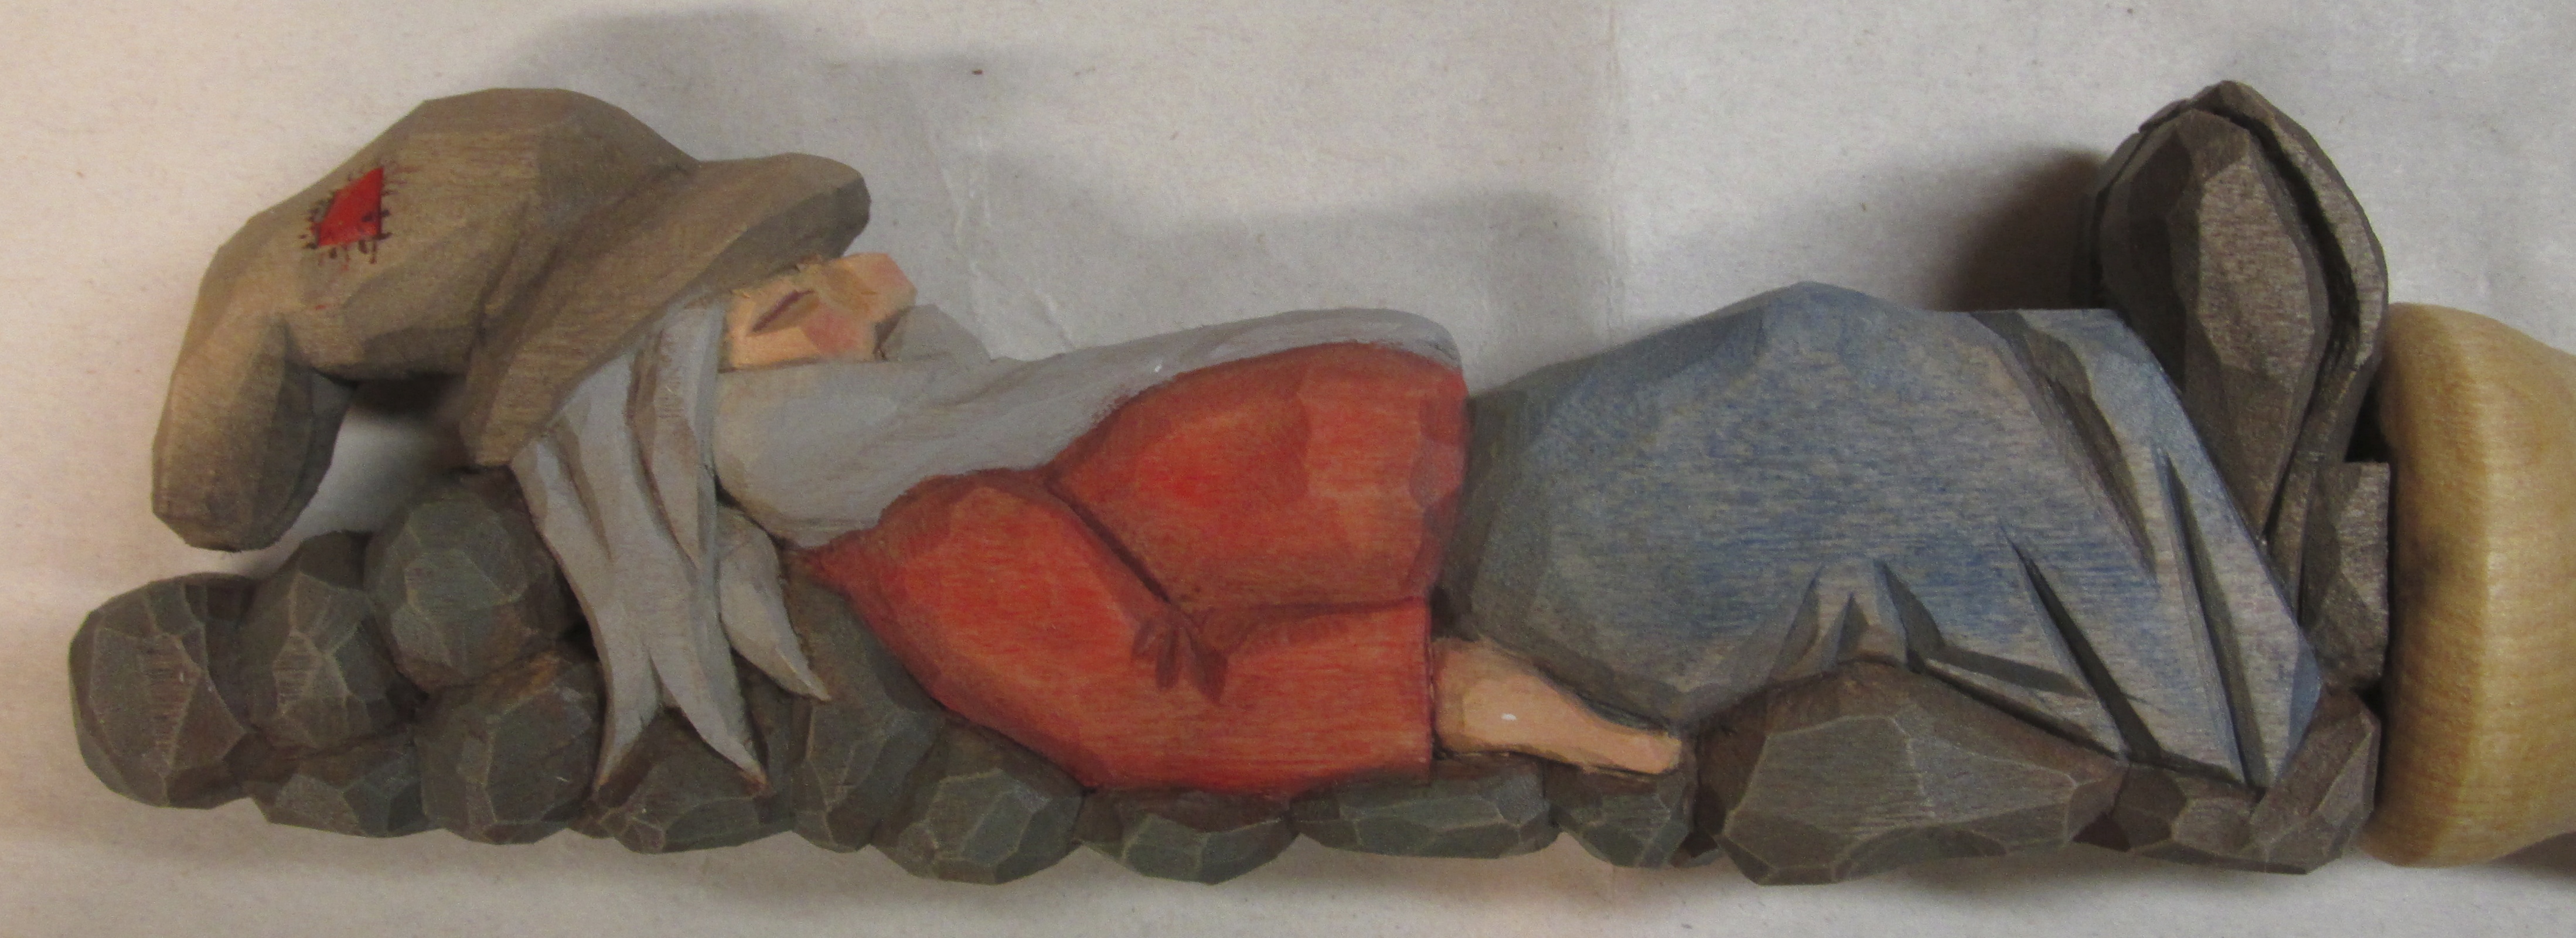
I’ll point out a couple of design considerations I used for my cover. I wanted a “push point” in my design so it was more natural to hold the knife with the sharp edge downward and the thumb could push the cover to loosen it. I created this with the boot on the figure. Of course the obvious position of the figure suggests the sharp edge is toward it’s bottom. The other precaution I took was to protect the hat on the figure. Because of it’s shape, and it’s location at the end of the cover, I wanted to add some protection. I used the extra length of the wood to carve some stones that would more than likely receive the impact from a fall.
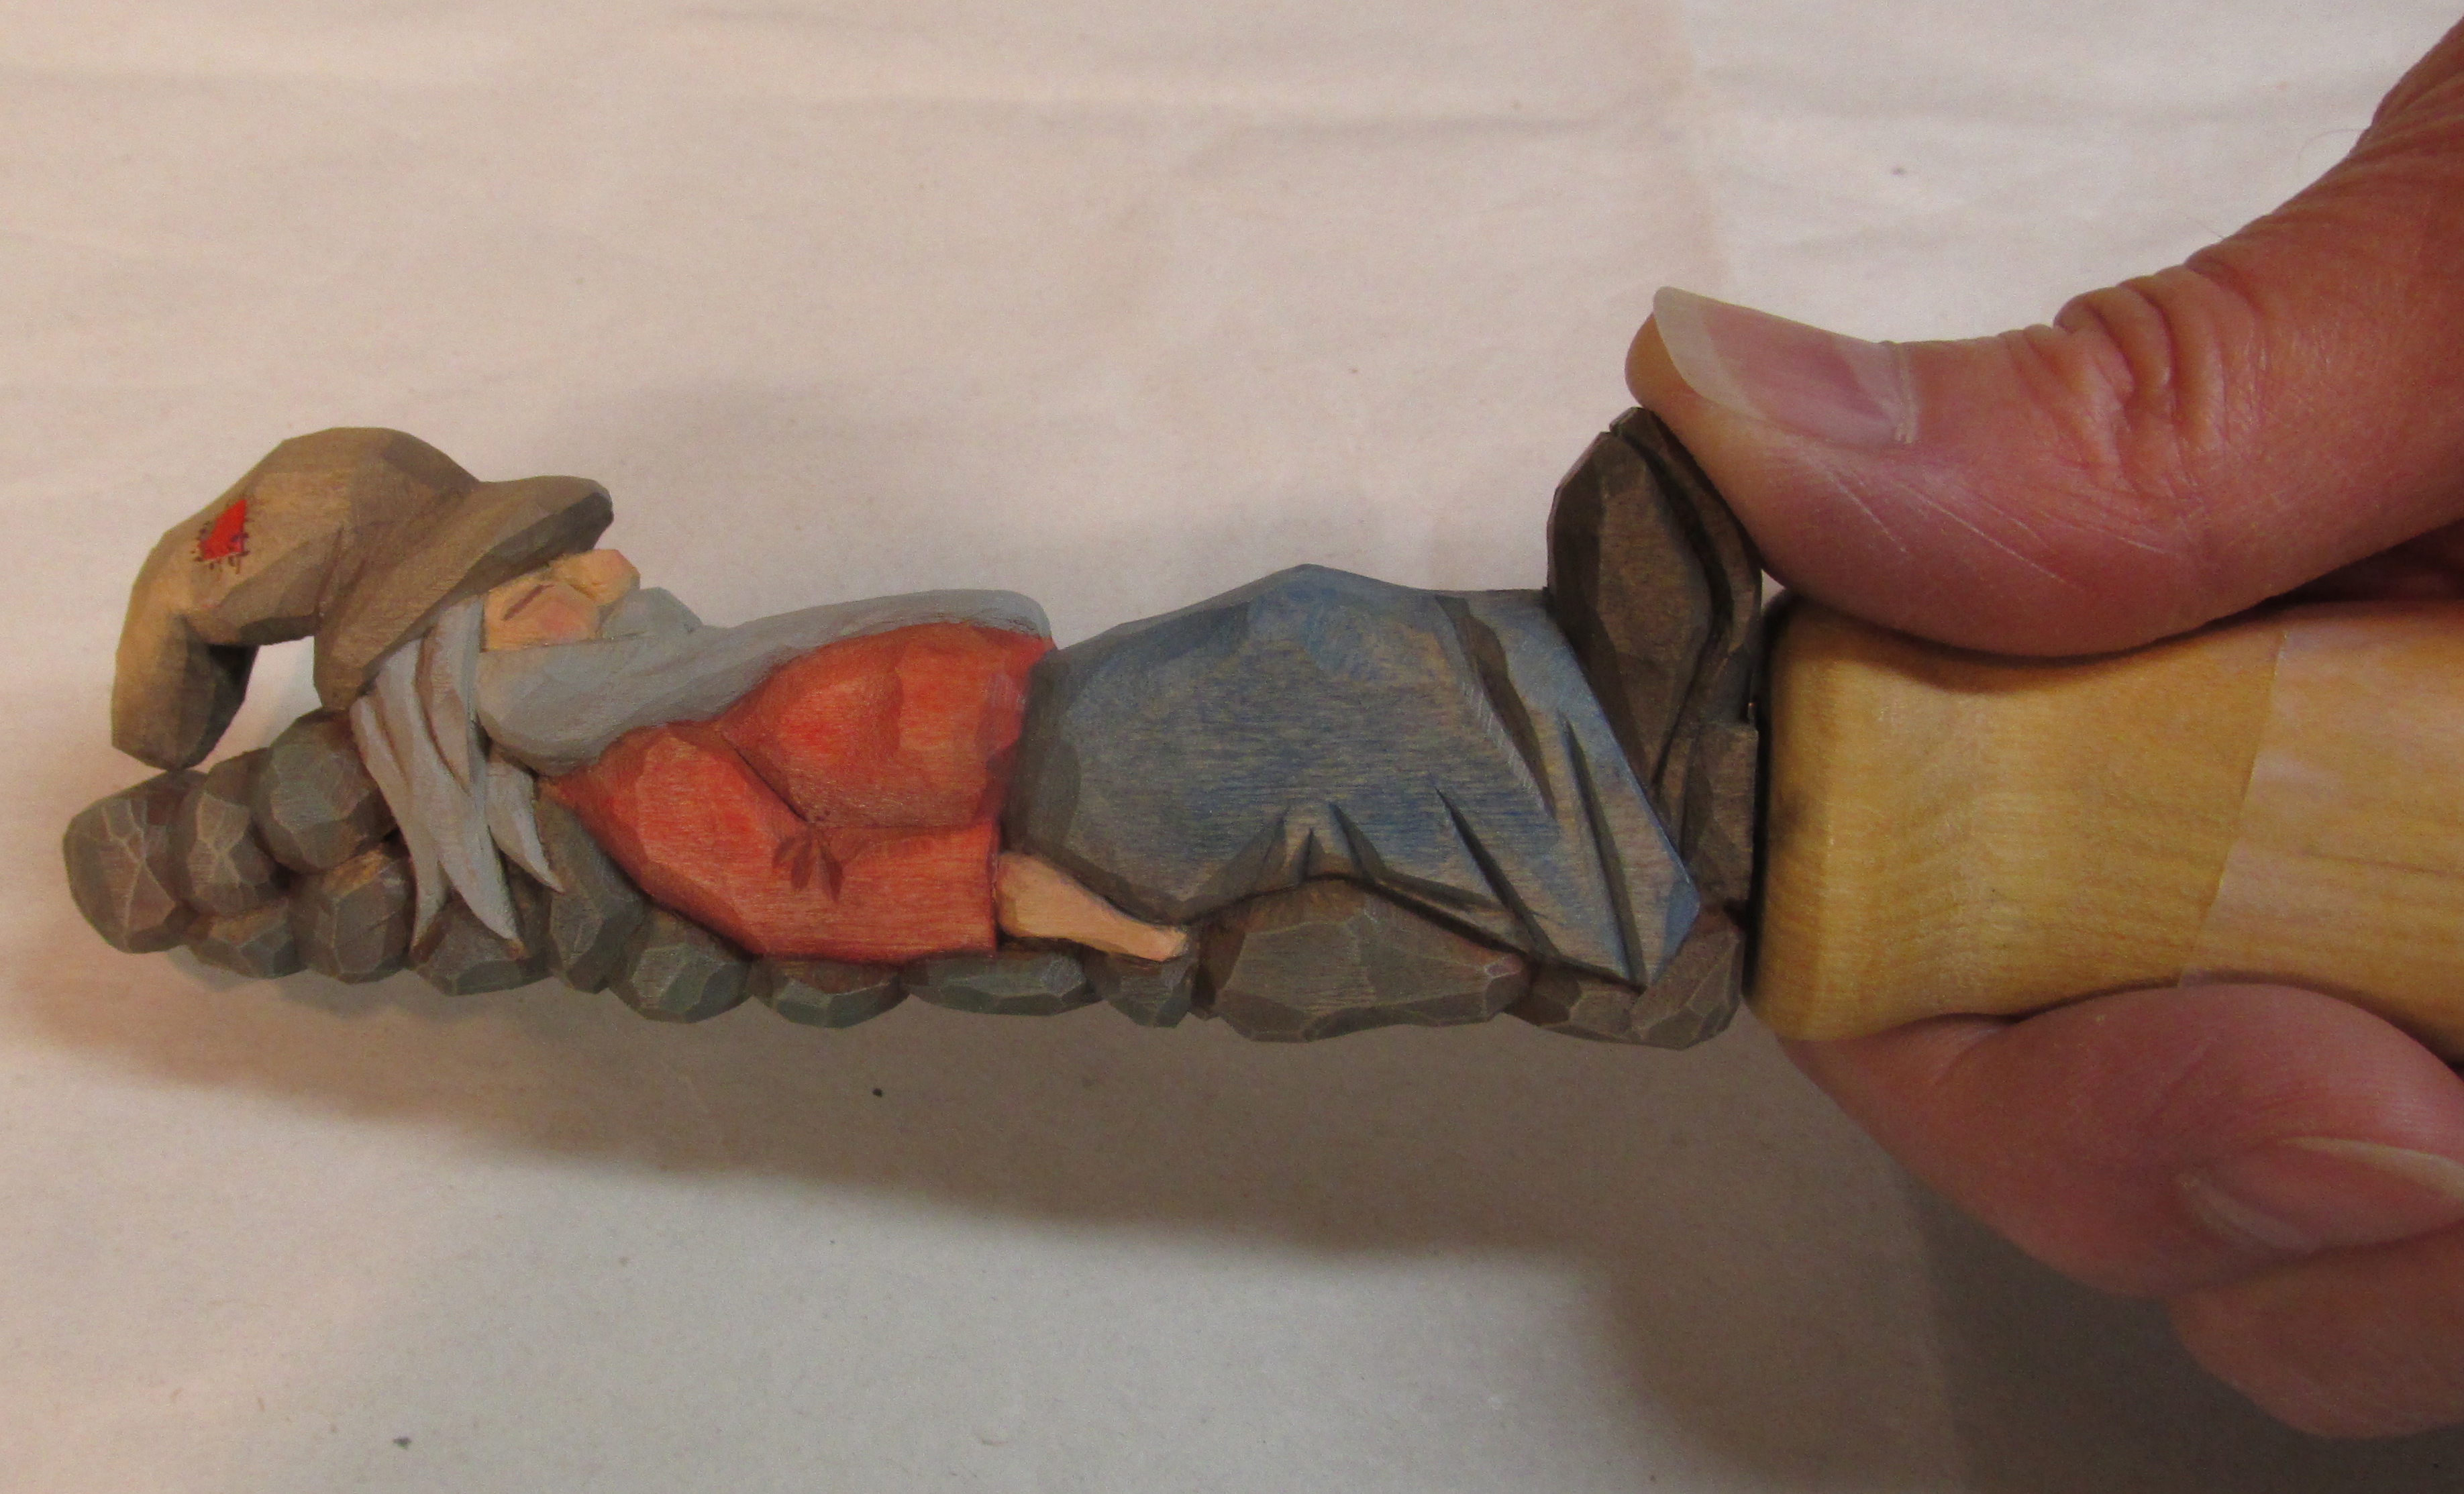
Someone asked me why the figure is lying on stones. Must be for drainage.


Here are a few more examples of wooden knife covers.

I hope you understood this and are able to put it to good use.
