Earlier this year I received a box of potatowood samples. I’ve shared several with friends to get their evaluations of the material. Only one person has gotten back to me and that was with positive comments. I finally found the time to use a block of it to carve my second potatowood piece. My inspiration came from our vacation trip this summer. We spent several days in Rome so I wanted to carve a Roman solider. I purchased a figurine while in Rome but an exact duplicate in potatowood was not possible because my samples were too small. I made a pattern and reduced it to fit. Because of the smaller size and the nature of the material, I was forced to omit some of the fine details from the original. Even so, I think the resulting piece satisfies the intent. Here are my pictures of the progress.

Here’s the original block of potatowood. It is orange and actually smells like an orange. I resisted the temptation to eat the chips.

I made front and side view patterns to fit the block.

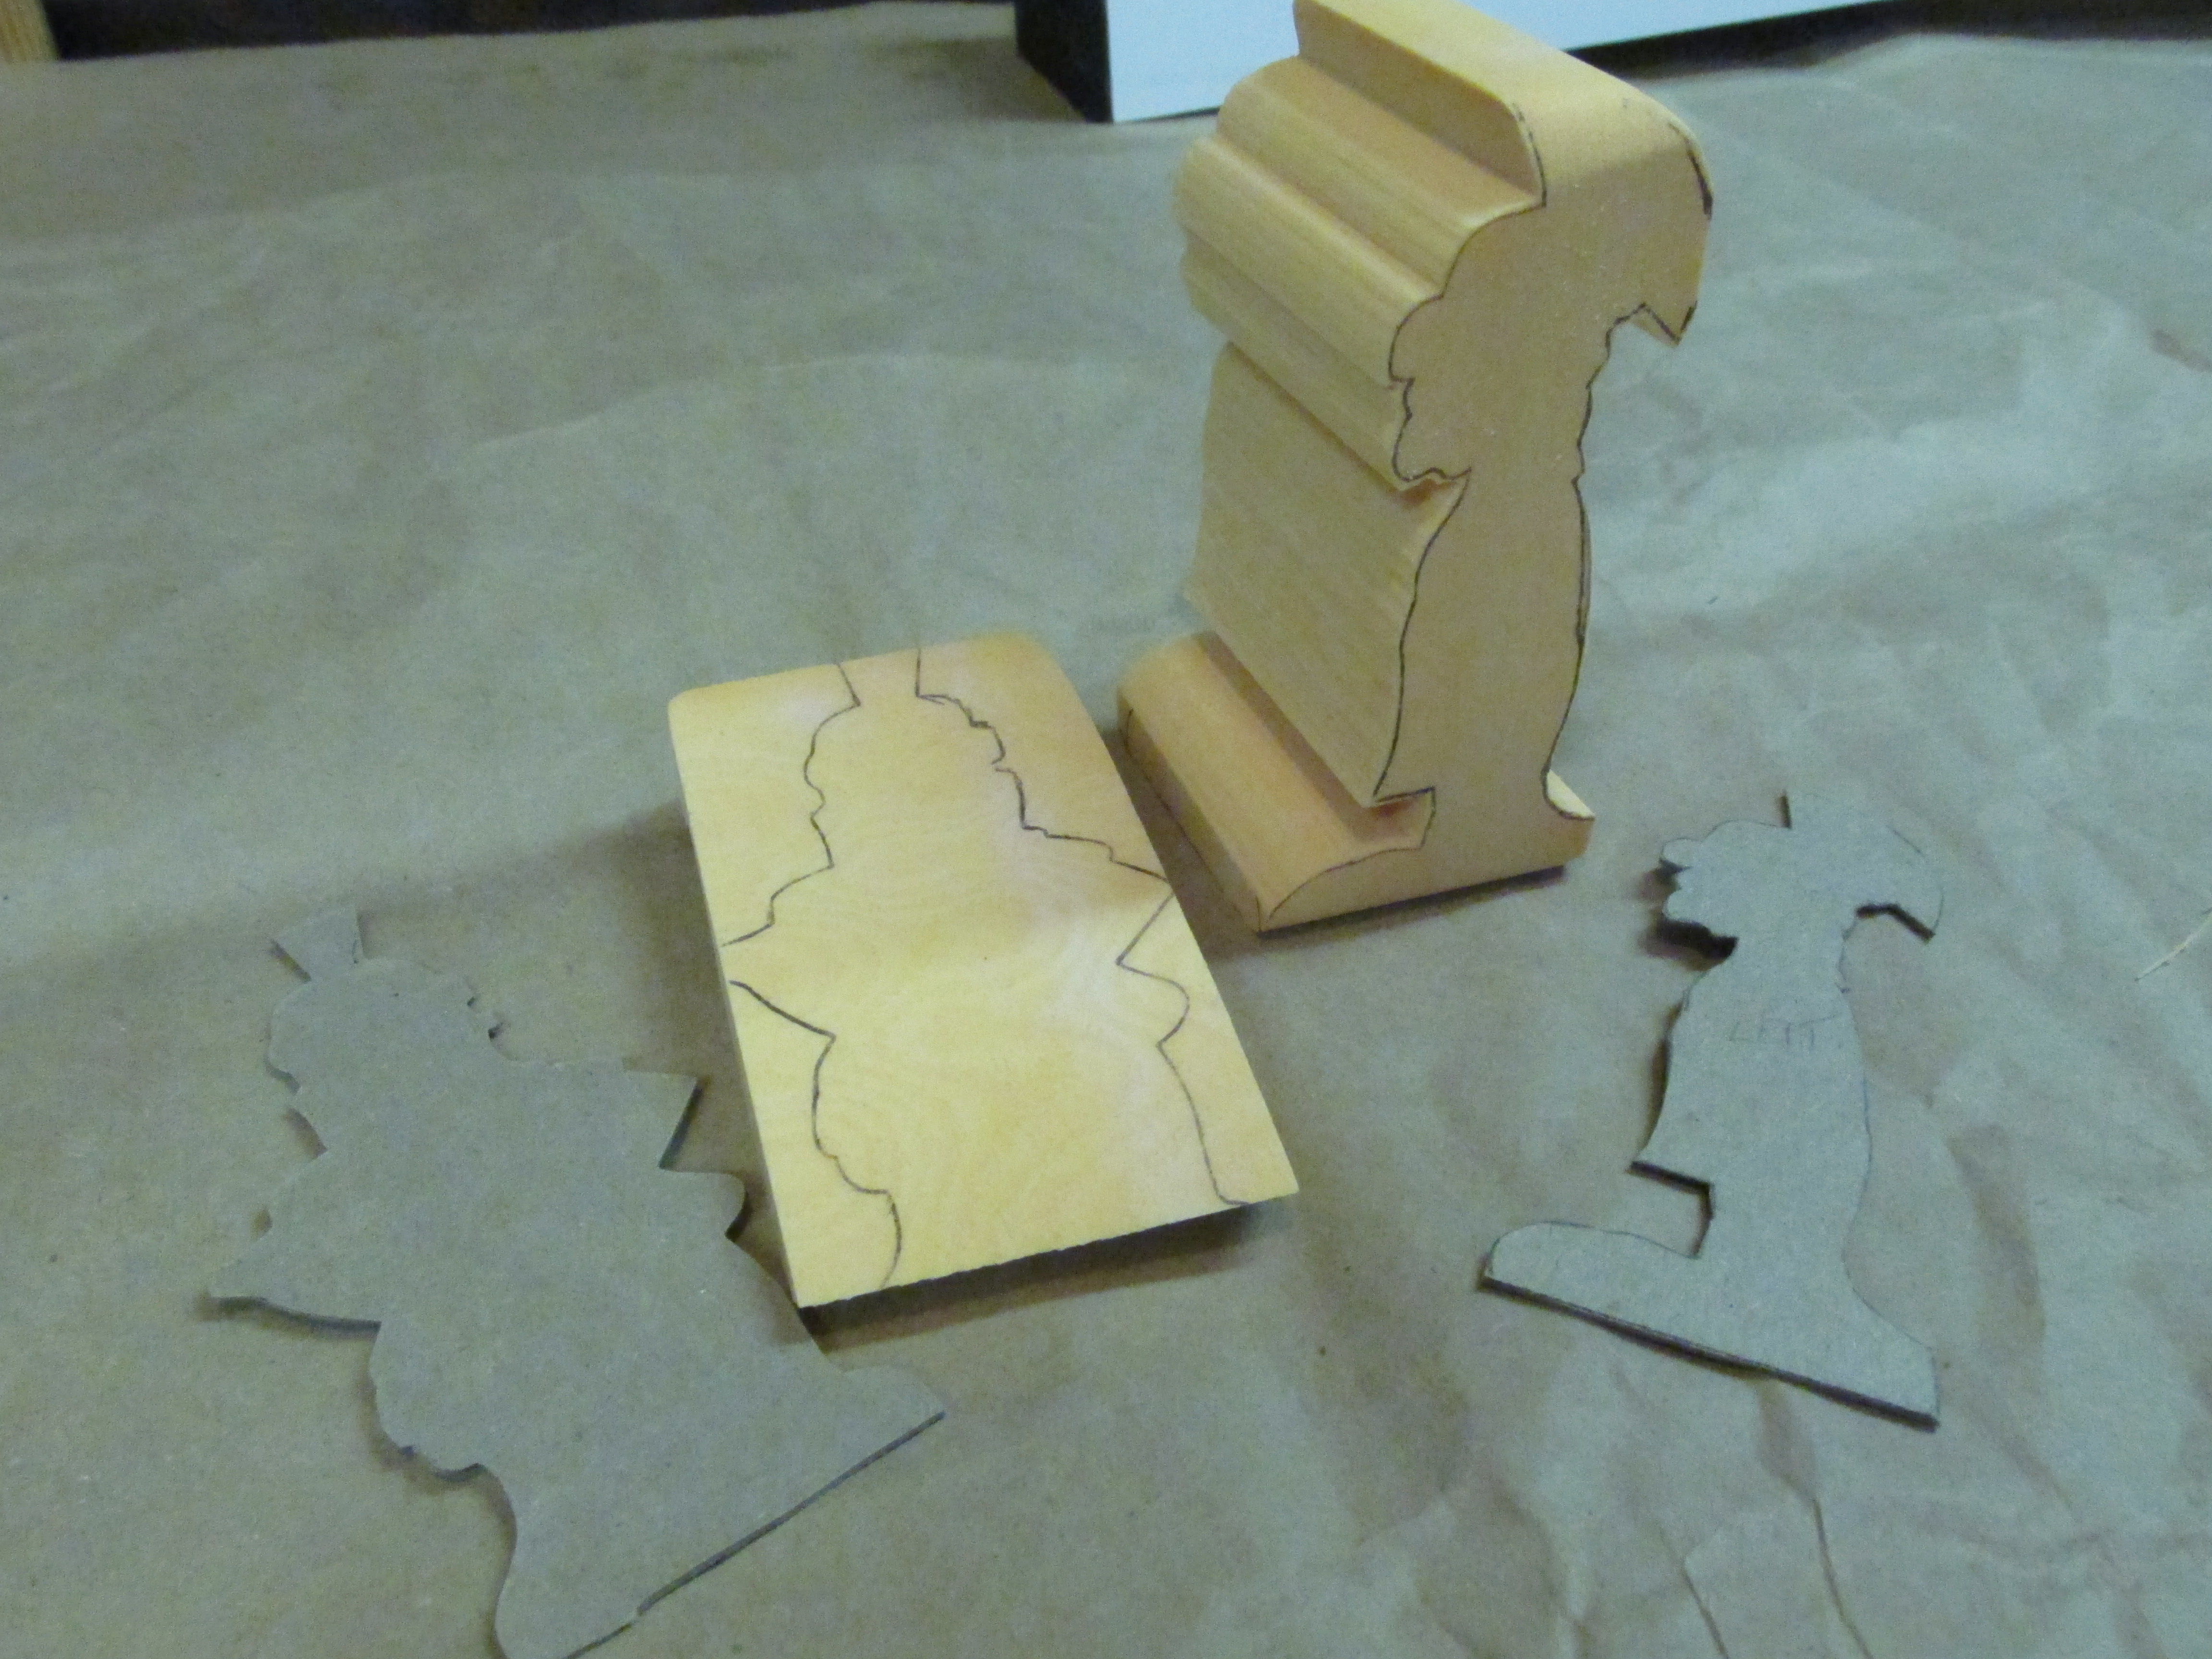
After the pattern was transferred, I used the bandsaw to cut the side view. The back of the side view retained the original surface at the bottom (where the cape would fall behind the feet) and near the top at the helmet crest. This allowed the block to remain flat on the bandsaw table while I cut the front view. Note that I retained the original front surface scrap of the block so I could replace it for cutting the front view. I used a small piece of double-sided tape to hold the scrap in place while cutting.

This is the “blank” after cutting the front and side views.

This is the “blank” after cutting the front and side views. The second piece is the scrap.

Here I’ve added some lines for “landmarks” and removed some corners.

Just another view of the “landmarks”.
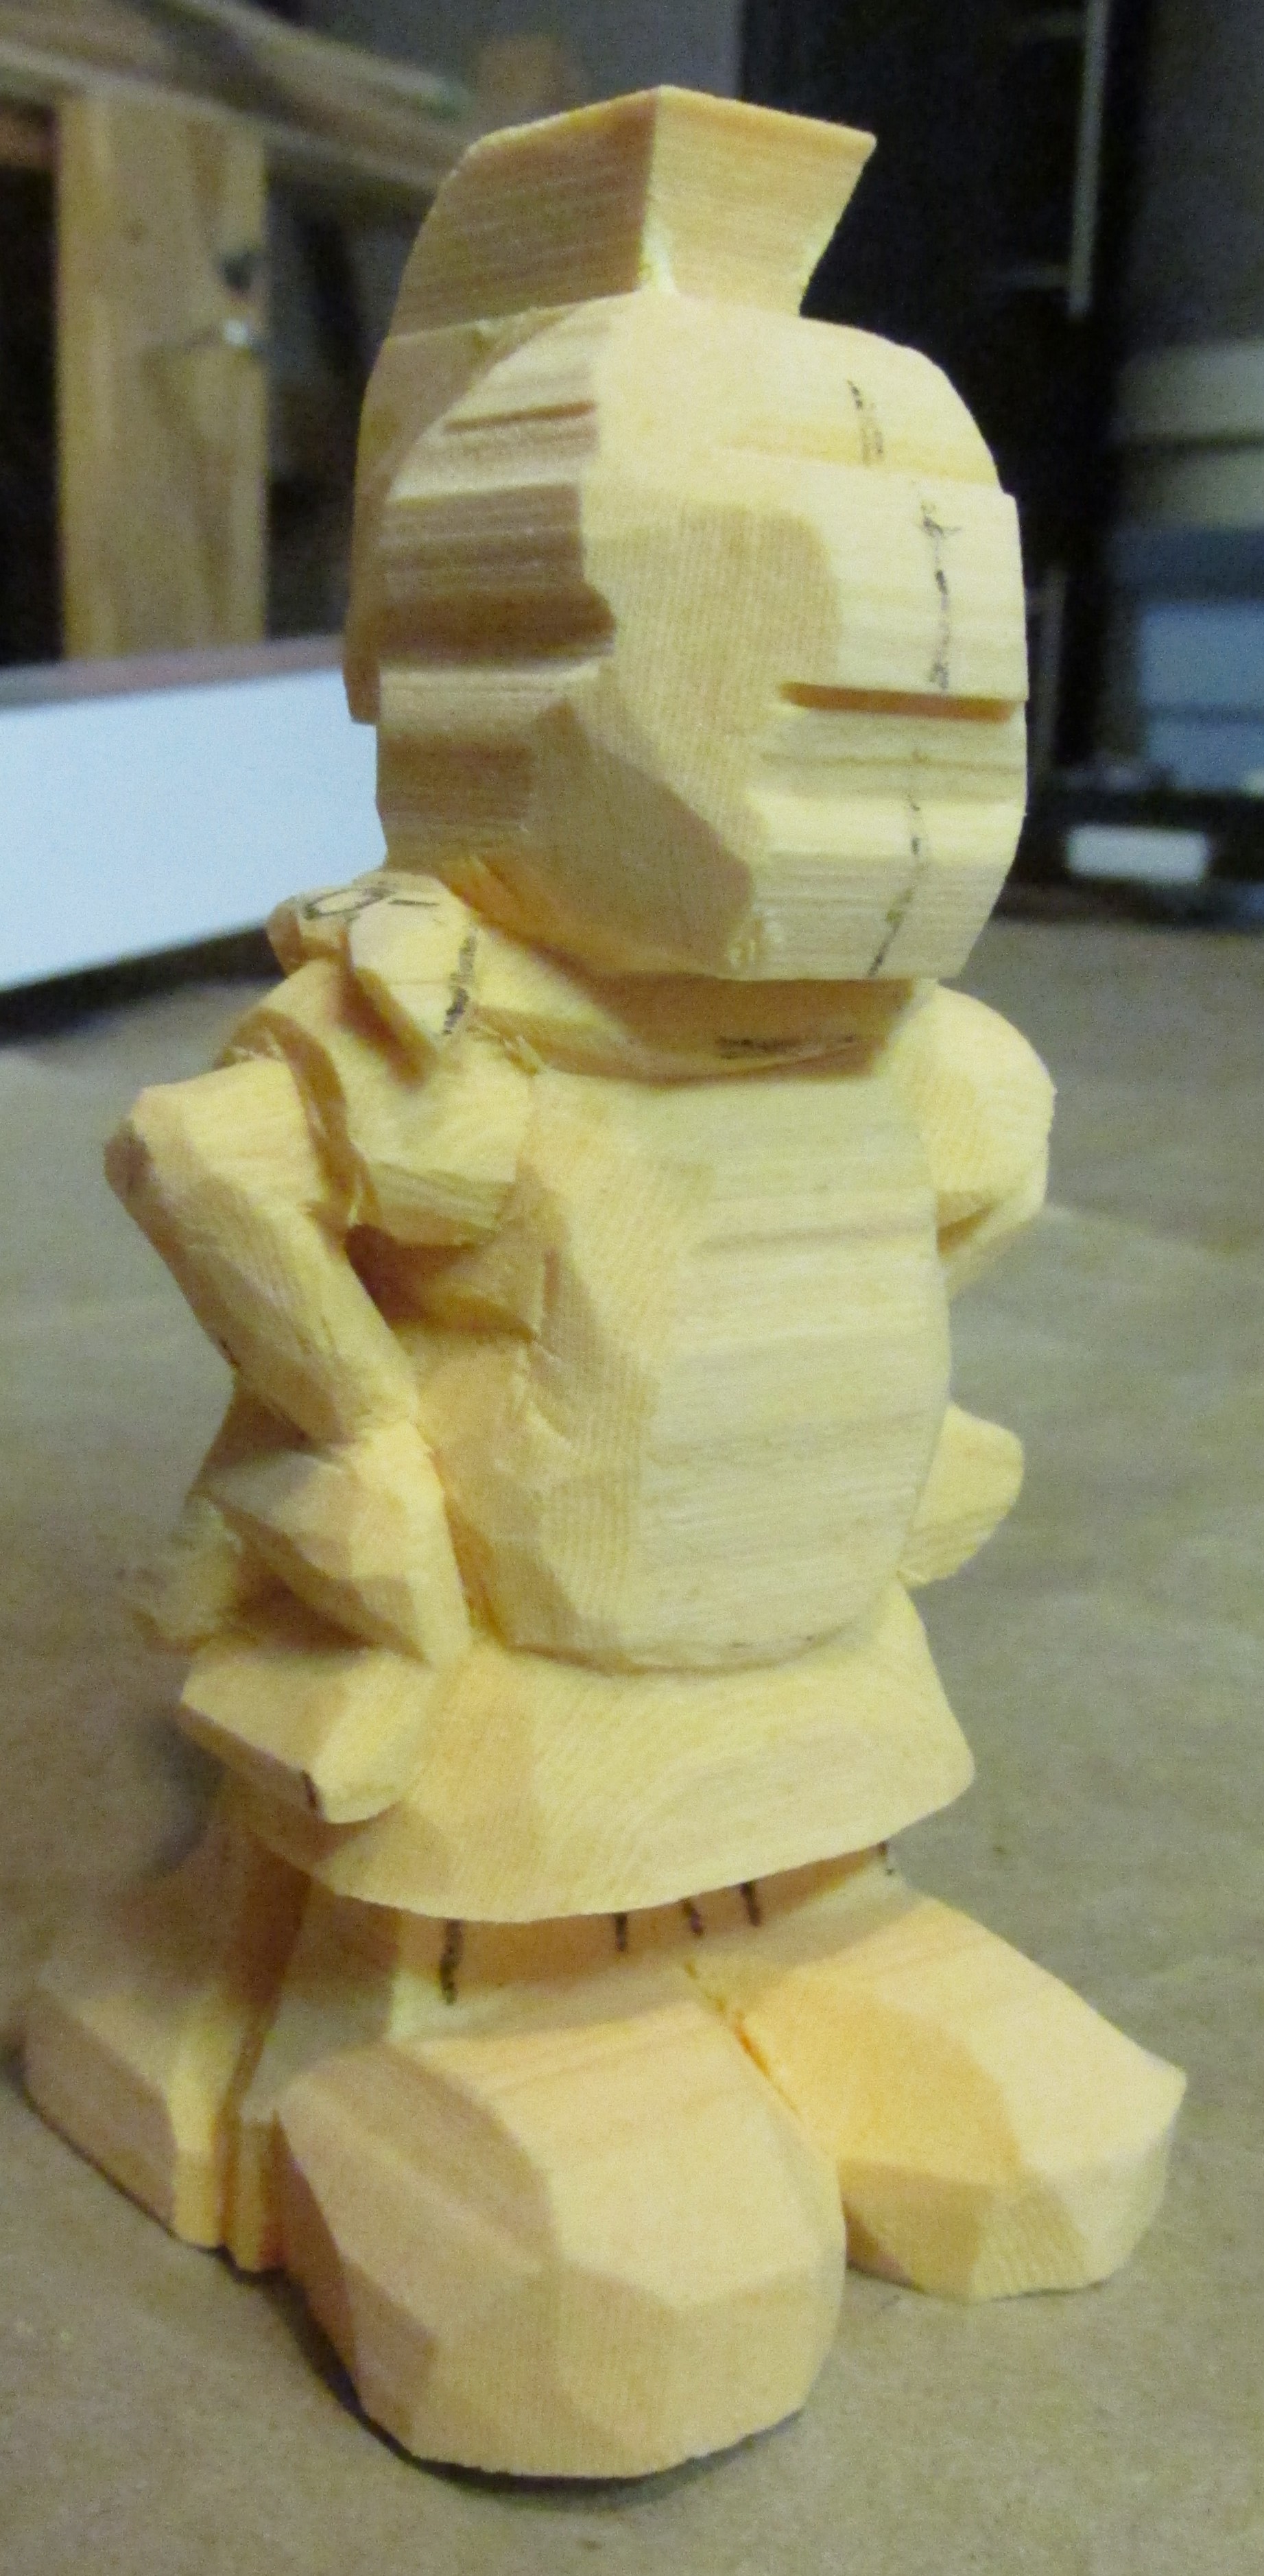
More blocking according the the lines.
More blocking.

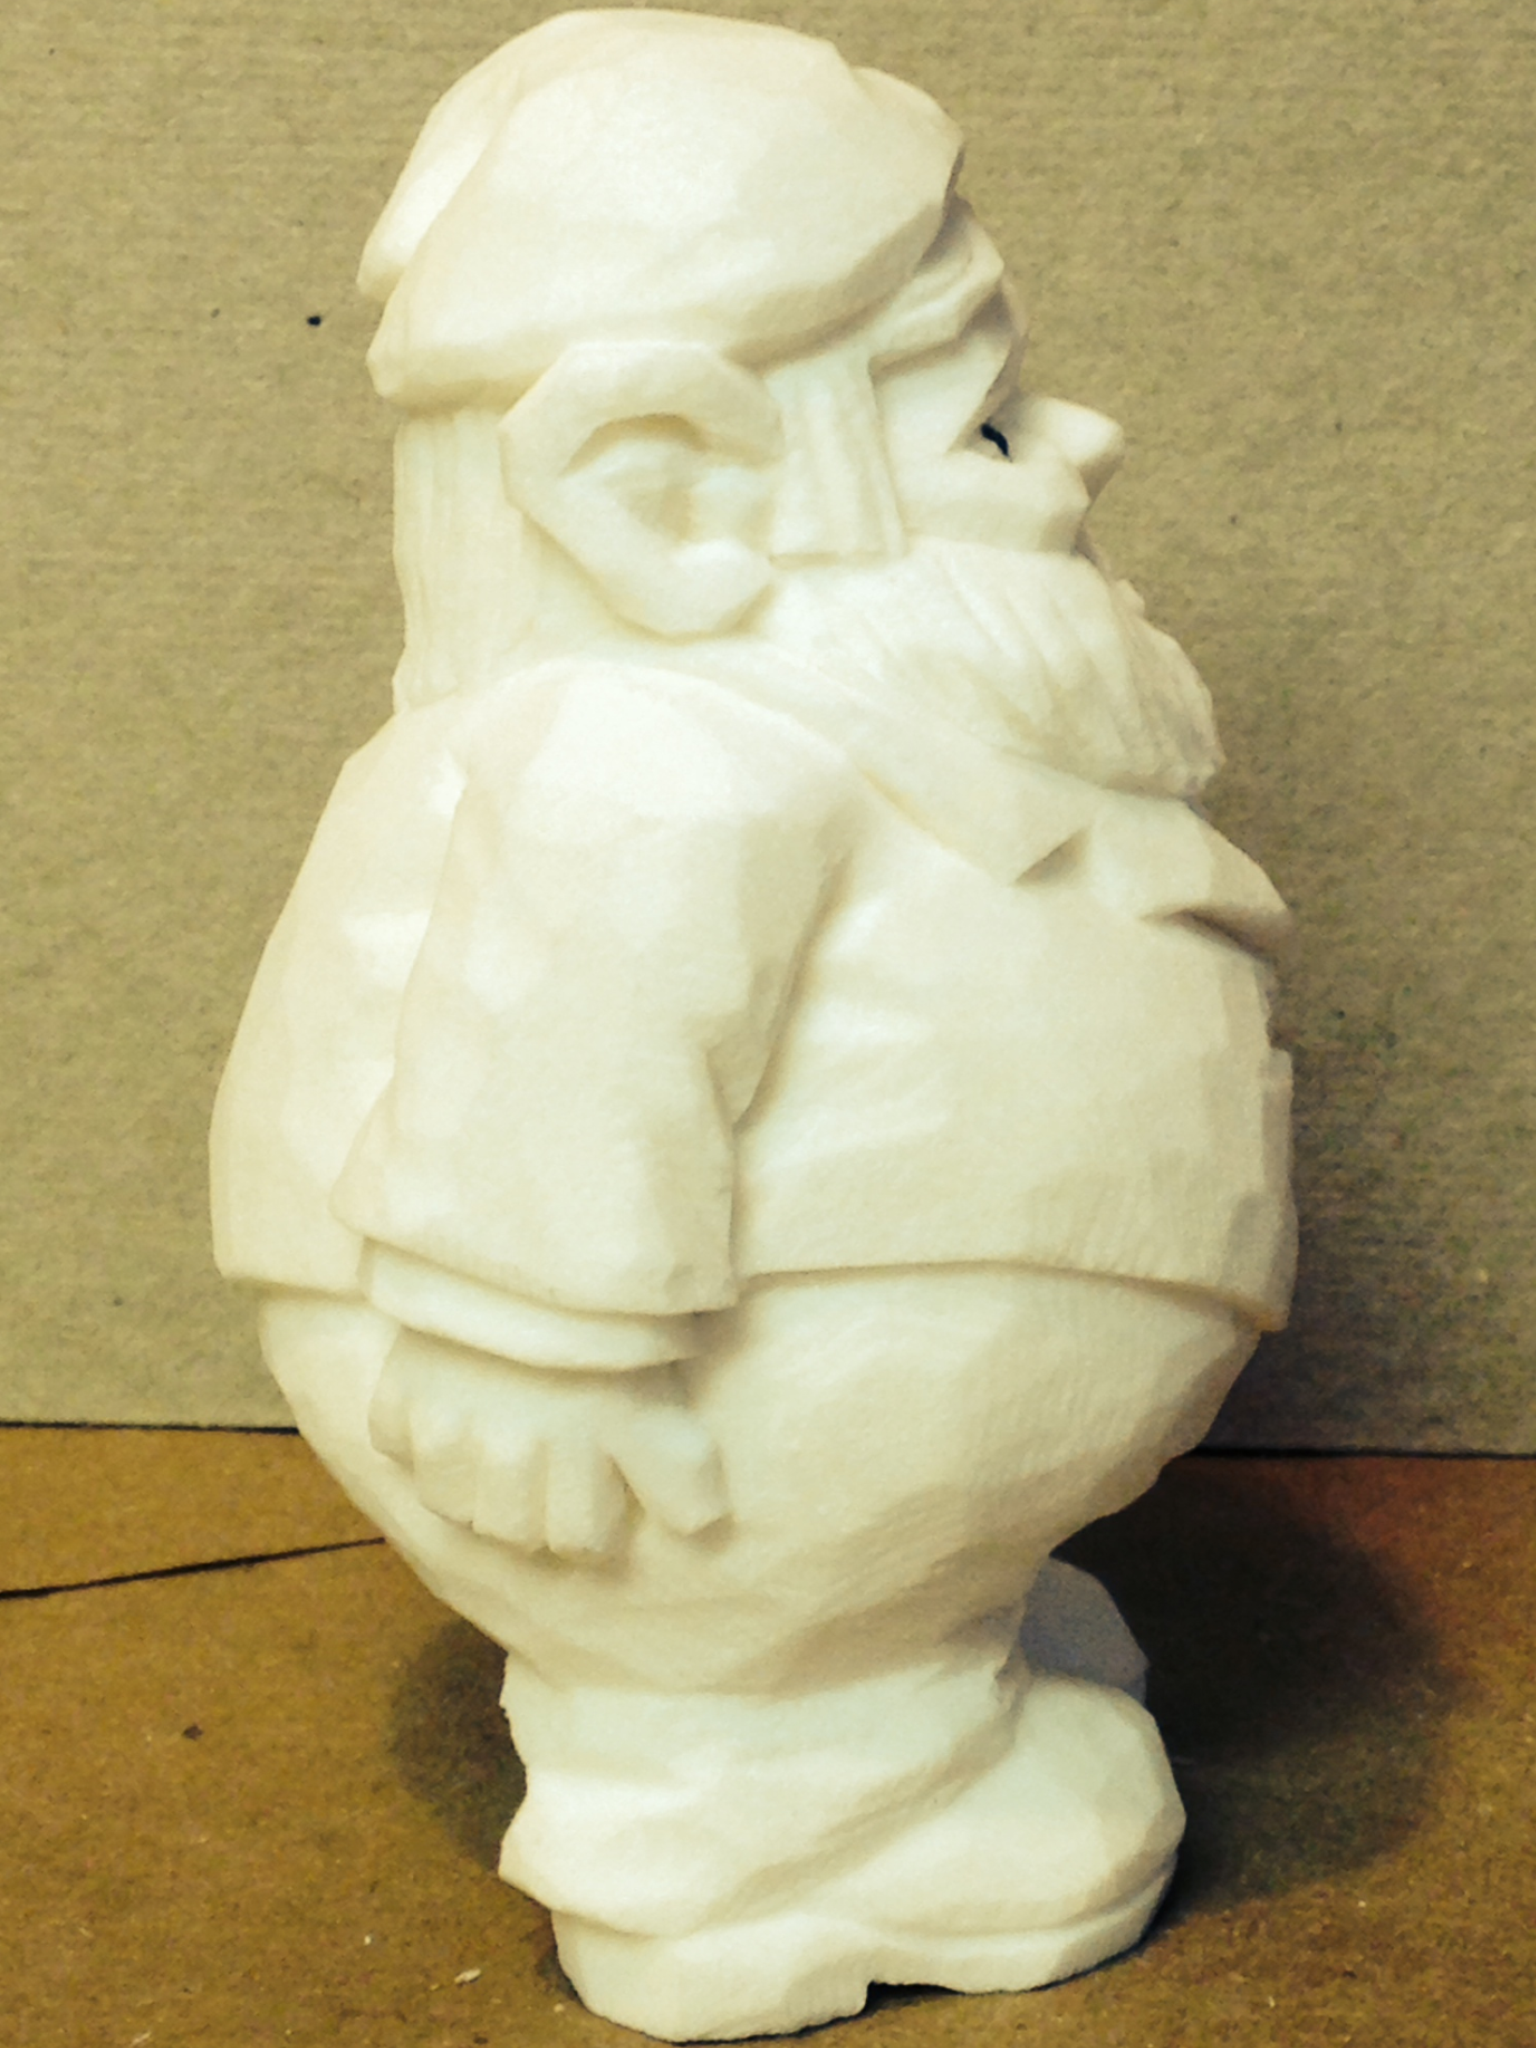
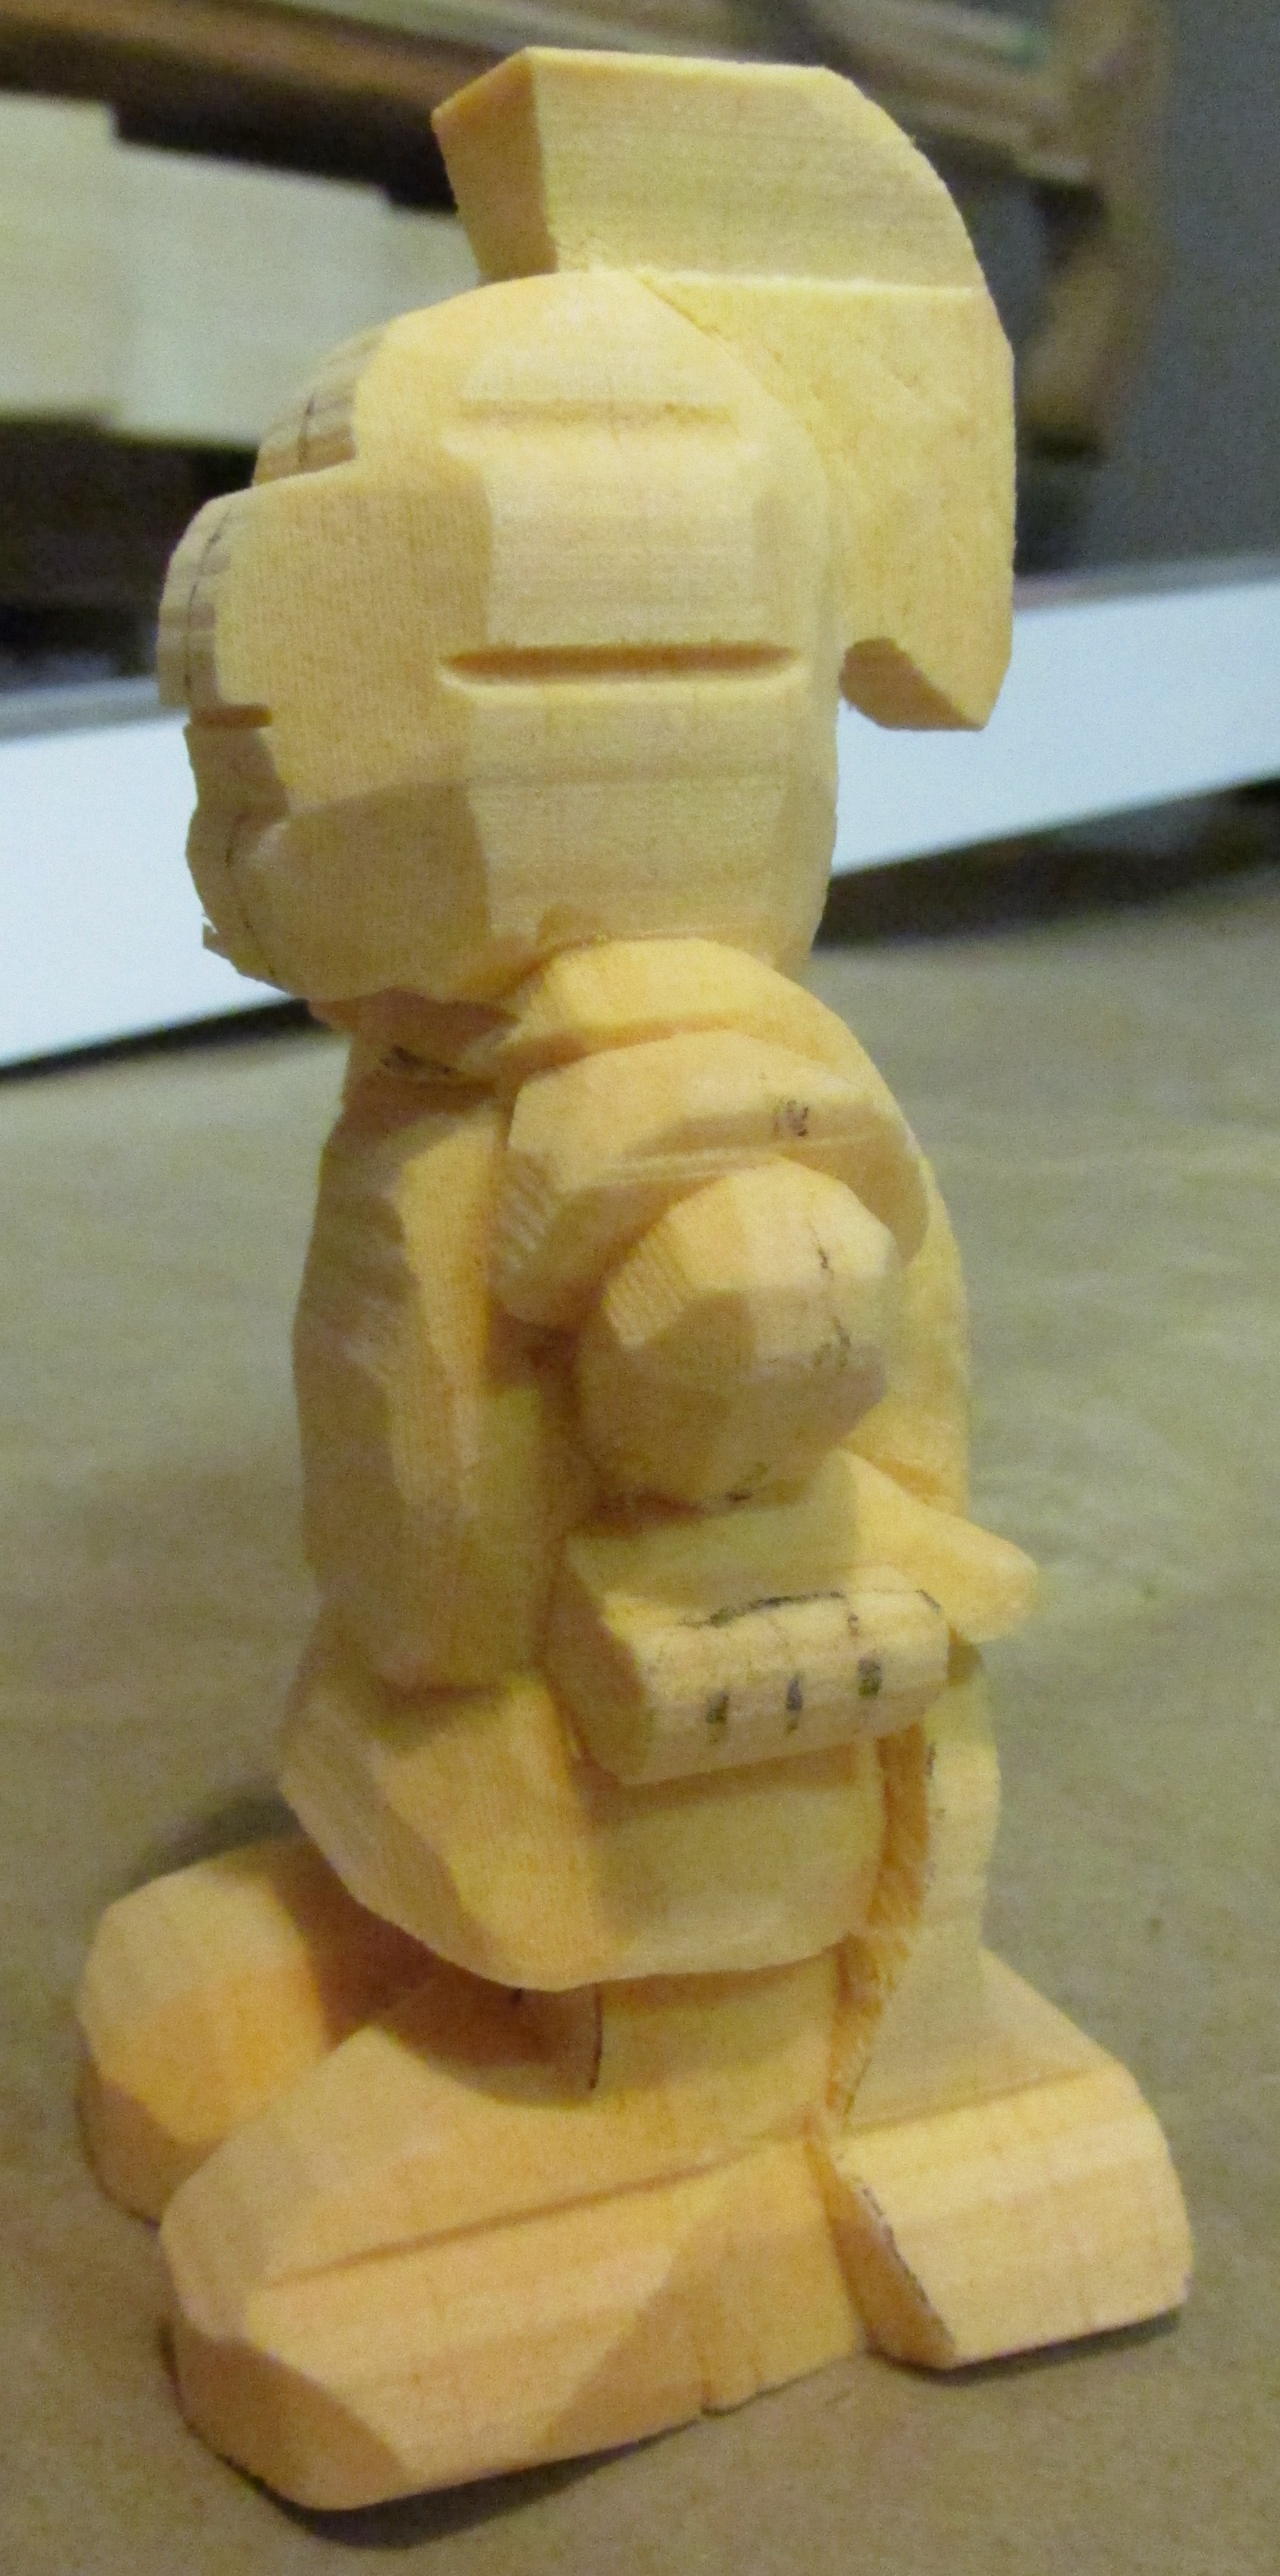
Blocking toward a point for details.

More blocking.

Getting closer to details.
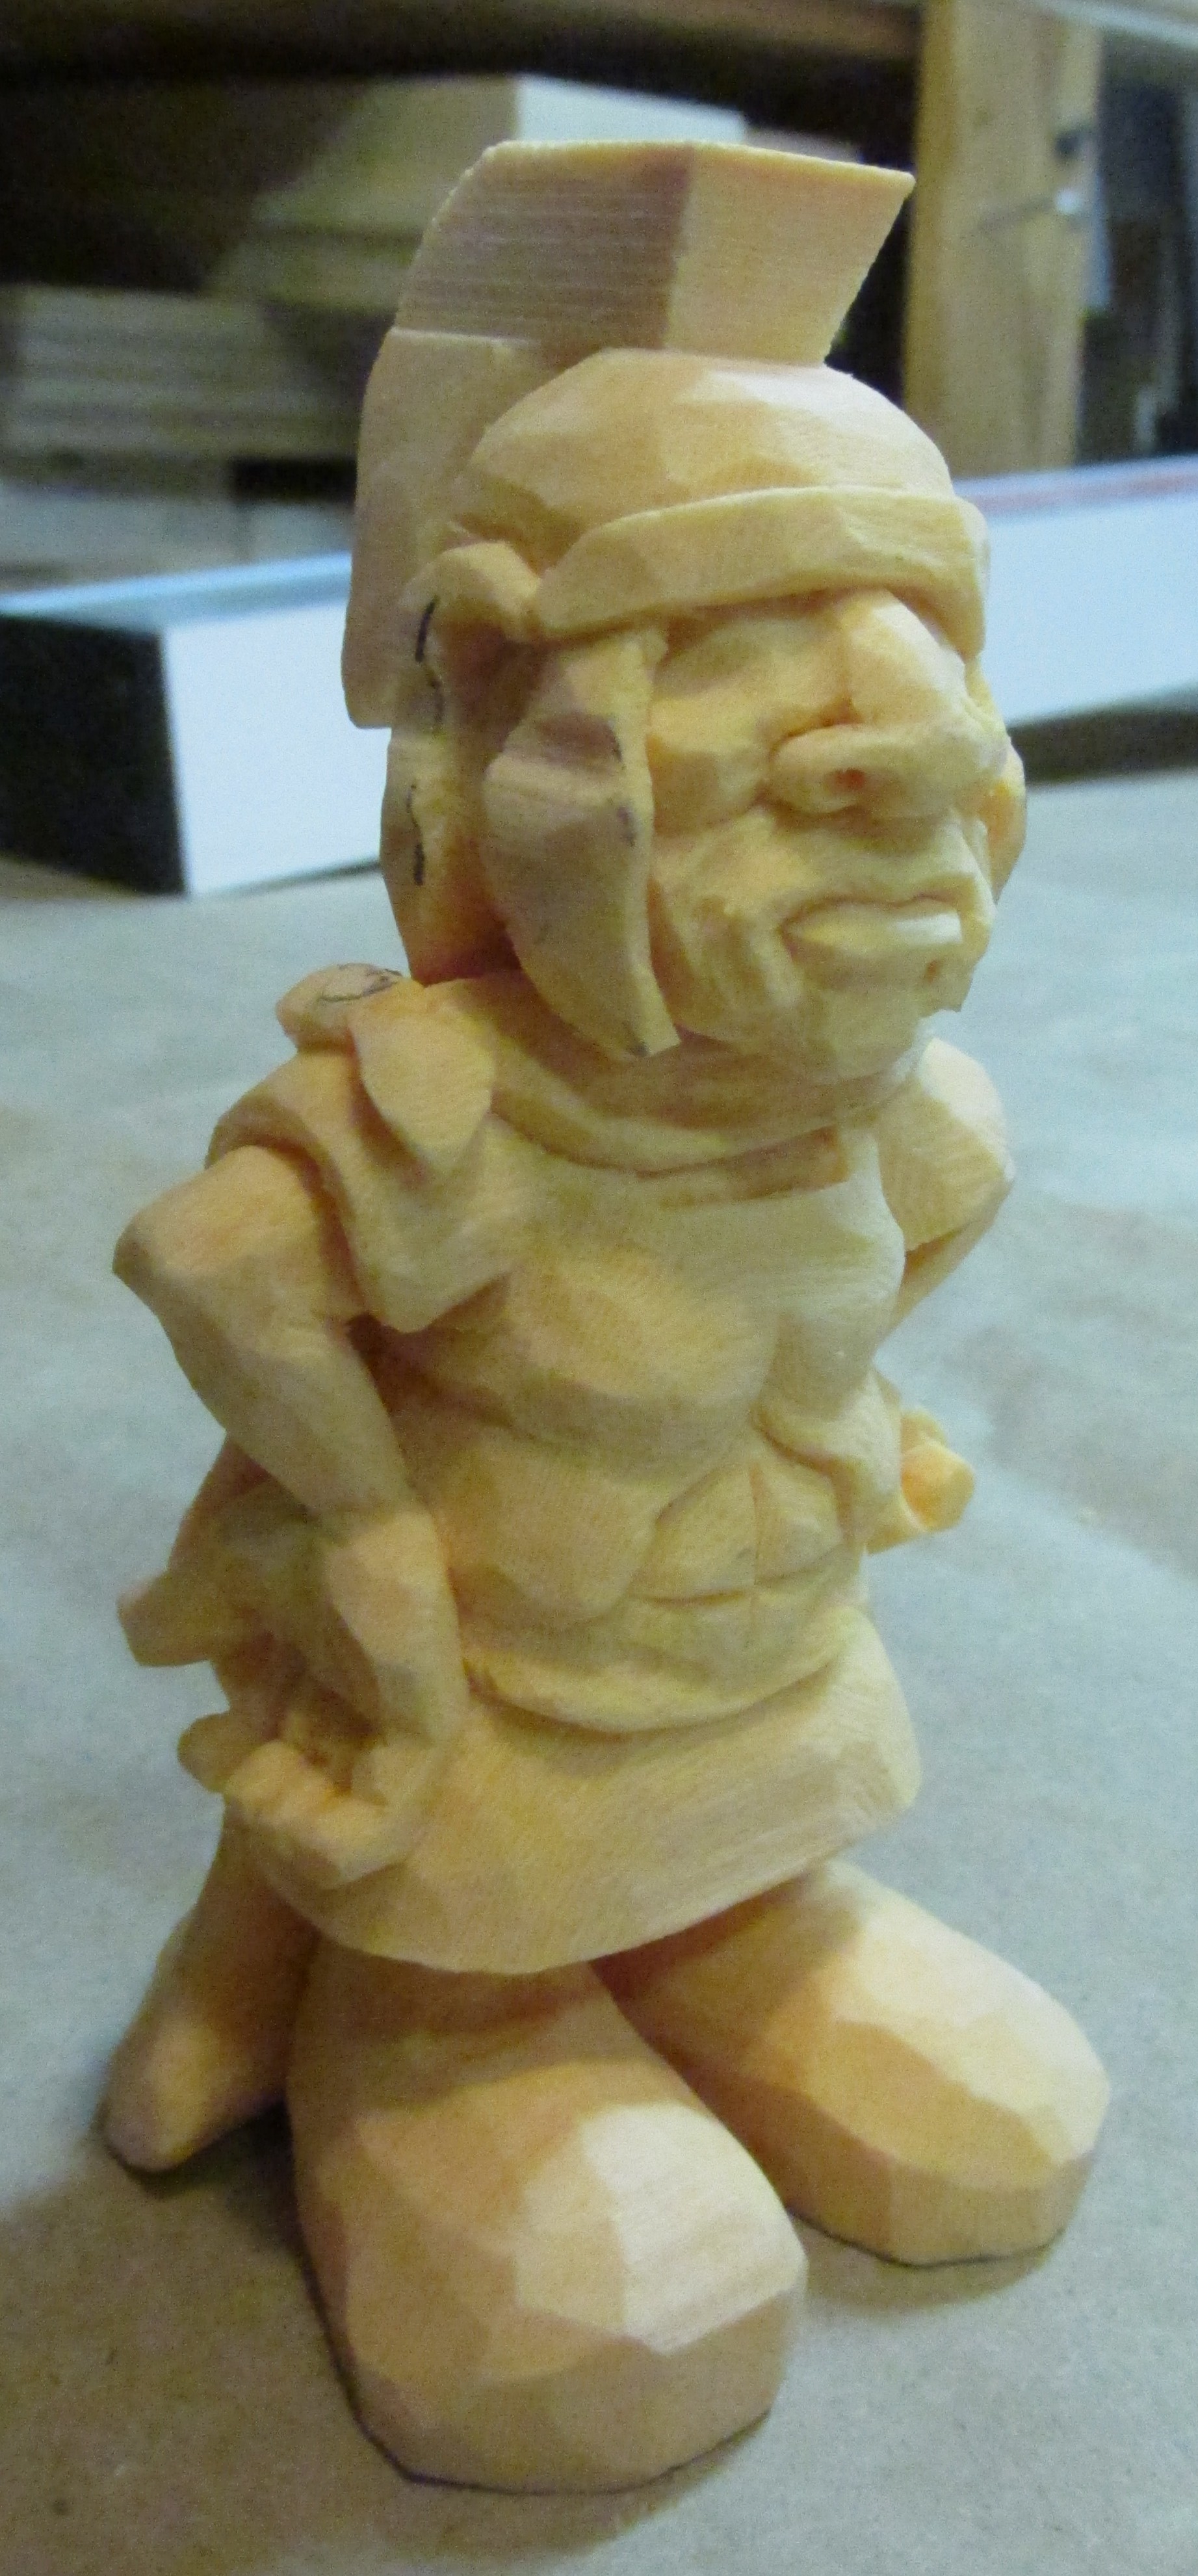
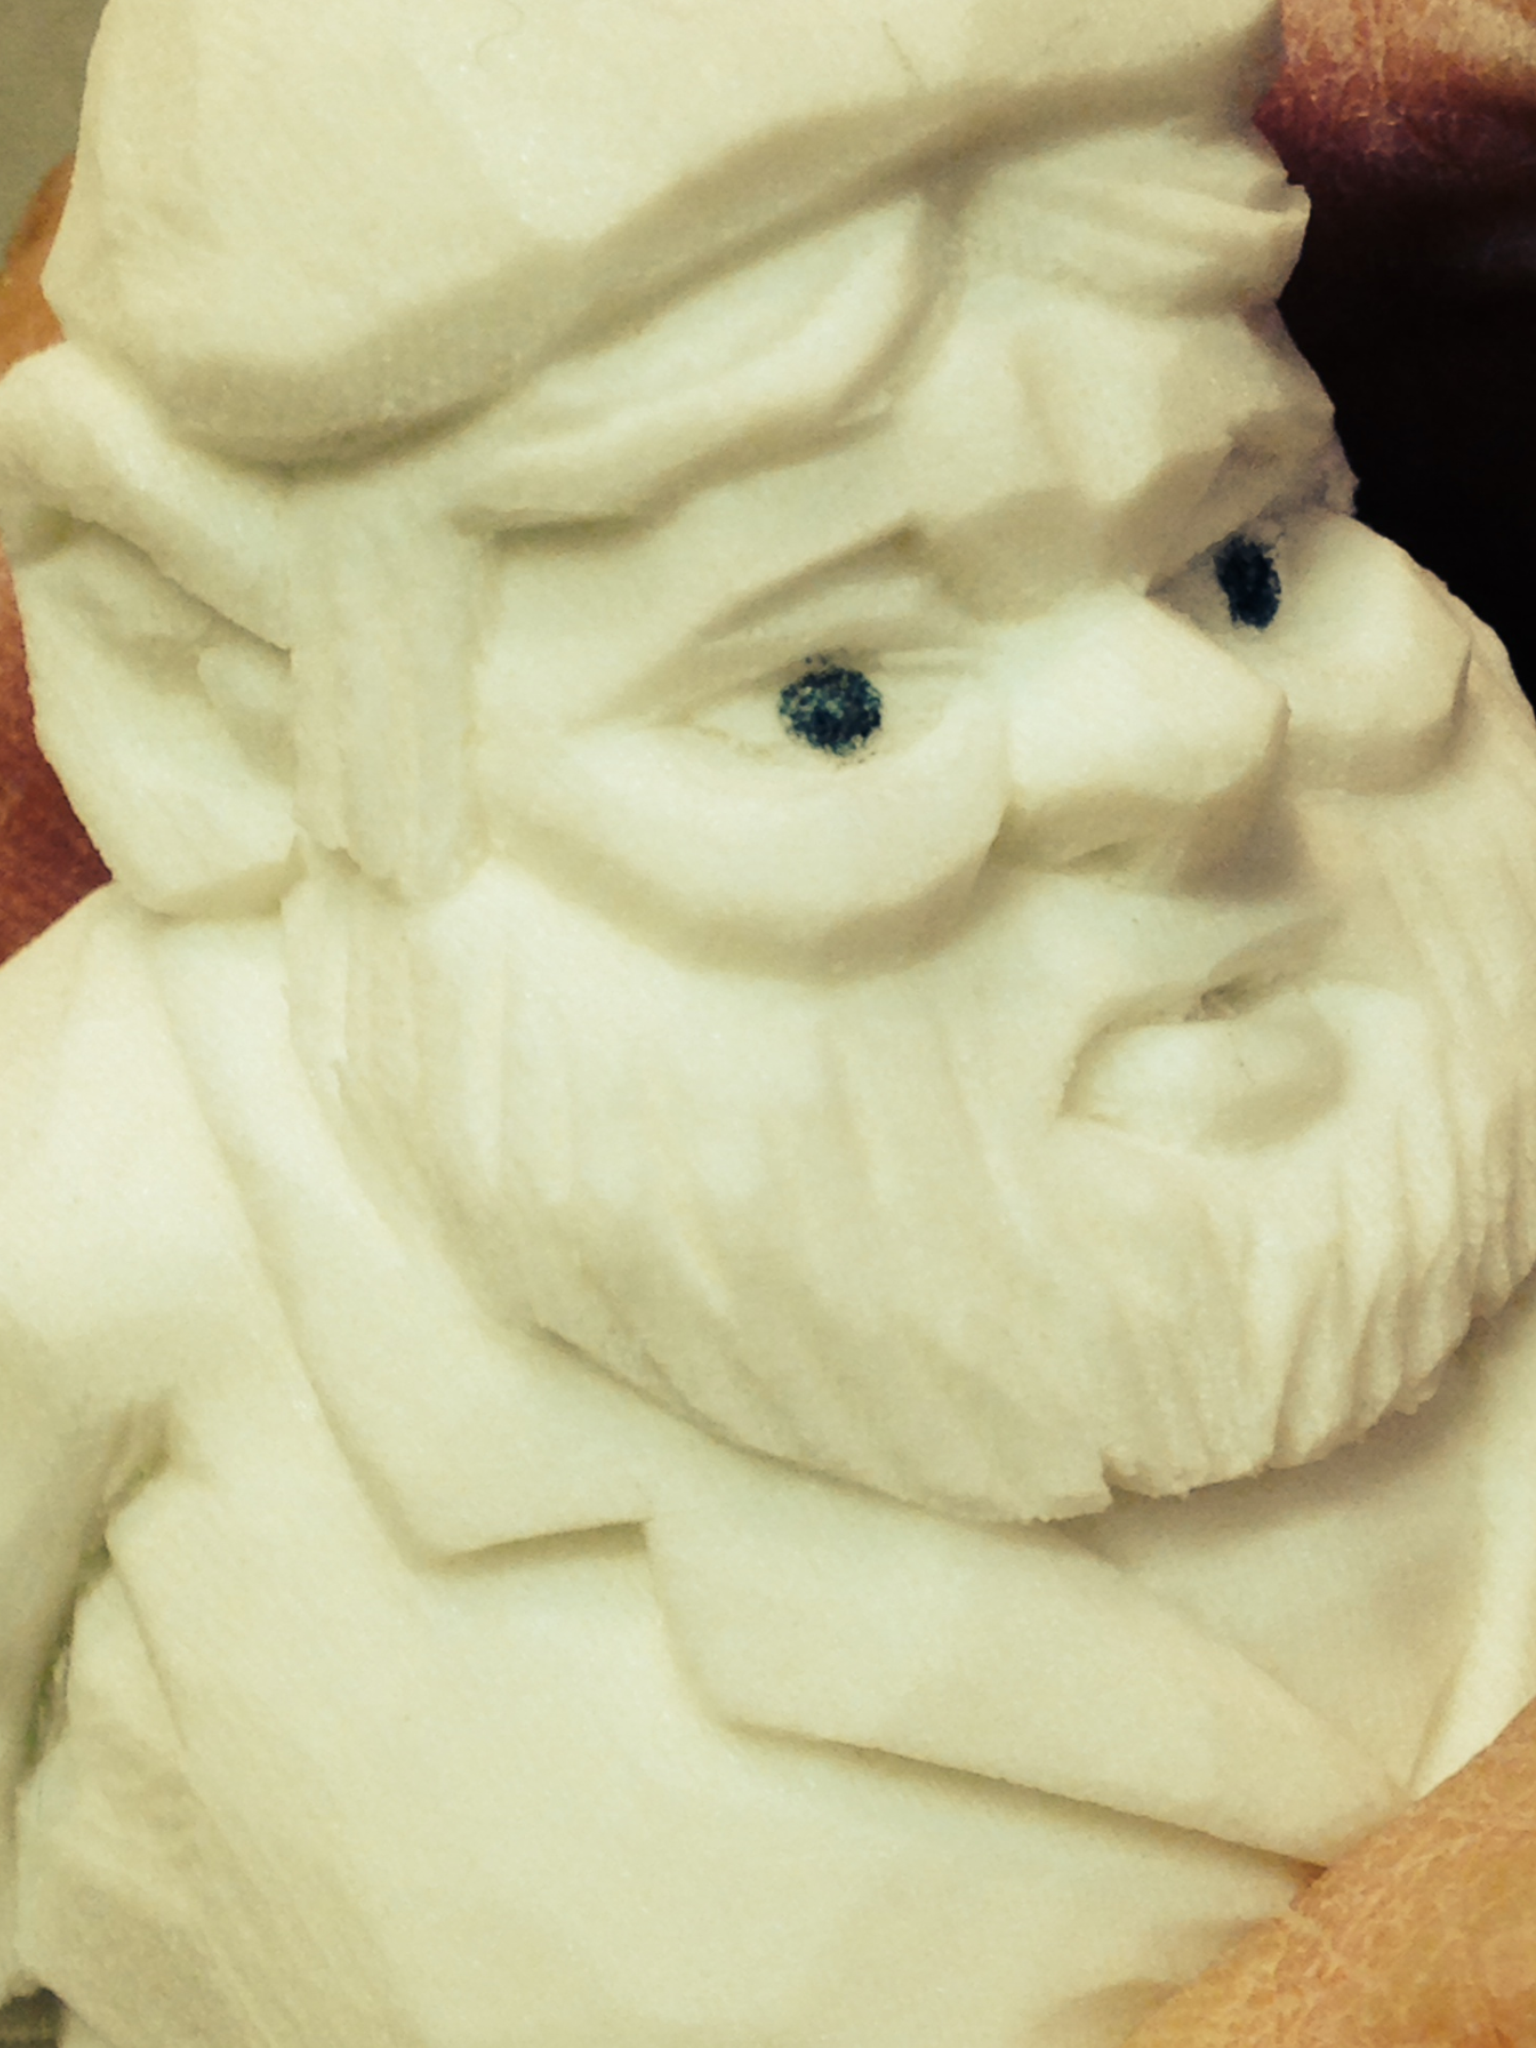
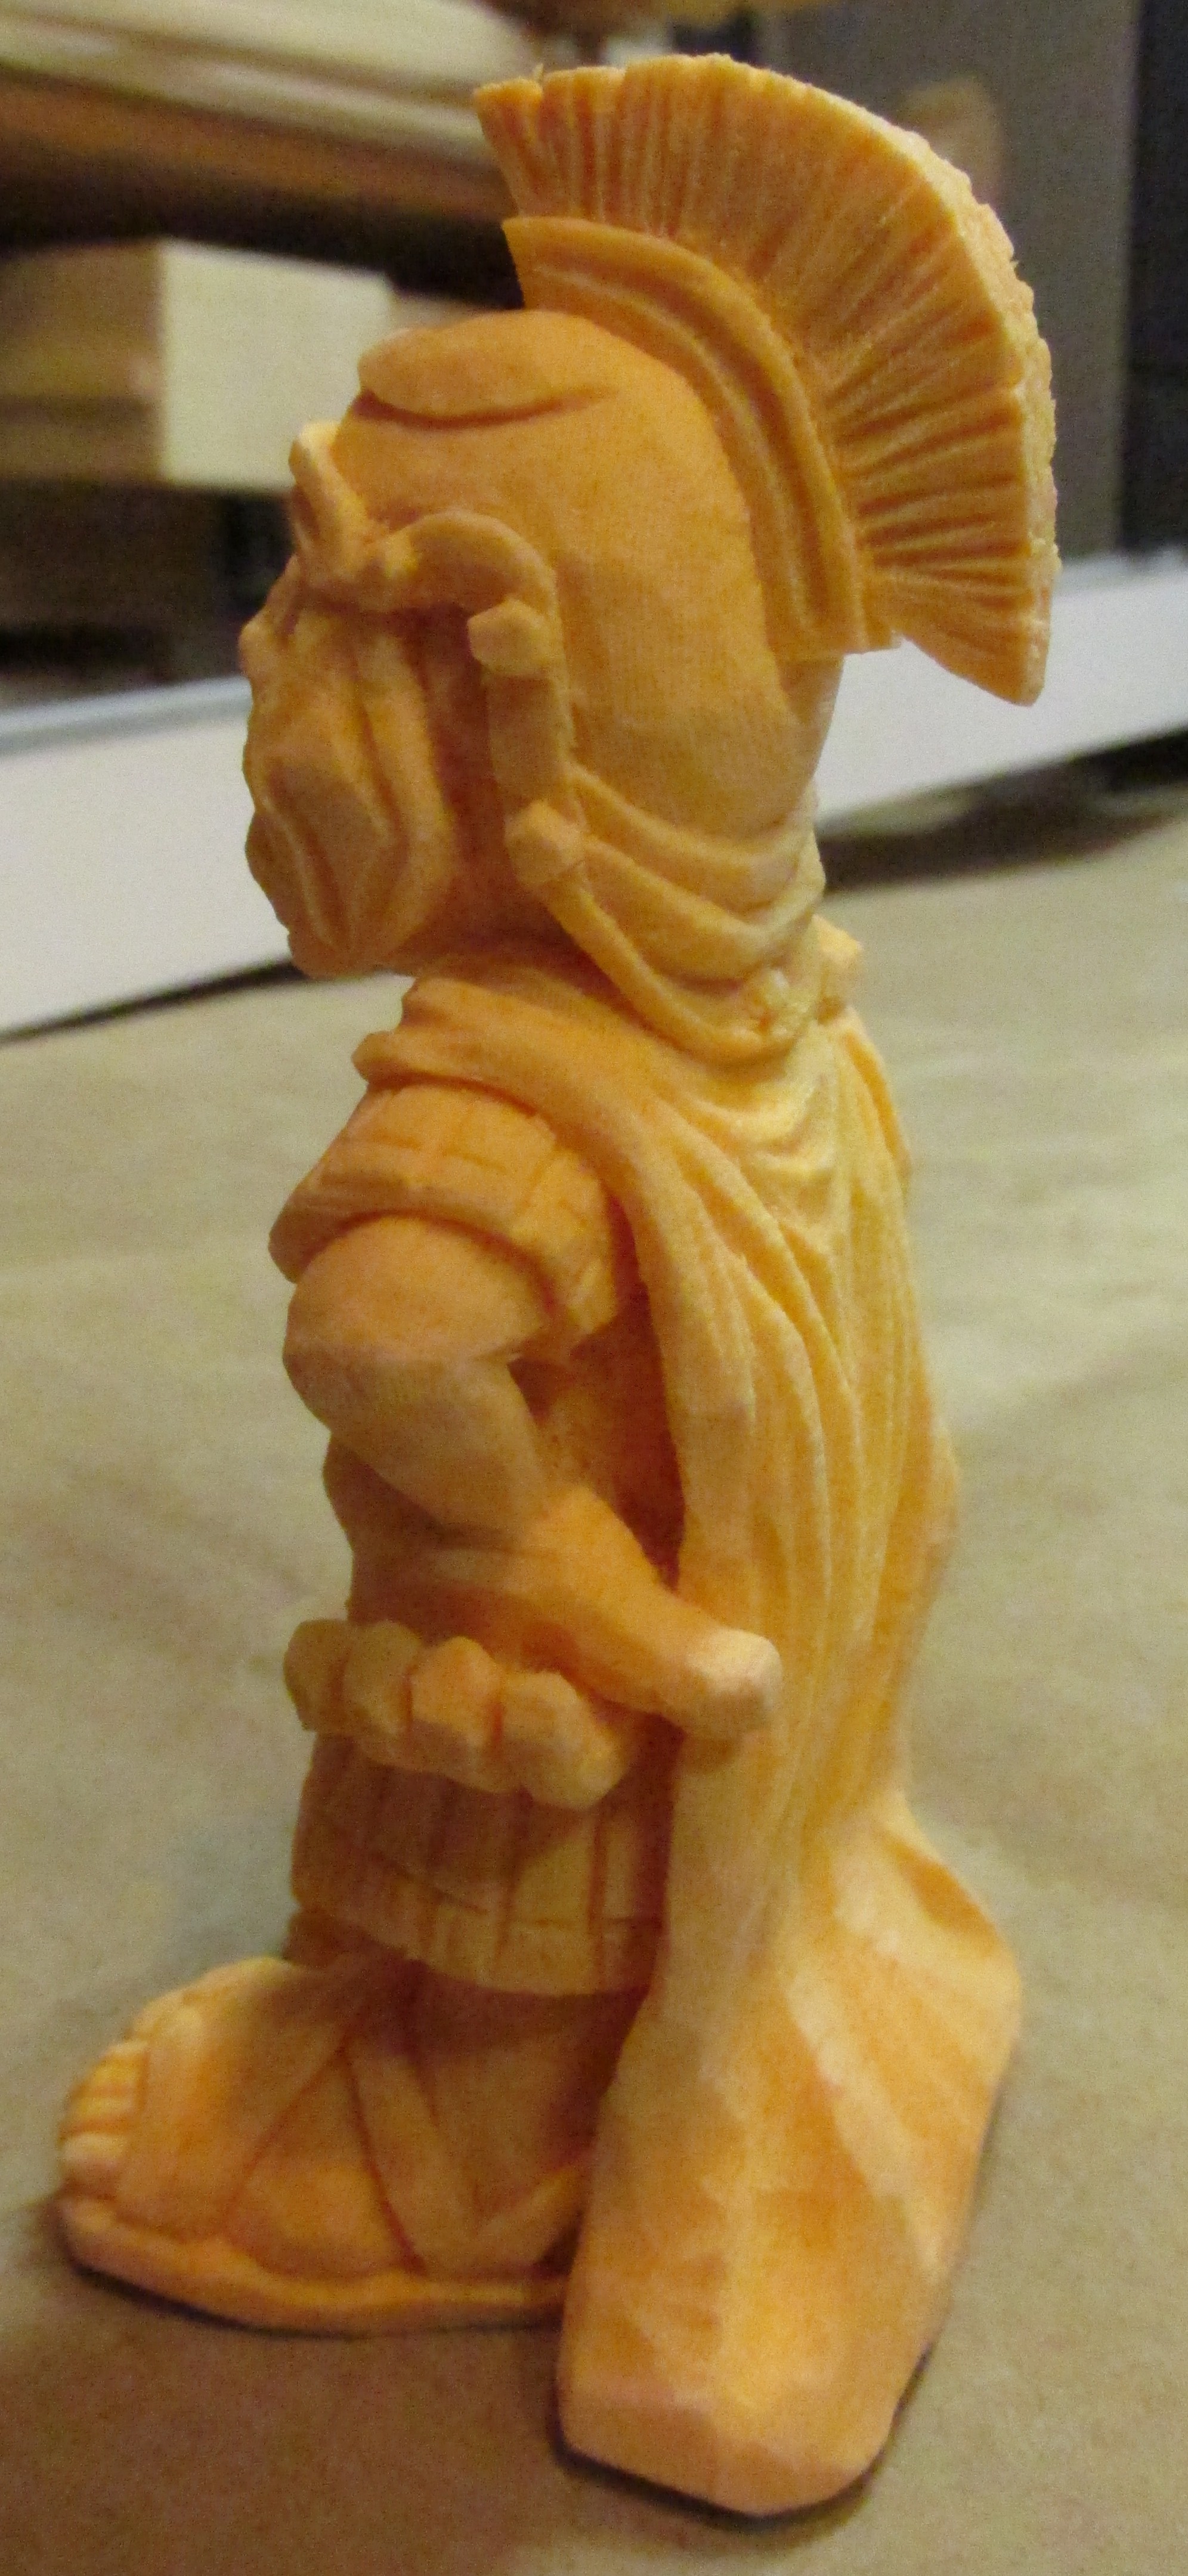
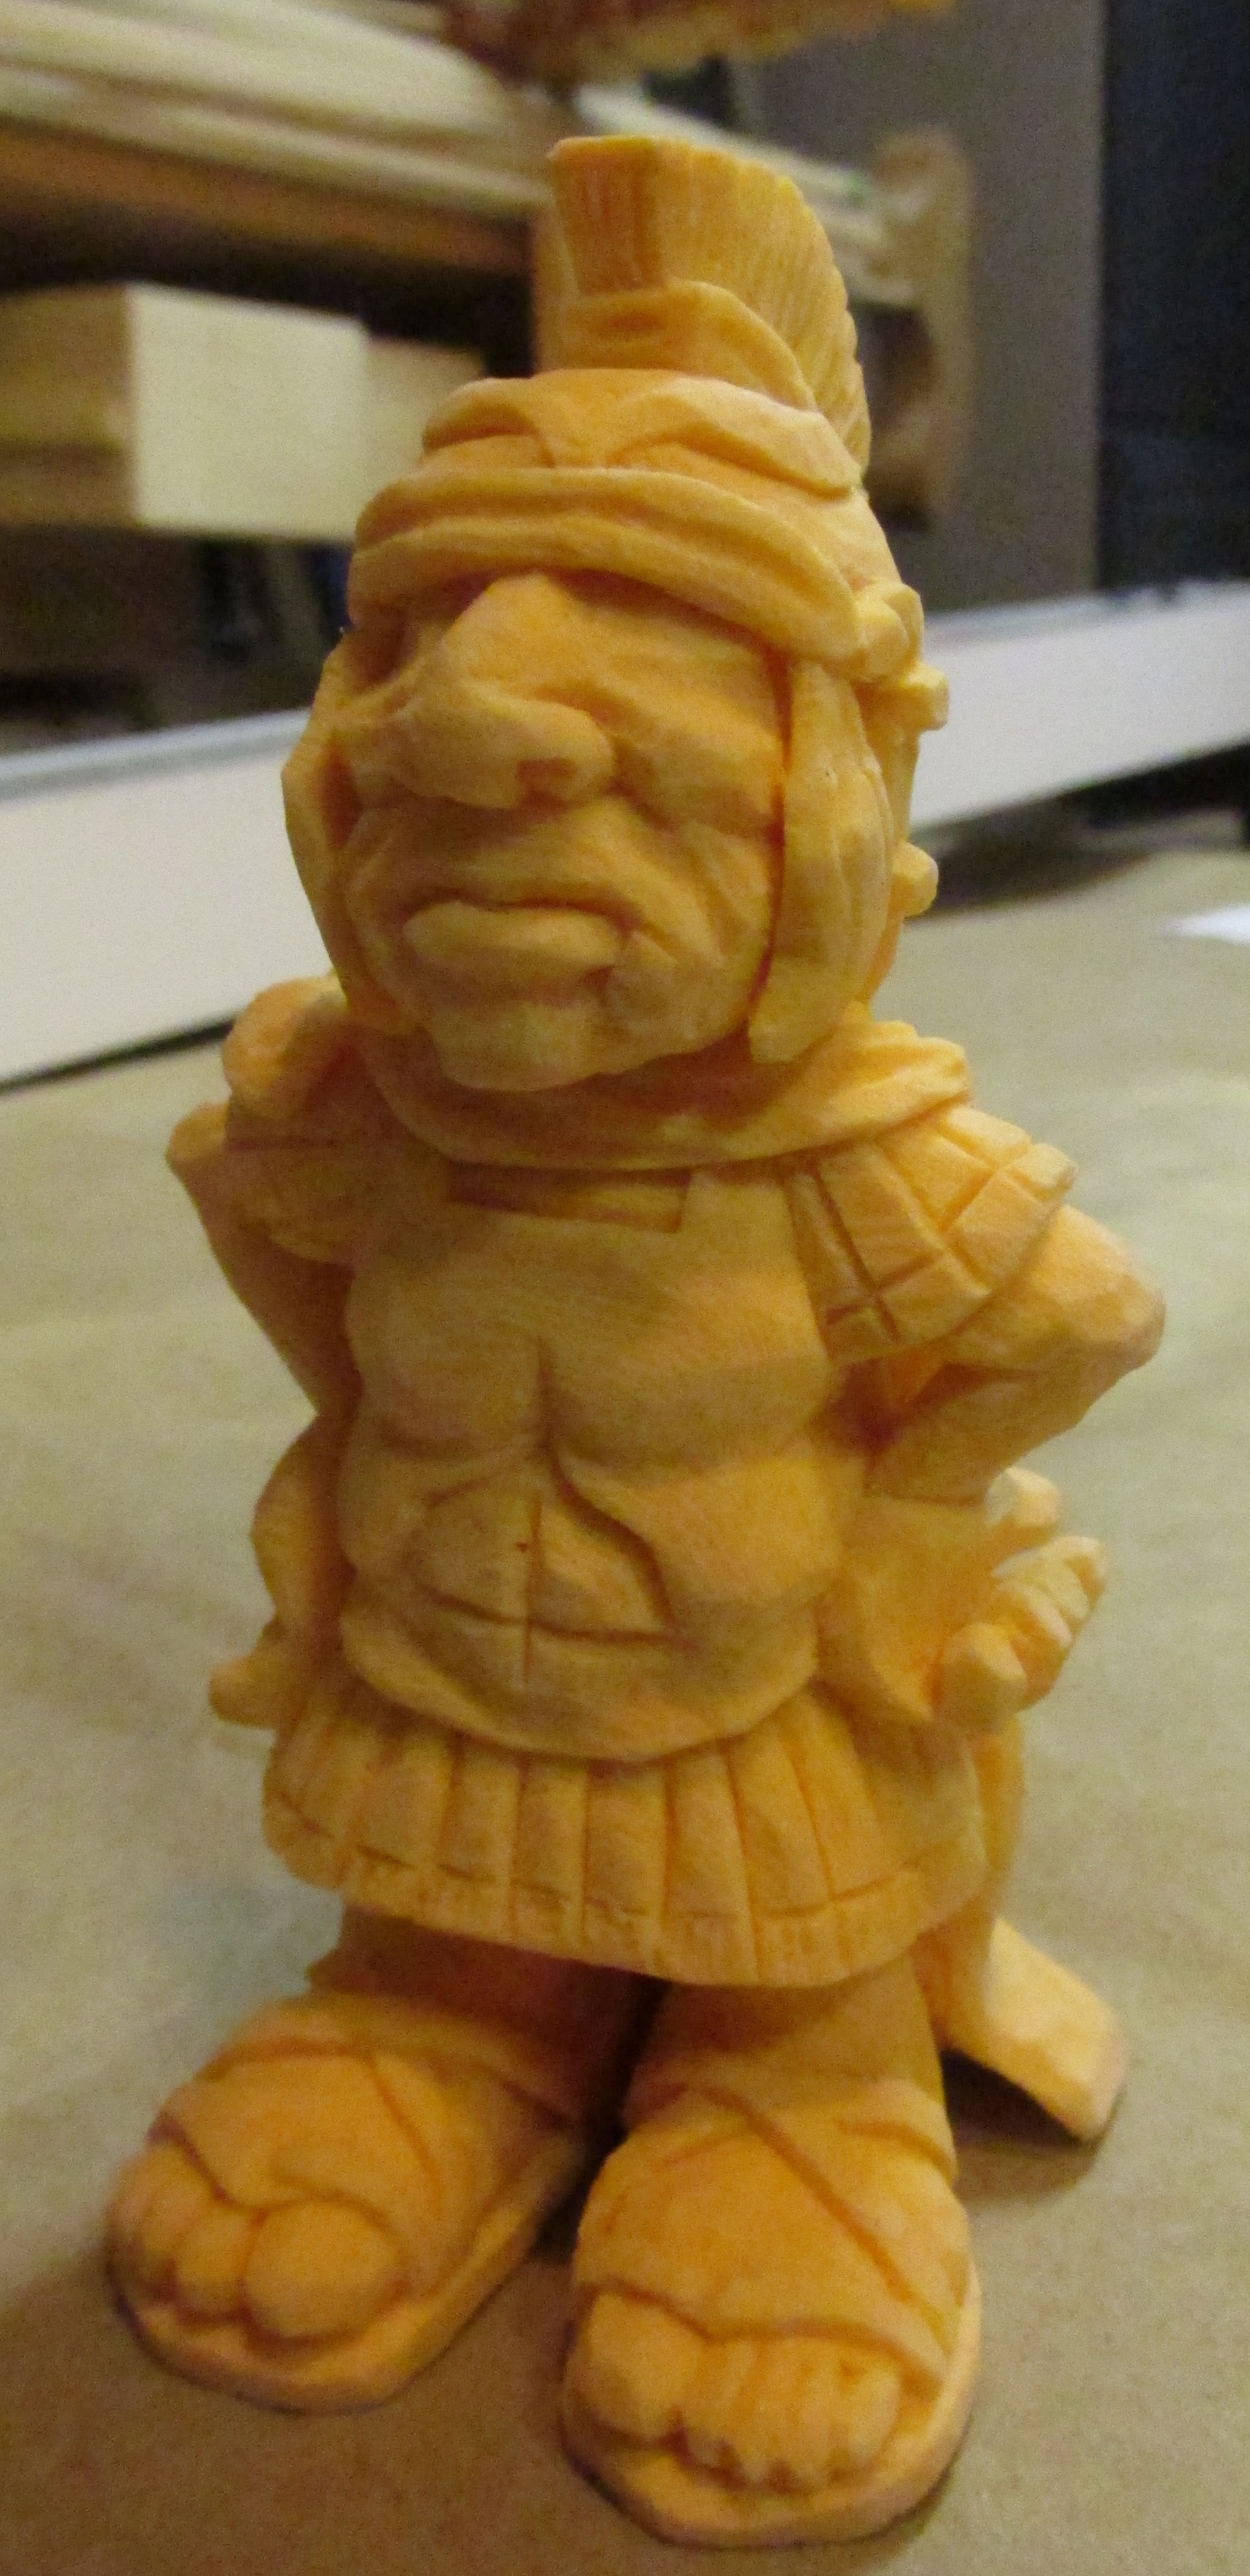
Face, hand and breastplate details.

Details in face, breastplate and hand.

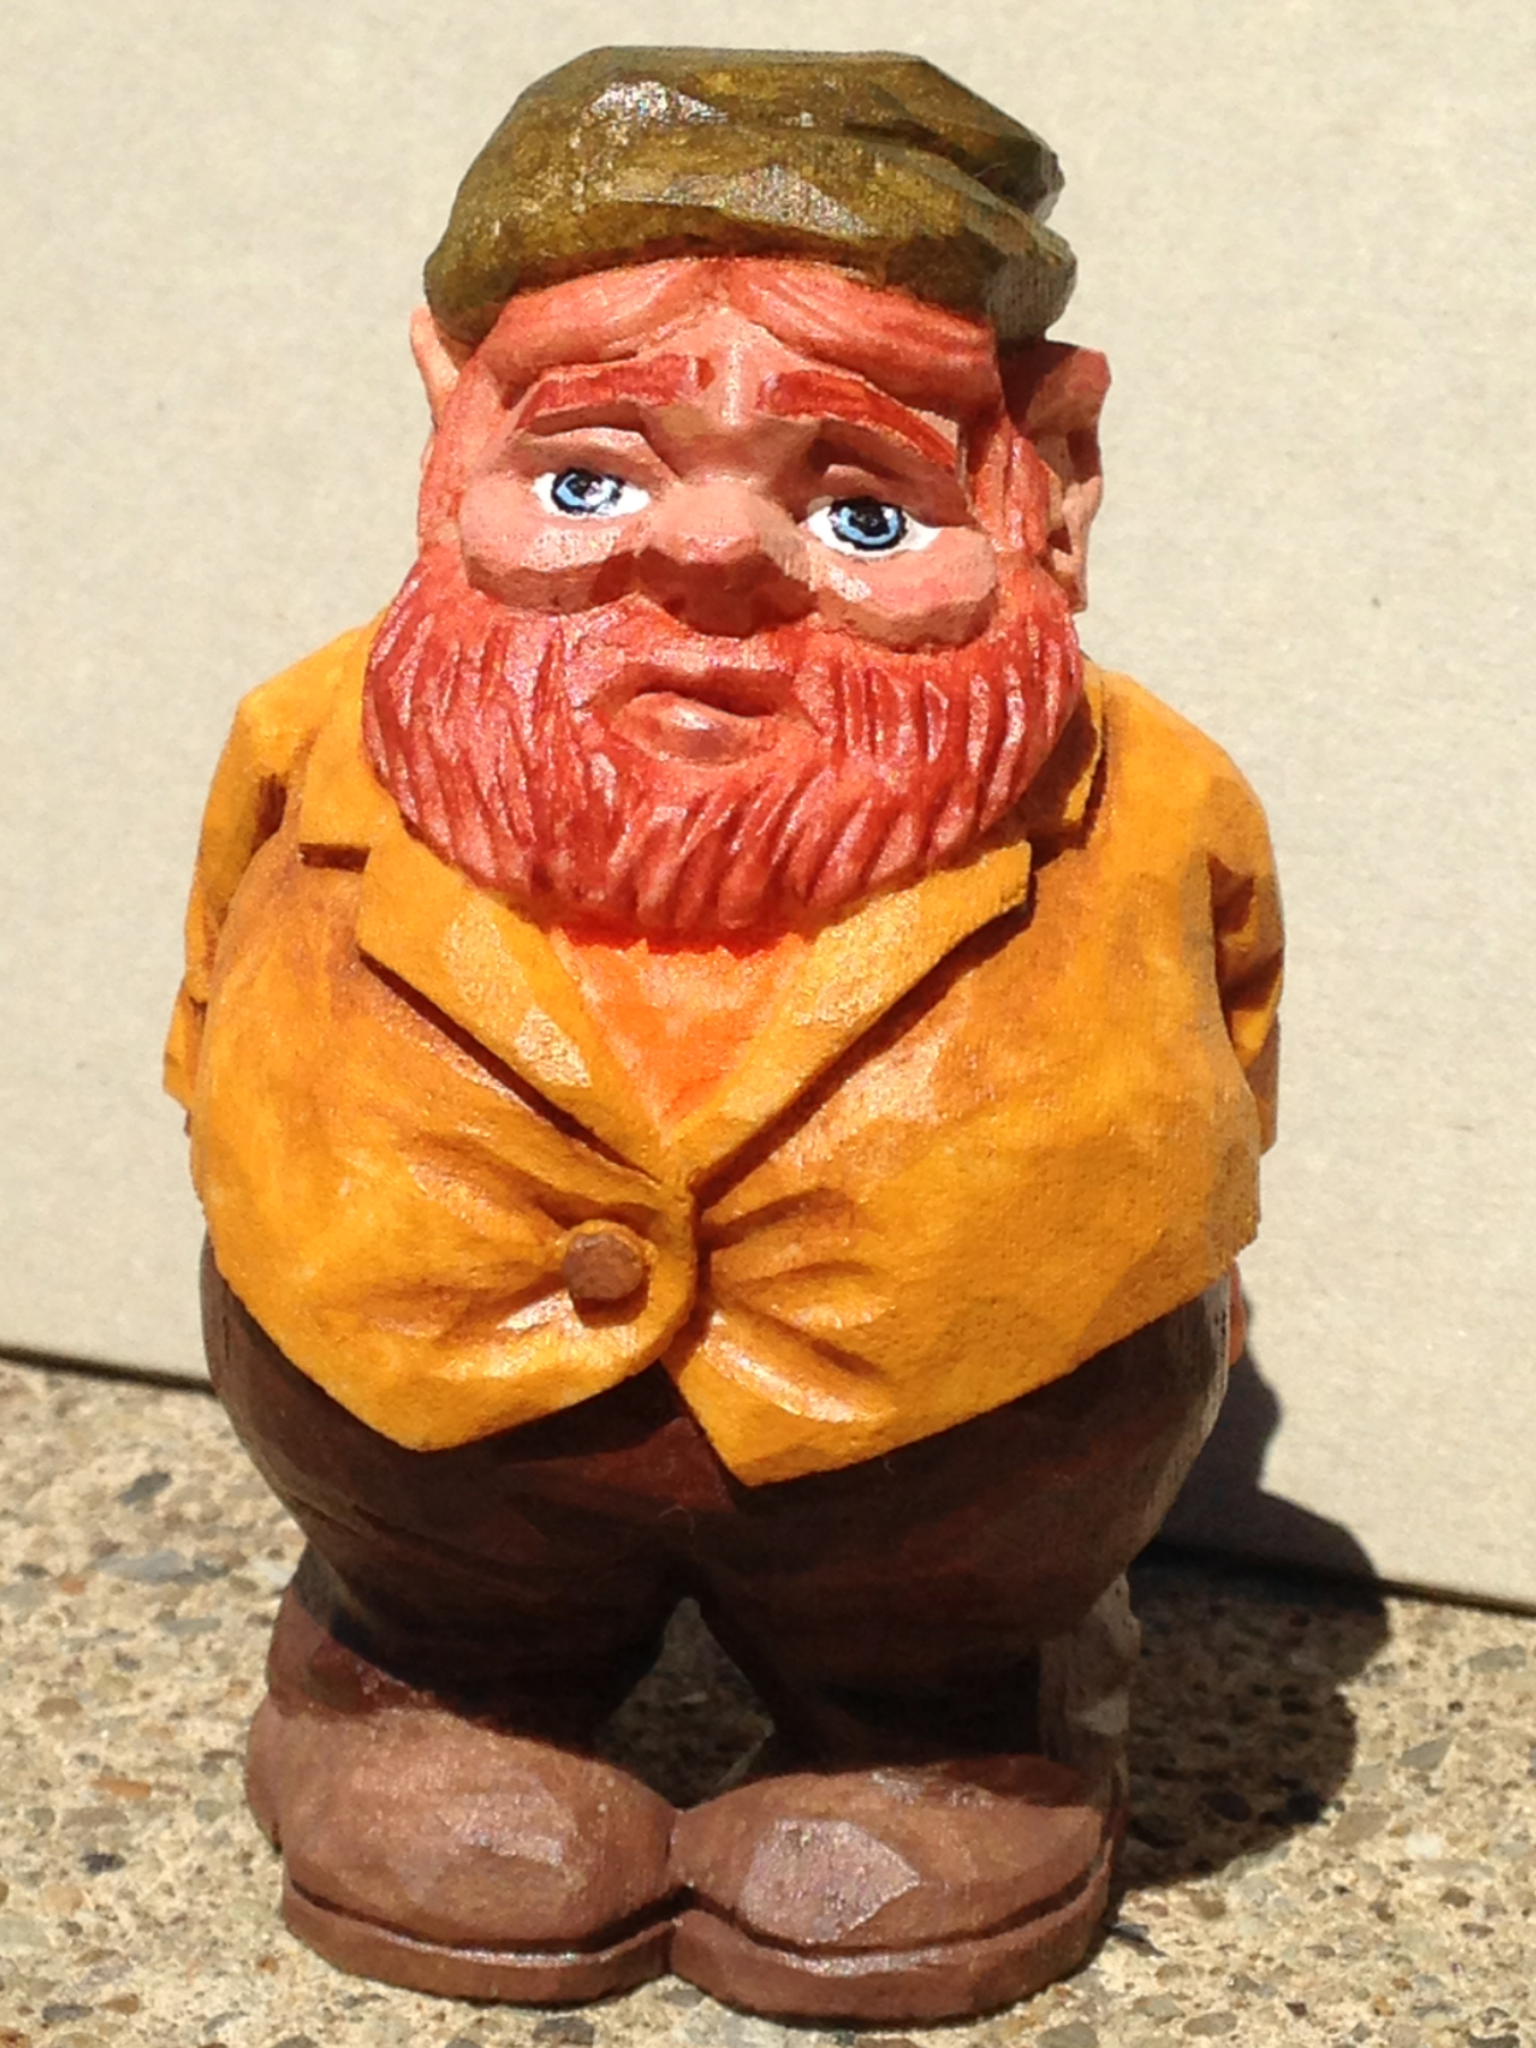
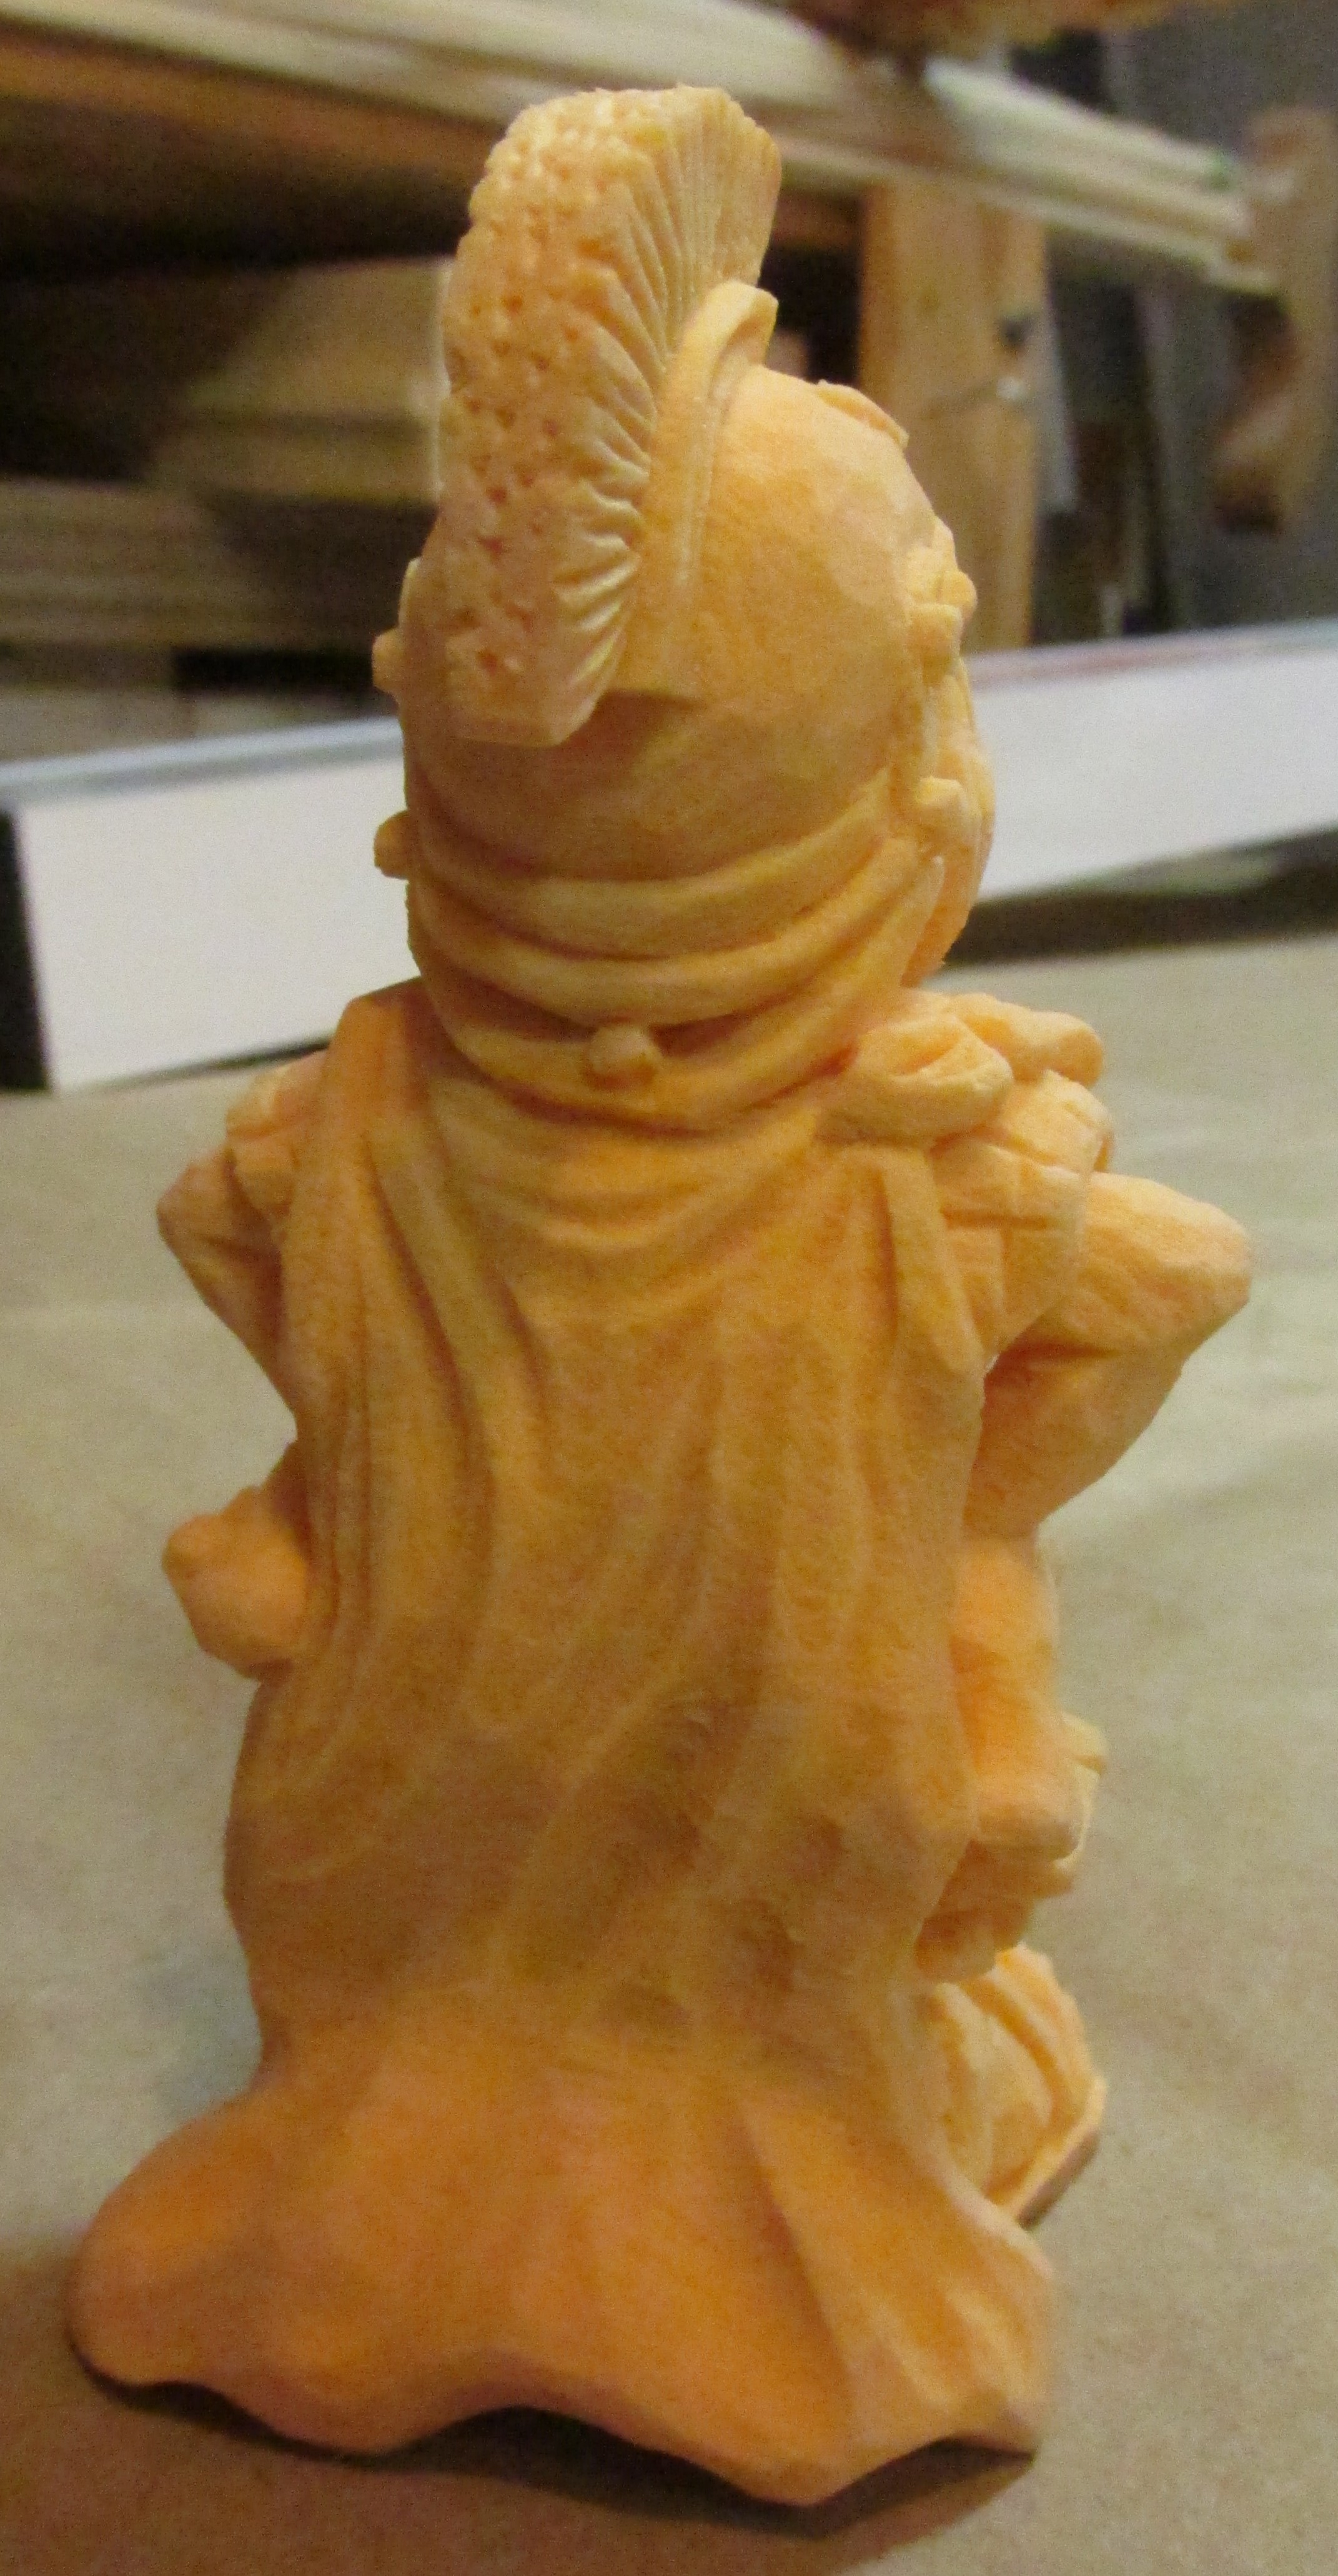
All finished. I changed the White Balance setting on my camera so the real color of the material would show.

- PotatoWood first potatowood posting.