

If you are familiar with my blog, you know I have spent a lot of time working with golf balls. I recently had a request to describe the method I use to convert a ball into a bottle stopper. The ball can be carved or just left intact. If you have a “logo” ball from an event or favorite club, this method will work to add it to your bar-ware collection.
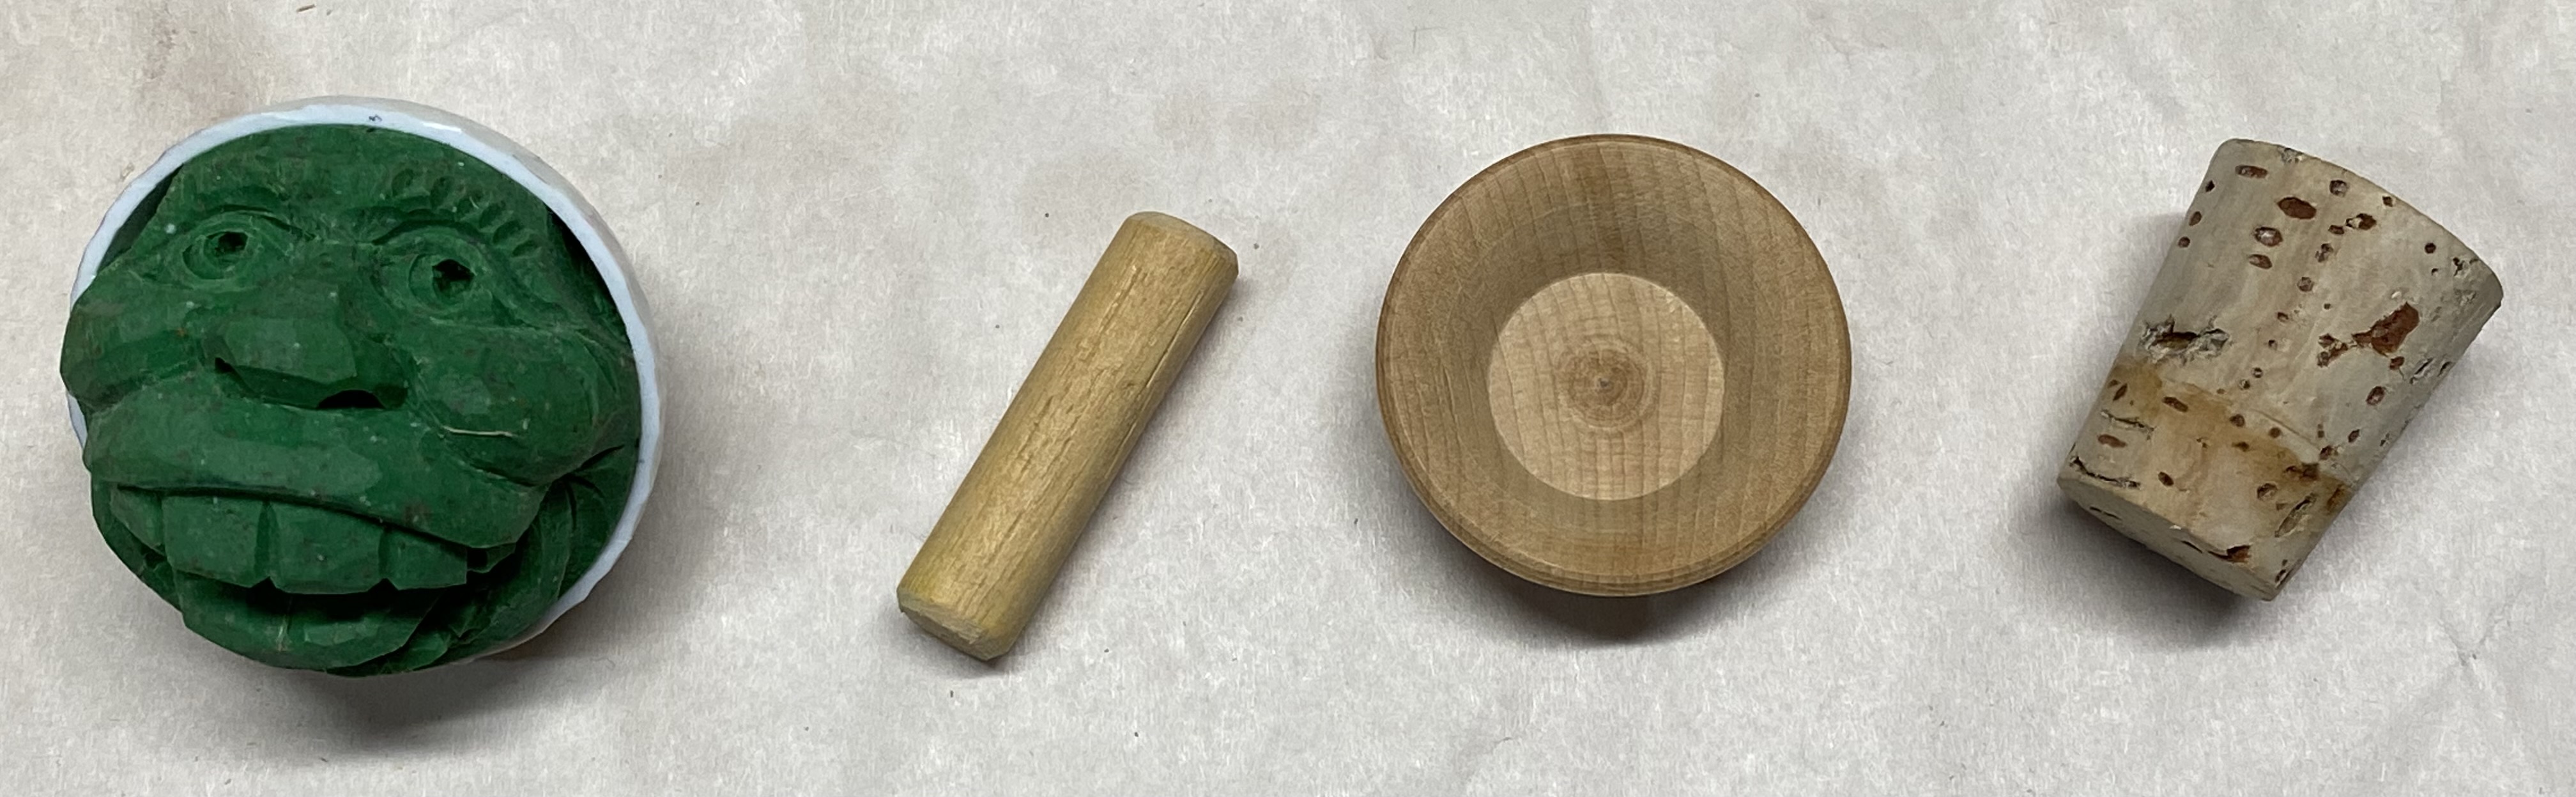
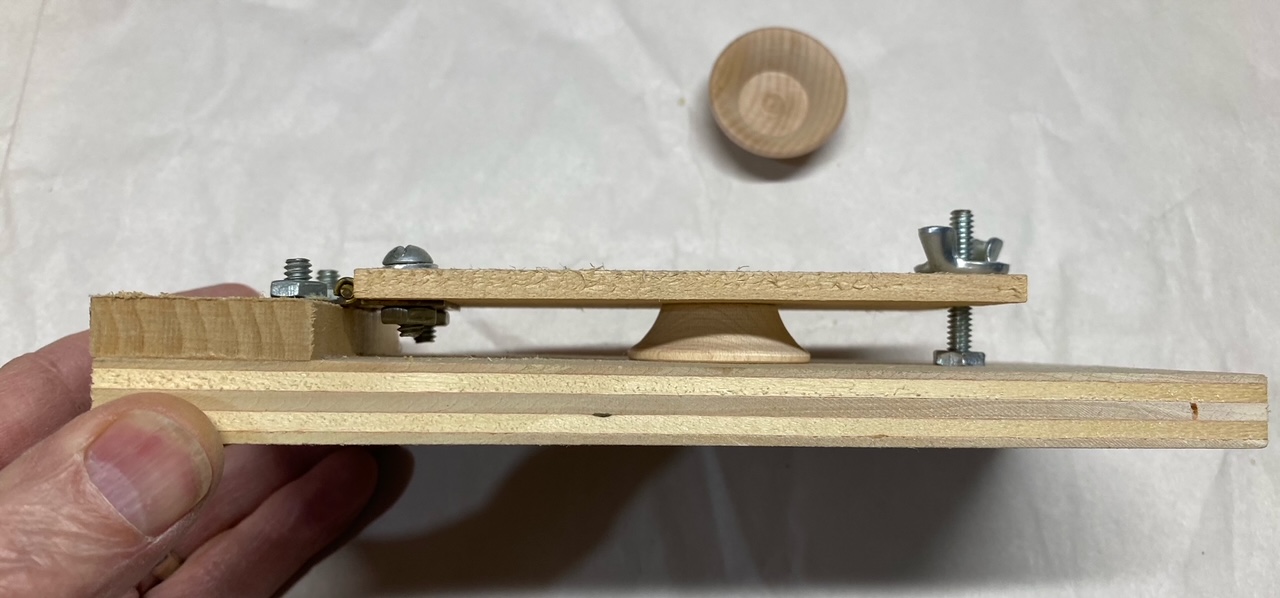
These are the parts we will use.
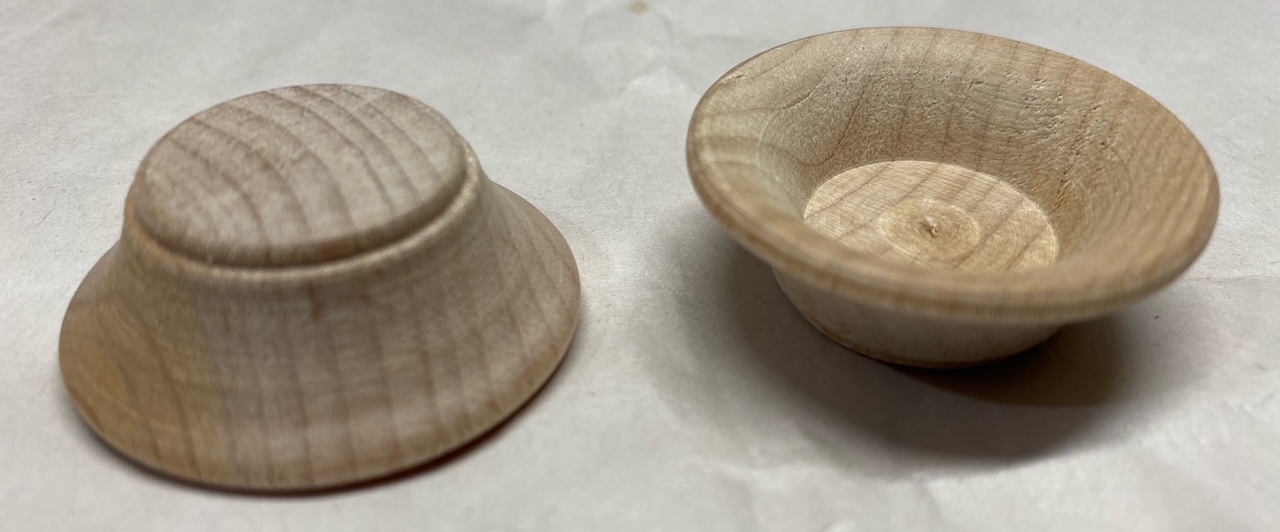
I found these small wooden saucers at a wood products company that is no longer in business. You can turn your own or find a substitute to make the transition from cork to ball. You may find someone online that sells these or something similar. You also have the option to skip this transition piece and put the cork against the ball.
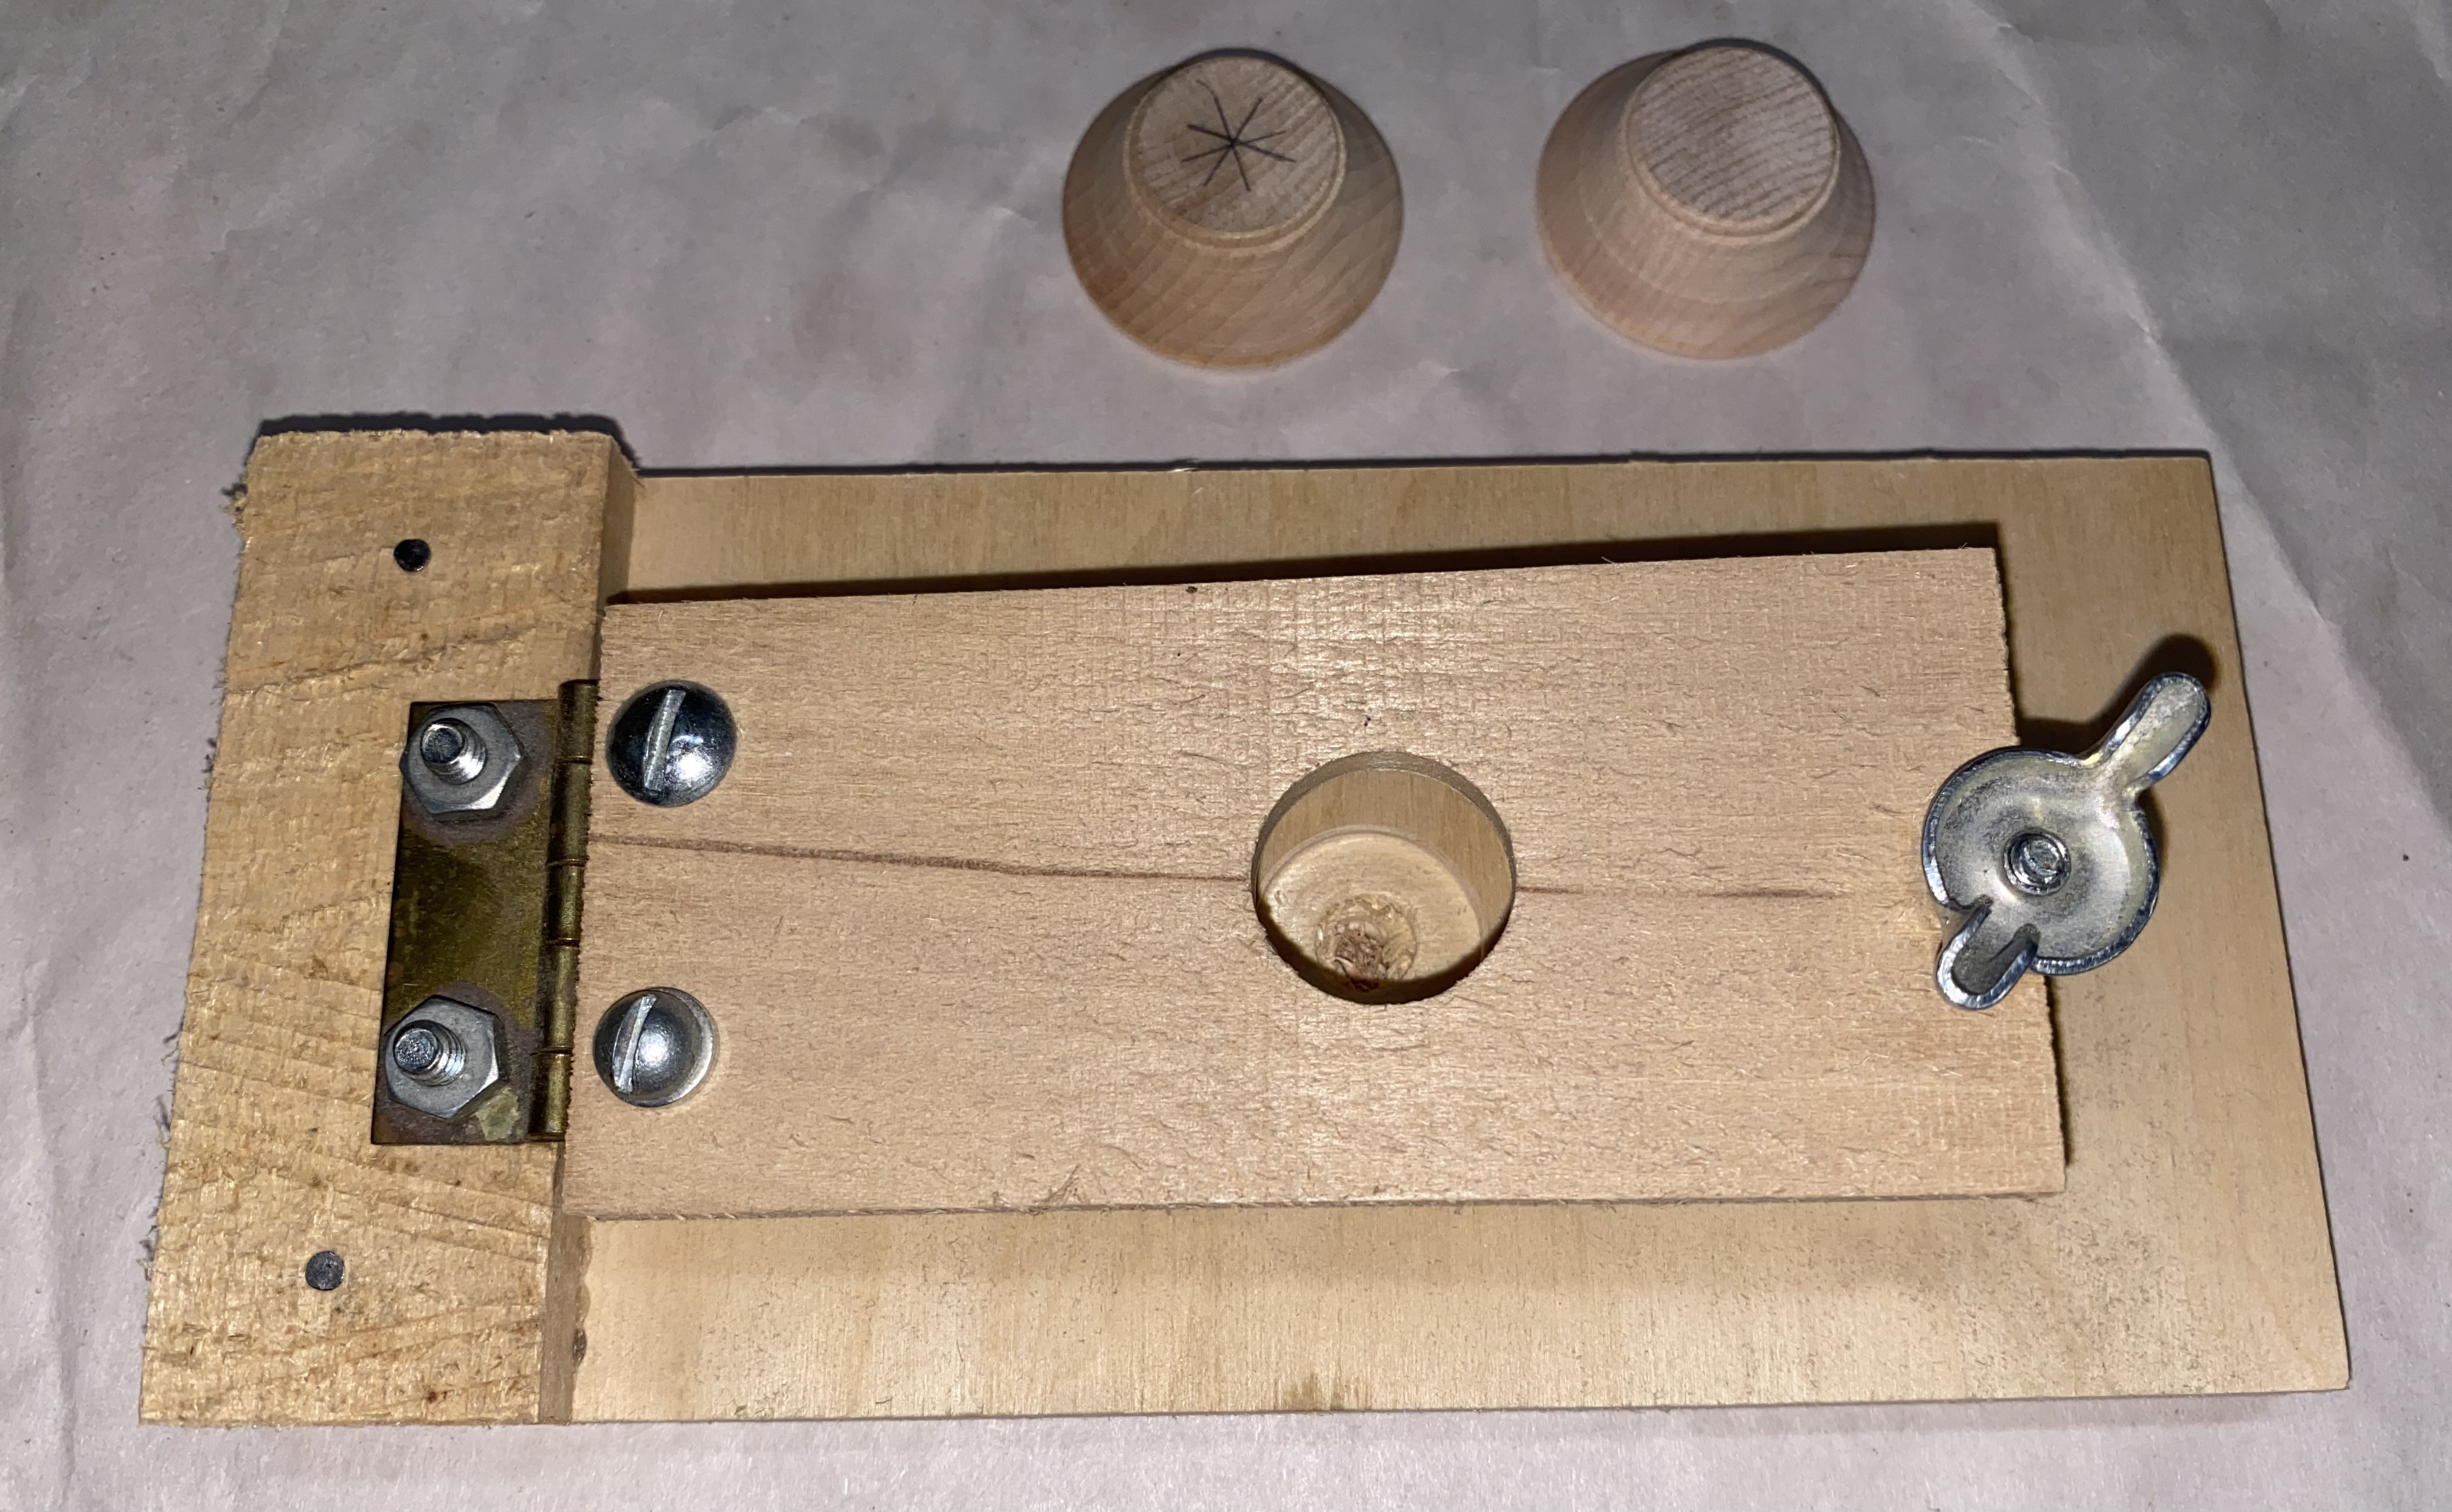
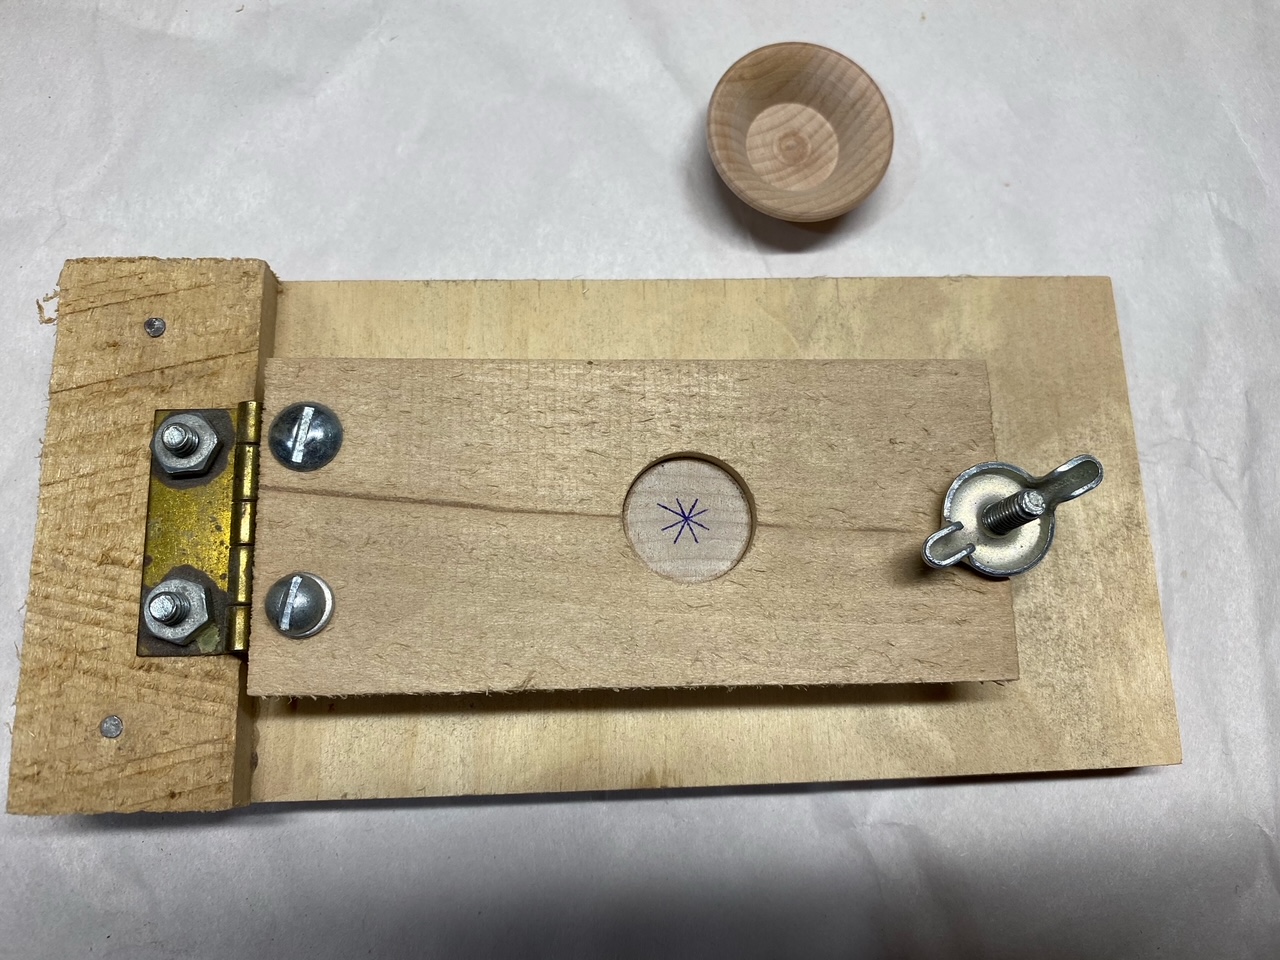

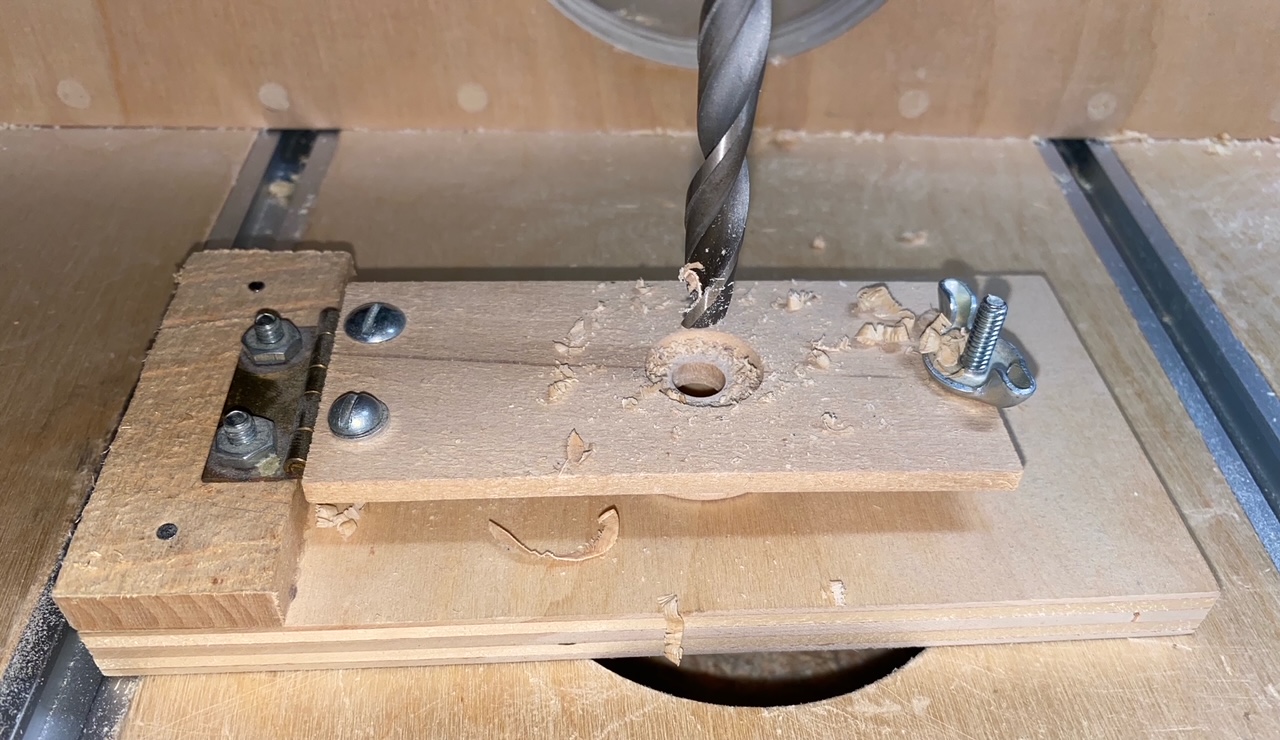
Because of the danger in hand-holding a small part when using a power tool, I made a more secure holding jig. Mark the center of the saucer. Place it into the jig and drill a 3/8 inch (6mm) hole through the saucer.
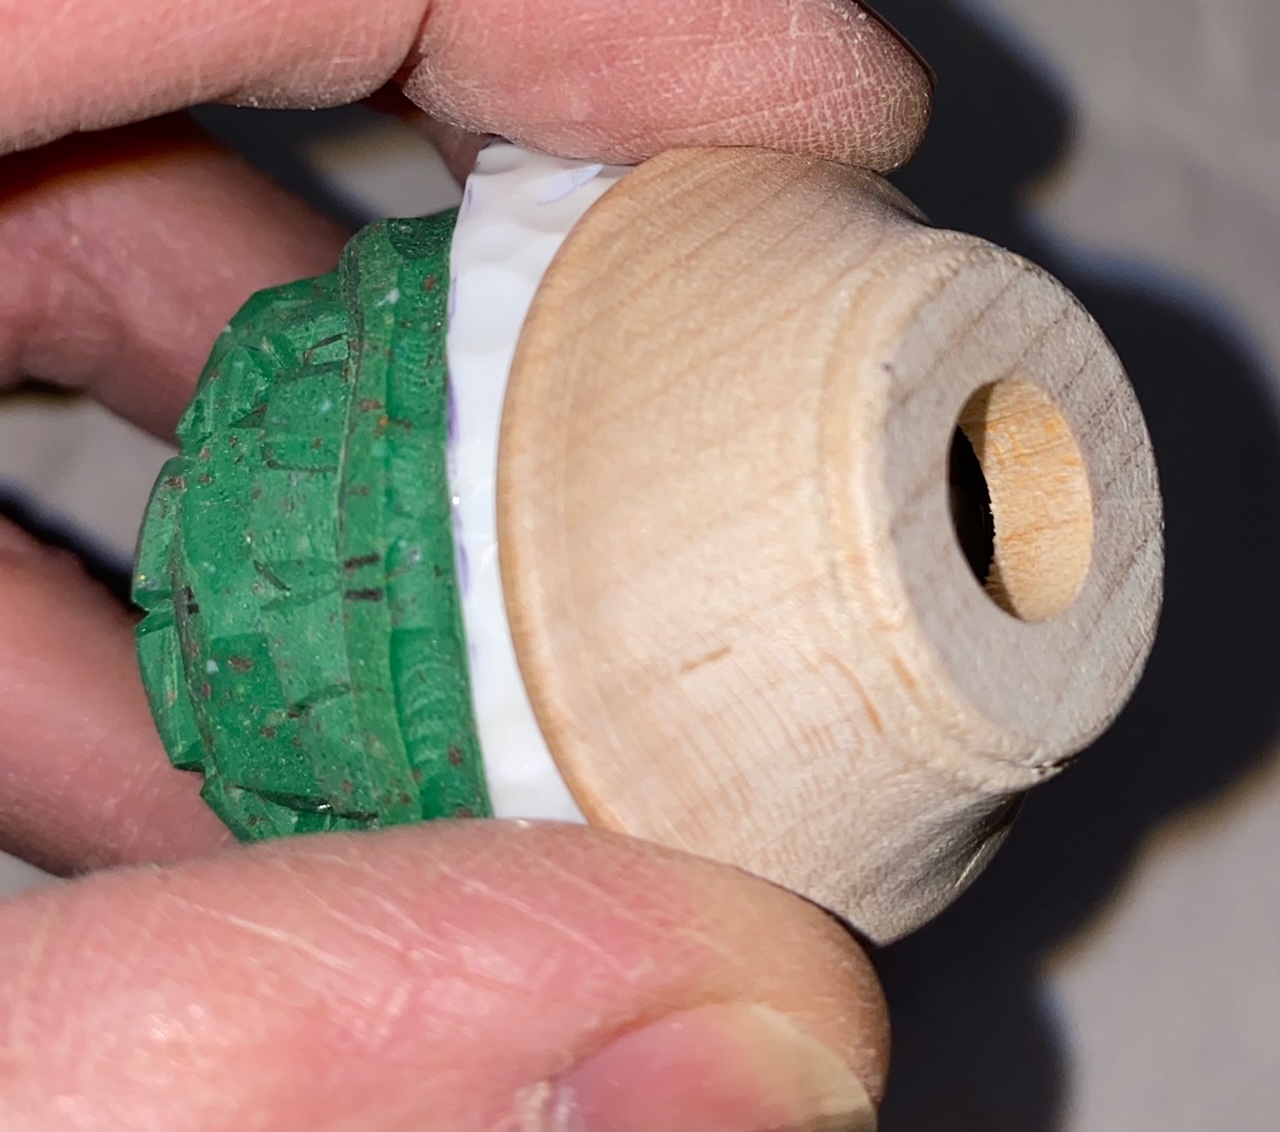
Place the saucer on the ball so the carving or logo is is positioned for the best angle for viewing.

If the cover is available for a carved ball, place it in it’s original location to provide better control when drilling. I rest the ball in the cork jig to stabilize it even further when drilling. More about the cork jig later. Position the ball and saucer so the drill bit follows the hole in the saucer.
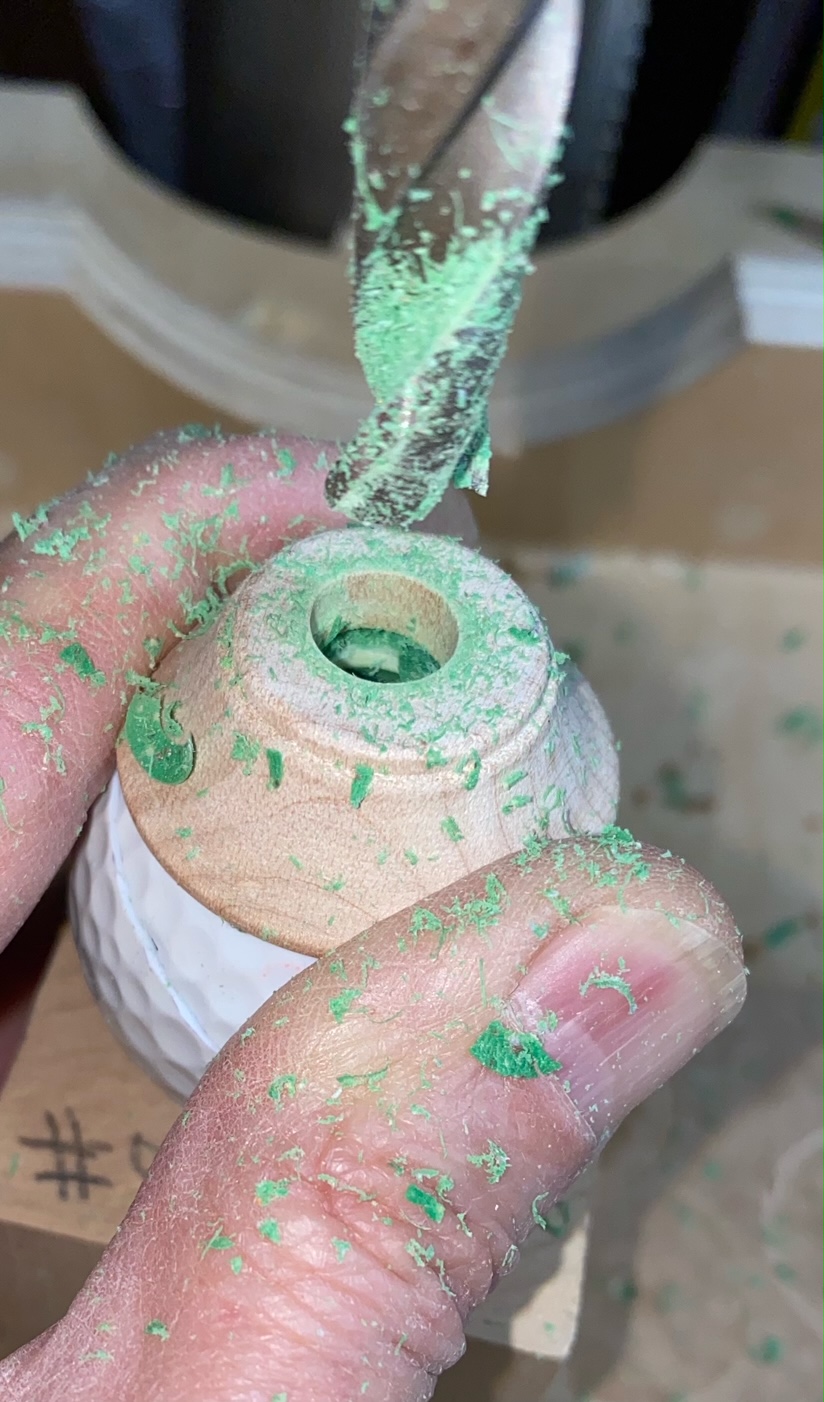
The hole depth is your decision. The diameter of the dowel matches the 3/8″ (6mm) hole size.

Click here to see the process I use to prepare a number 8 cork.


Test fit all pieces. To add strength to the the joint, I like to scuff the ball surface where the saucer contacts the ball. Apply a finish to the saucer. When the finish is thoroughly dry, apply epoxy to the dowel as each component is added.


Follow the directions on the glue package and wait for the glue to fully cure before putting your stopper to use.
