


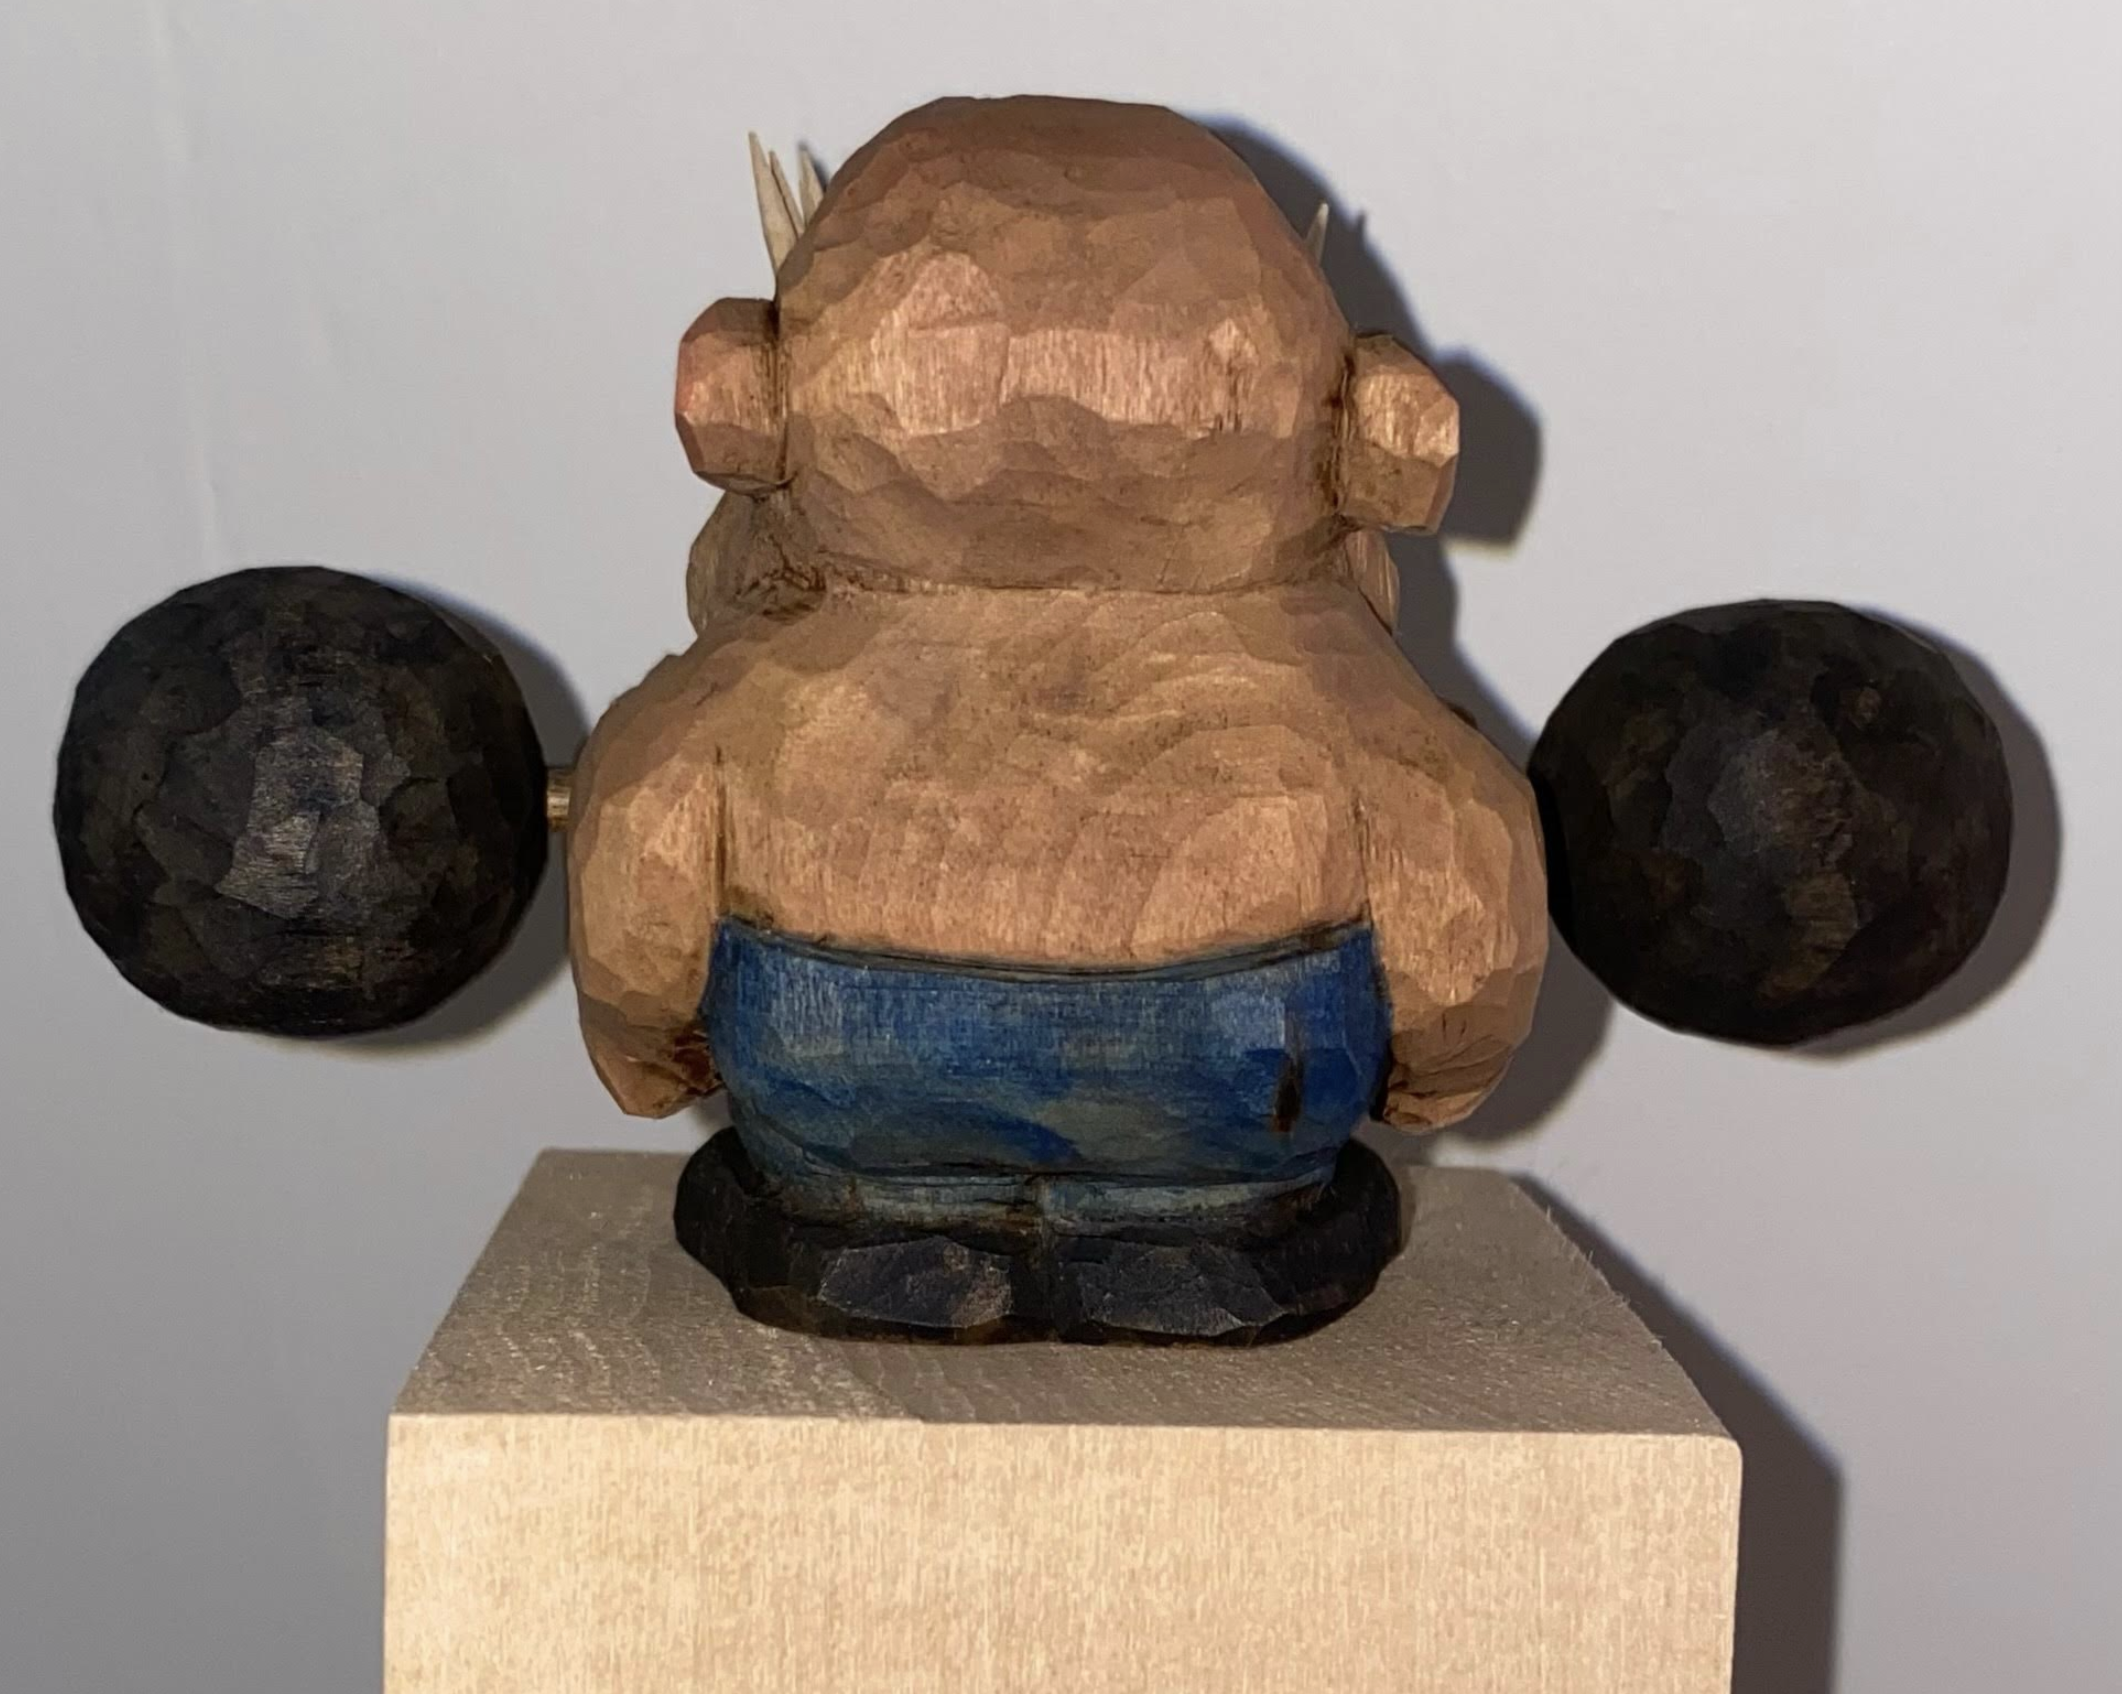

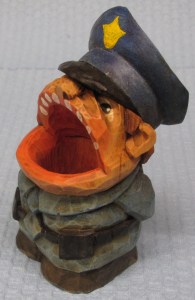
Canadian Mountie
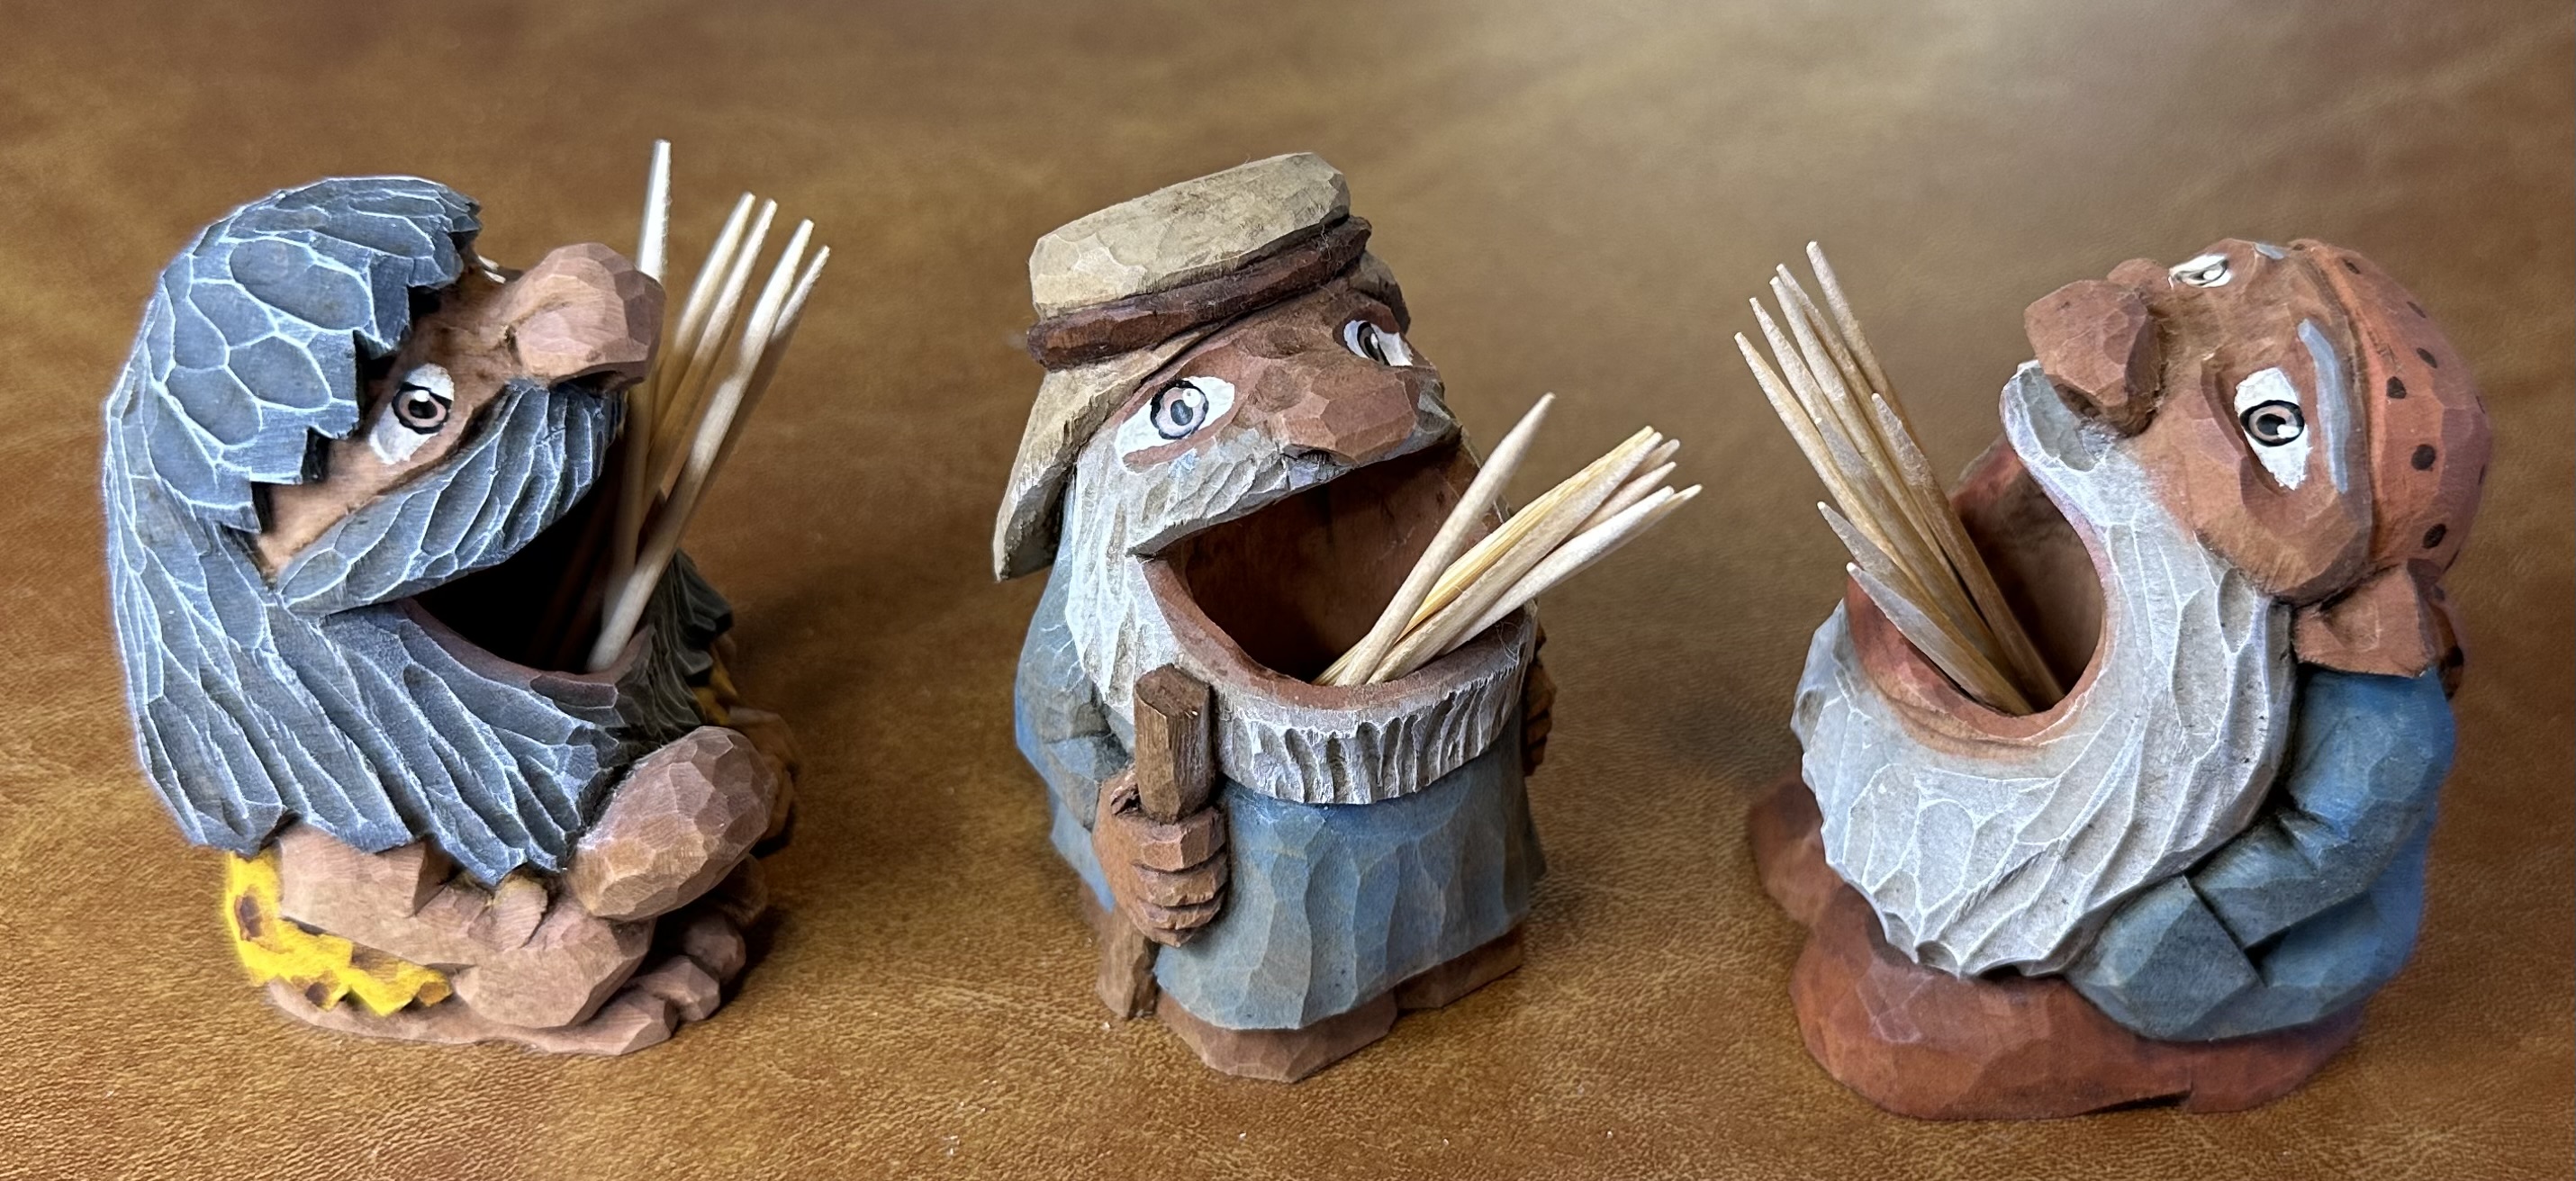
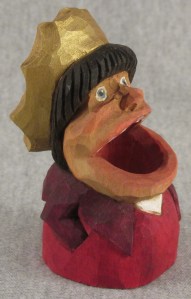
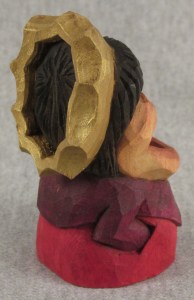
Caveman, Shepard,Troll


 Traditional Patterns
 Traditional patterns
 Cardboard pattern
Carving An Old World Toothpick Holder
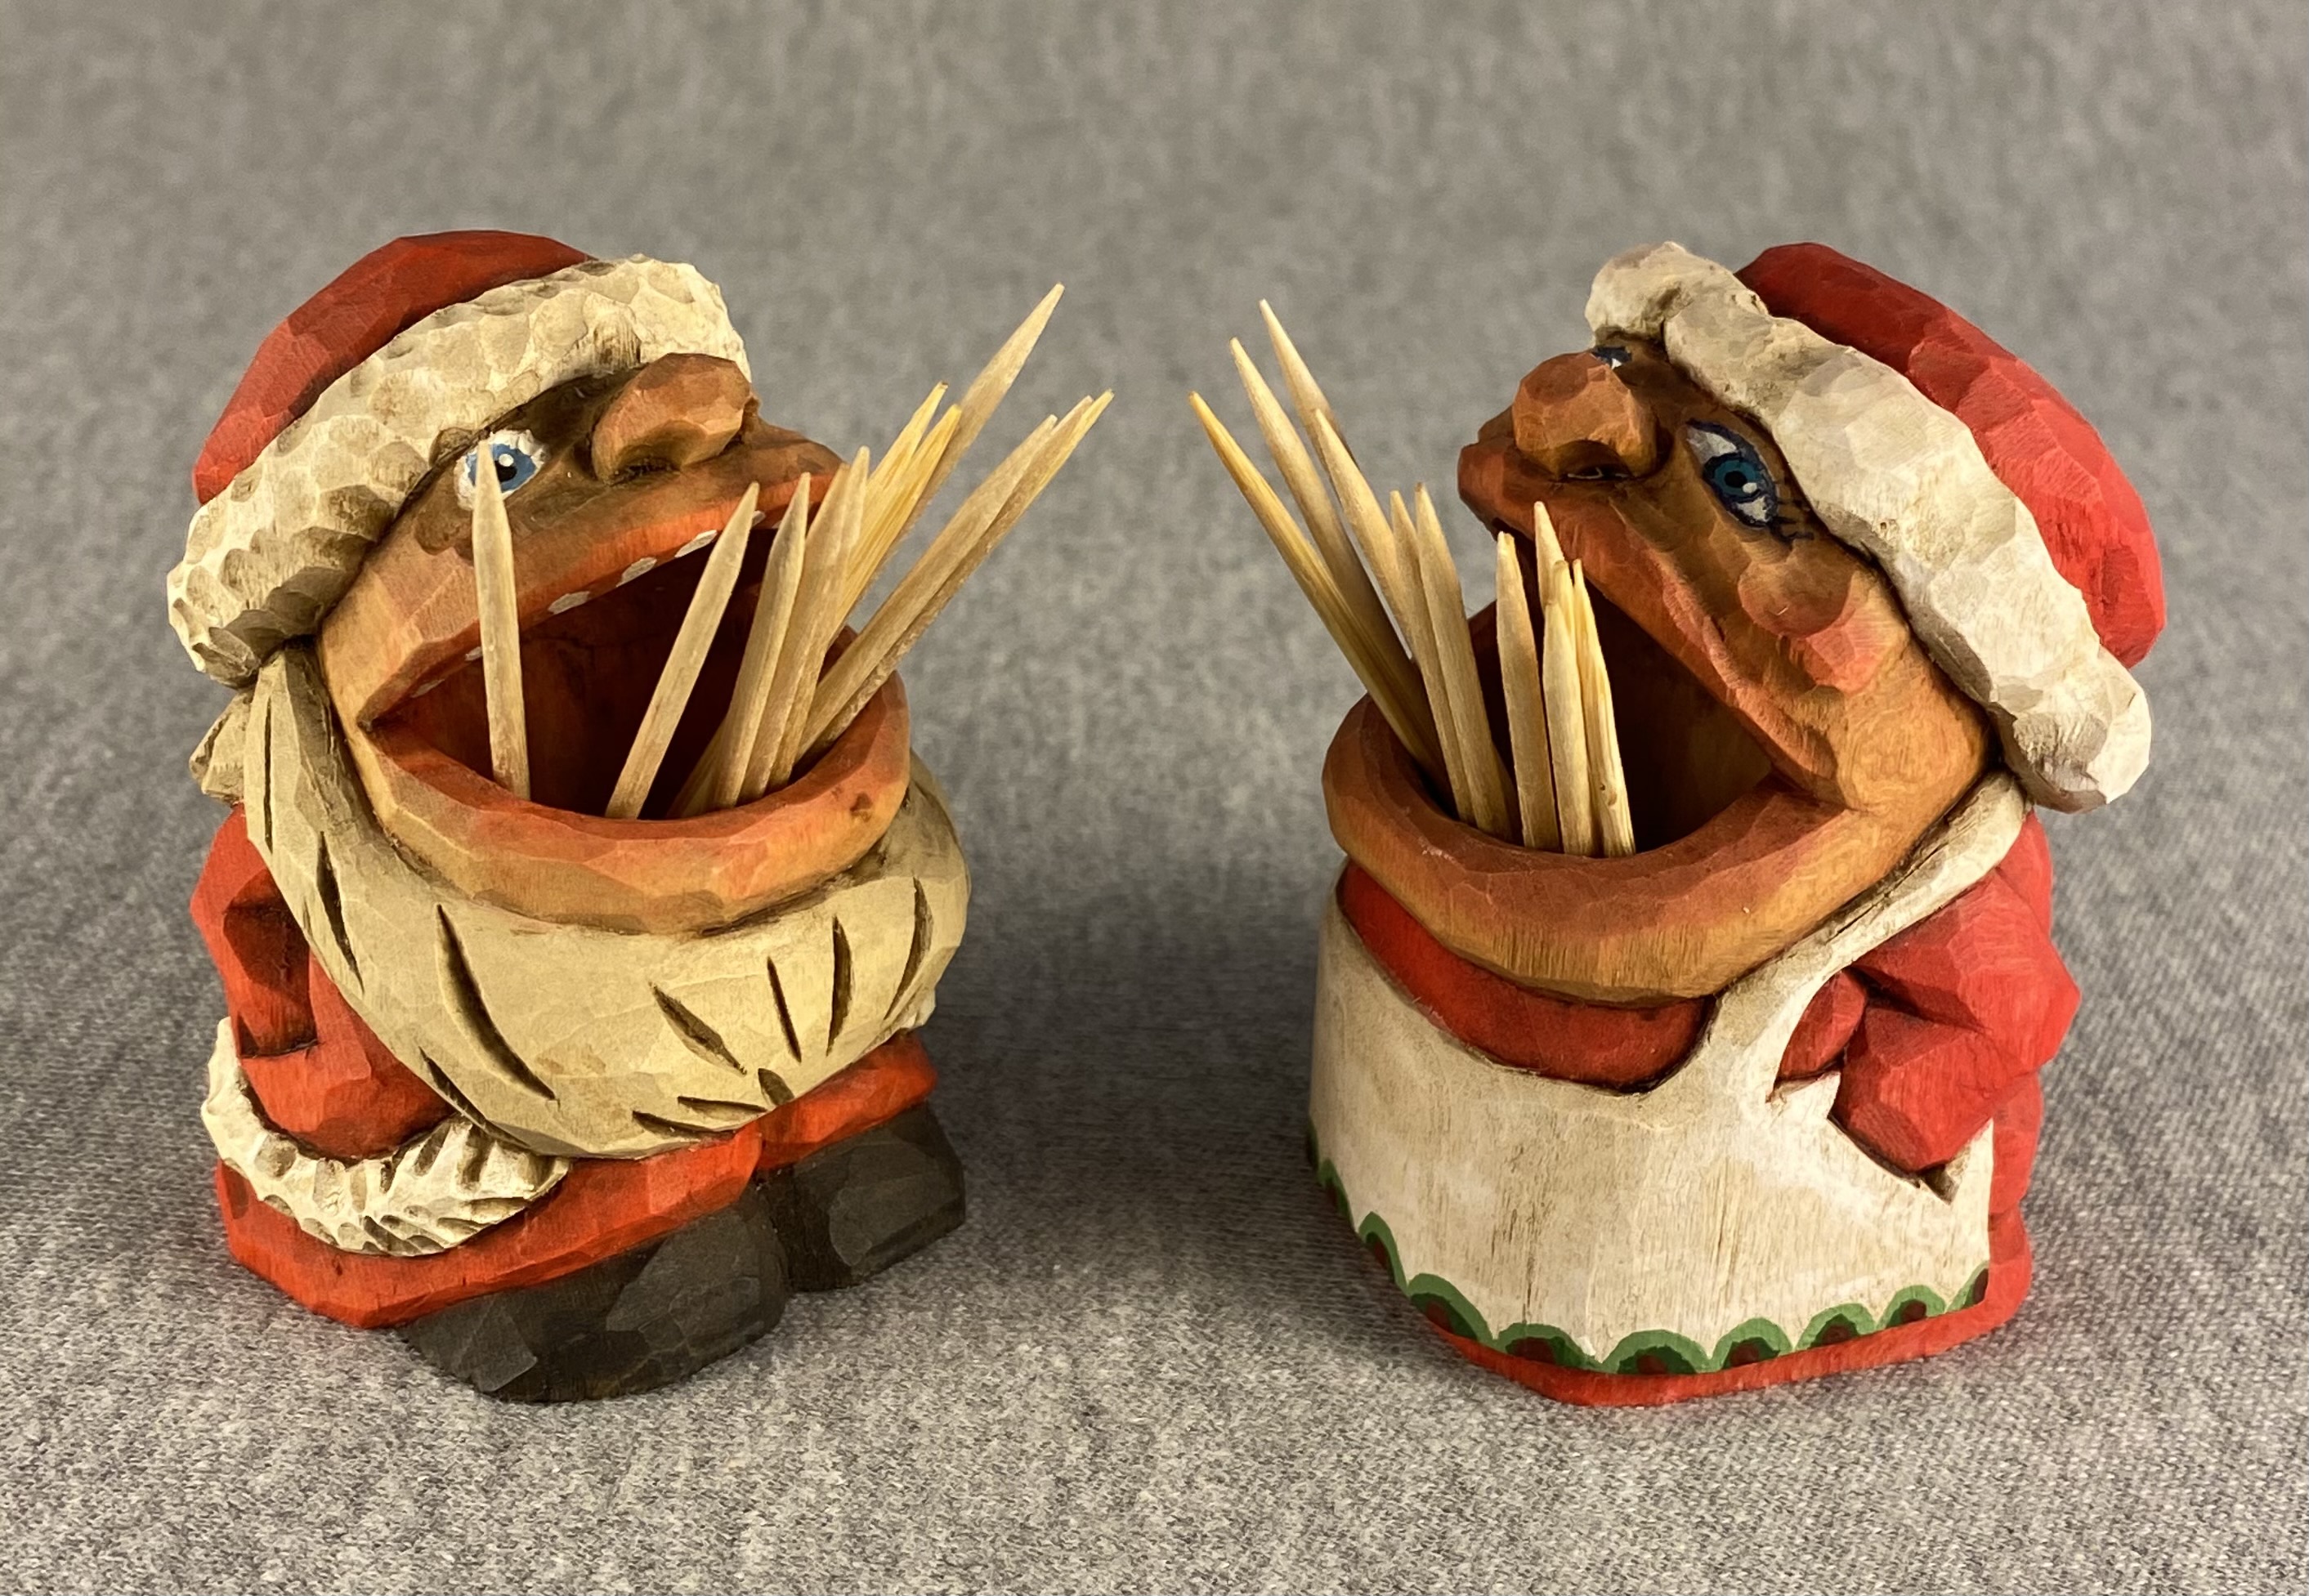
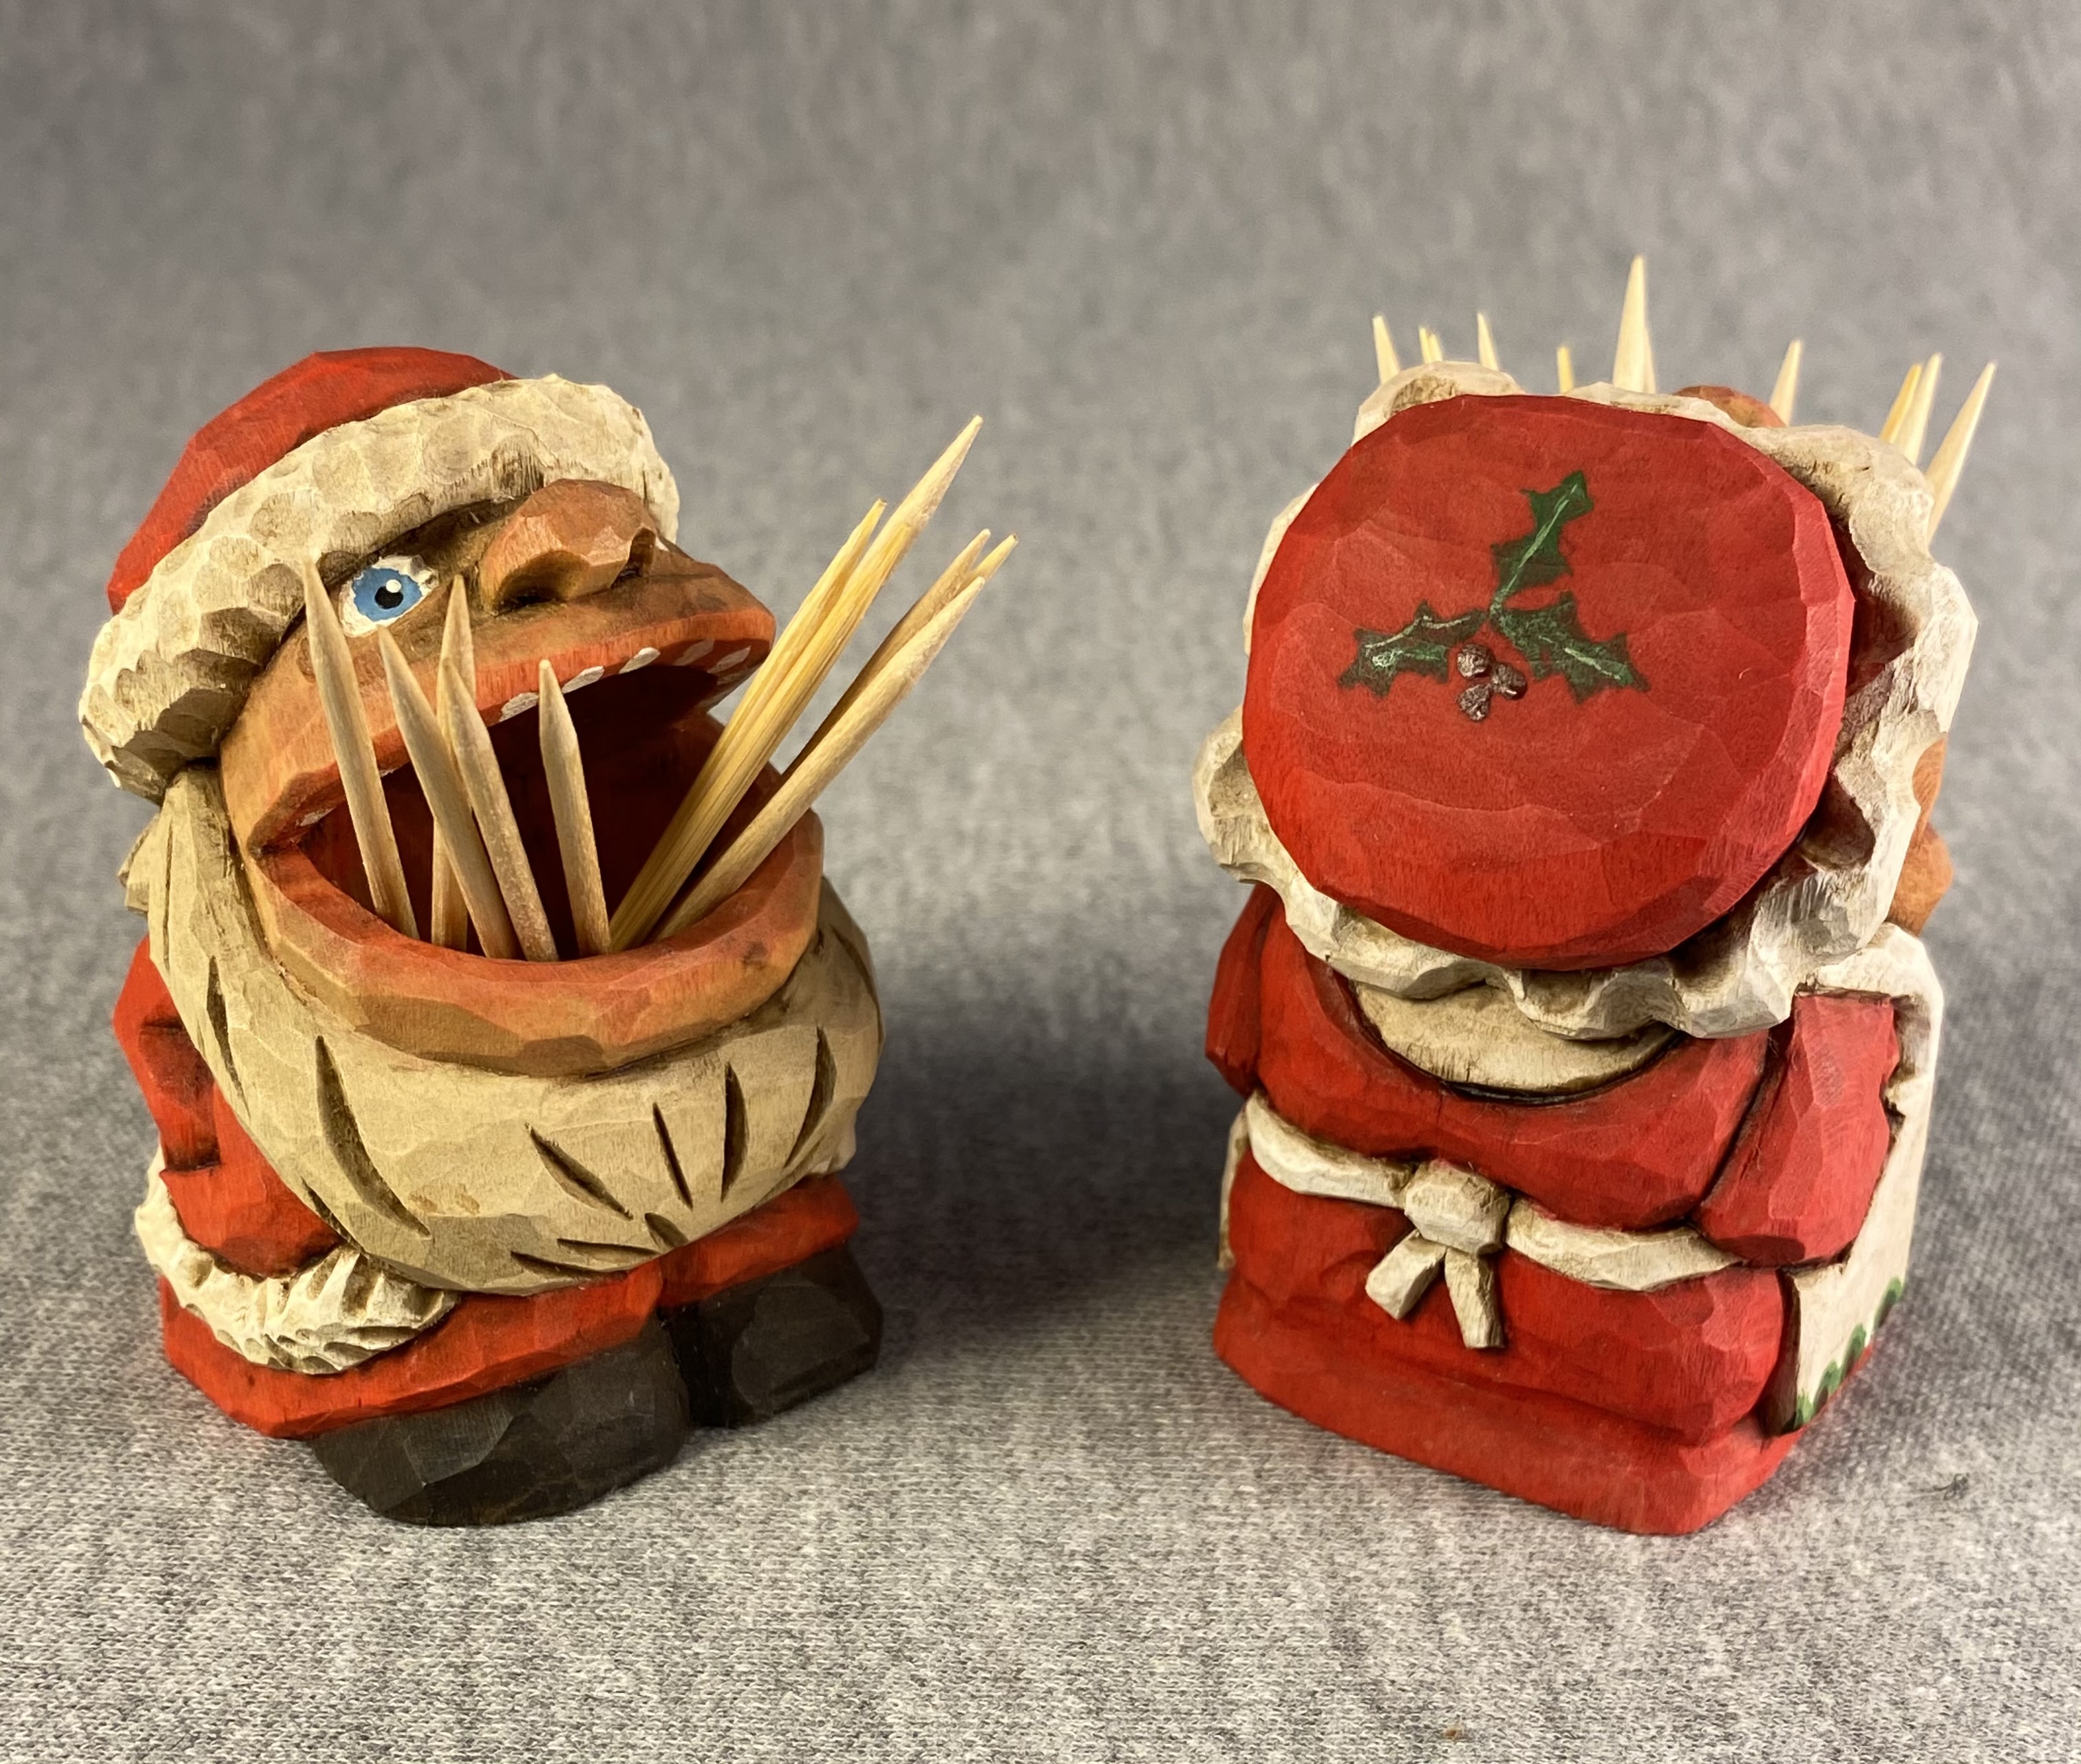
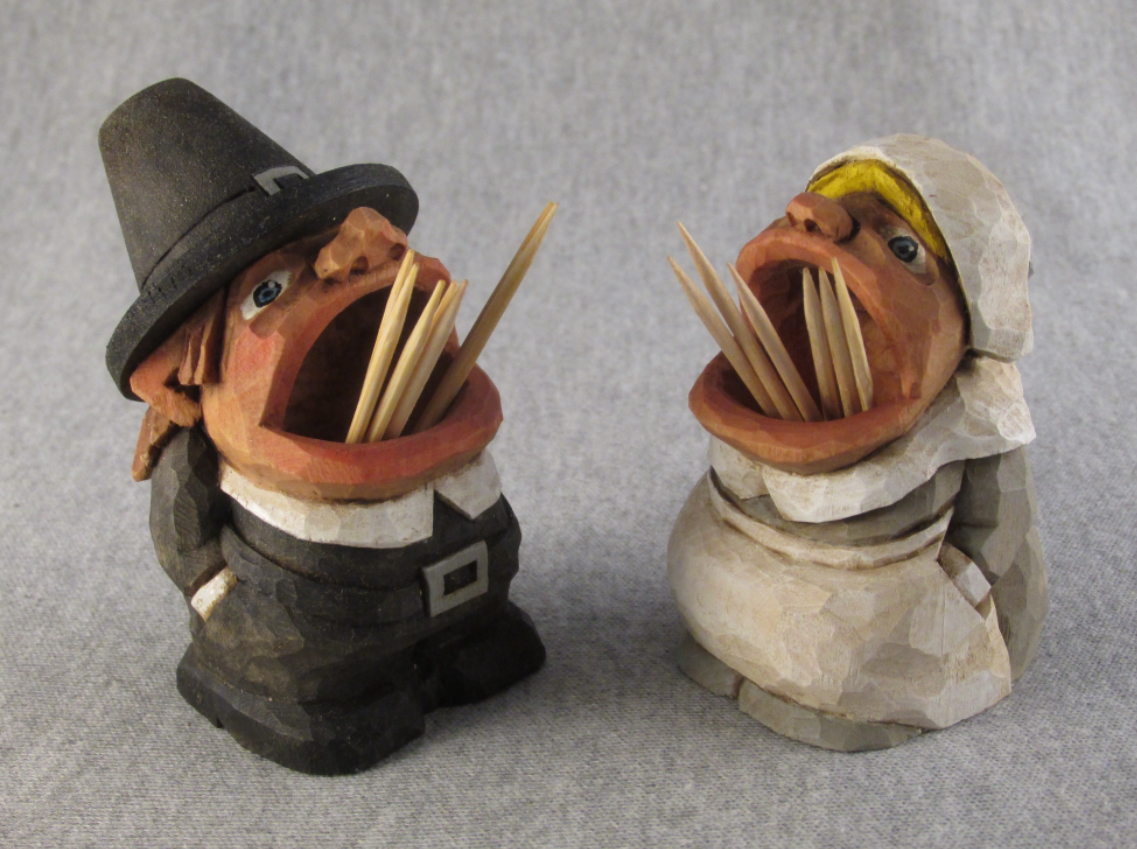
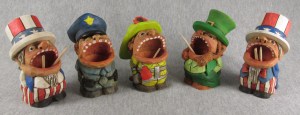
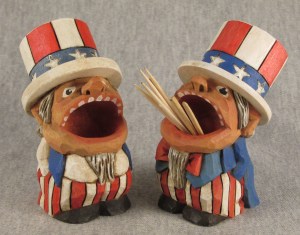
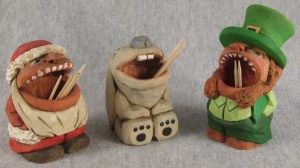
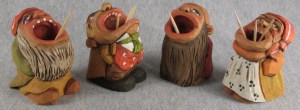
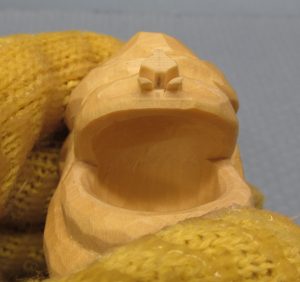
I’ve been fascinated by carved toothpick holders, especially the old European ones. Near the end of World War I a company called ANRI began producing and marketing hand carved products, both decorative and utilitarian. Toothpick holders are some of the more useful ones. They were mostly whimsical representations of women, men and gnomes. The carving style was very simple and some of the features were just added with paint. My intent was to retain the symplicity of the originals by limiting the number of tools used. I copied some of the original patterns before I tried my own designs. I discovered I was carving more details as I designed more patterns. This means you can attempt this project from a wide range of carving experience. I will focus on the aspects unique to toothpick holders such as the open mouth, the internal cavity and the limited area for the facial features.
MATERIALS:
* 3/4″ (19mm) hardwood dowel or hand carved dowel from basswood
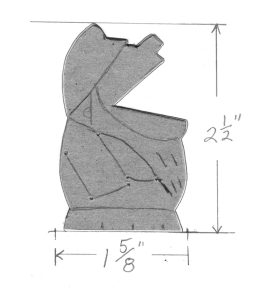
* Basswood, 1 5/8″ (41mm) X 1 5/8″ (41mm) X 2 1/2″ (64mm)
* Minwax clear satin polyurethane liquid
* Acrylic paints, such as Jo Sonja in assorted colors of your choice
* Finishing wax, such as WATCO dark and light
TOOLS:

* Forstner bit, 3/4″ (19mm) and a drill press
* Carving knife with 1 3/4″ (44mm) blade
* #9 Gouge, 3/8″ (9mm)
* #11 Gouge, 1/8″ (3mm)
* Micro Gouge 3/16″ (5mm)
* V-tool, 60 degrees, 1/8 (3mm)
GETTING STARTED:
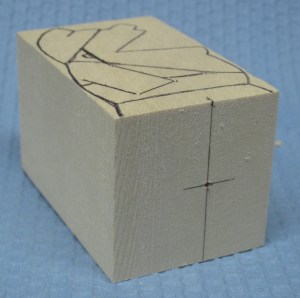
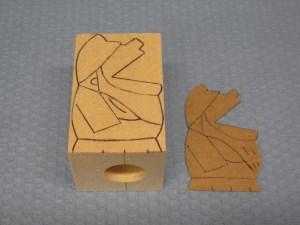
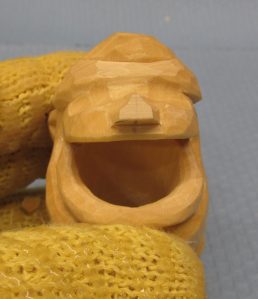
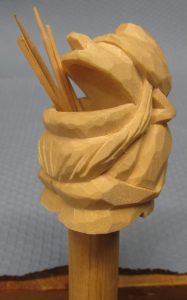
I usually design just a side view. I always make a cardboard template of my design. Make sure the toothpick hole is located toward the front of the profile but not so close that you may punch through when carving the details. Trace the profile onto a block of basswood and mark the center of the hole on the bottom. Locate the hole in the center, left to right, on the block.

Drill the hole before cutting the profile. The depth for the hole in this project is
1 1/4″ (32mm). The hole may not reach the mouth opening, but working from the inside of the mouth and up thru the bottom of the hole you will expose the top of the hole. Follow the instructions below to develop the mouth/hole opening.


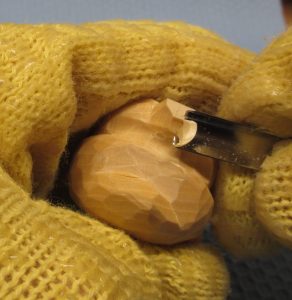
Use a bandsaw to cut the profile. Most profiles are simple enough to shape with a knife if you don’t have a bandsaw. In that case, trace the cardboard template on the opposite side to keep the profile aligned. I always draw a center line and add lines for details on the front and back before carving.
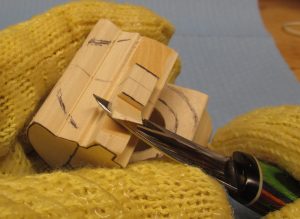
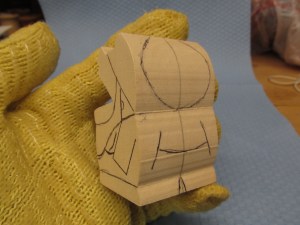
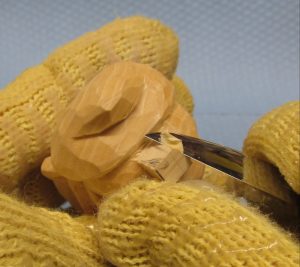
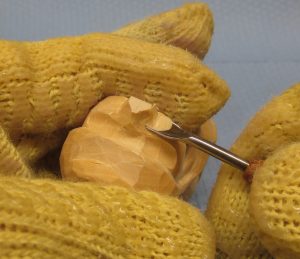
Begin carving by removing wood from both sides of the nose.

Continue shaping with a knife.

Work on both sides to keep the features symmetrical.

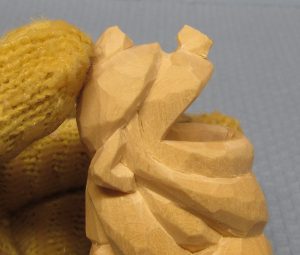
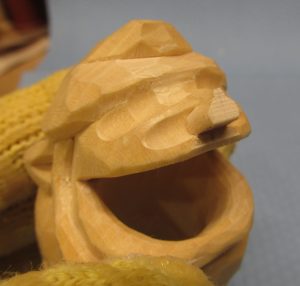
Taper the ears toward the face so the ear appears to stop under the beard.
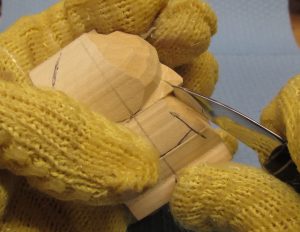
Remove a wedge of wood between the back of the ear and the hat.

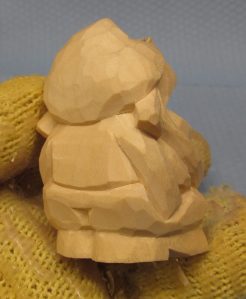
Carve the shoes and complete the other features of the body.
SHAPING THE MOUTH:
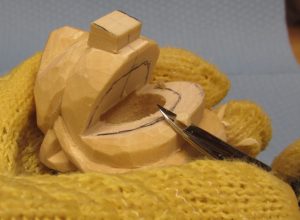
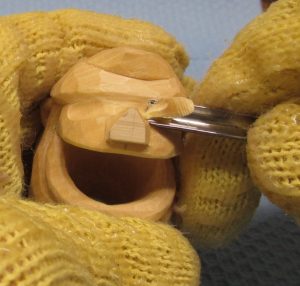
Shape the outside of the lower lip with the knife.

Shape the inside of the lower lip using the end of the knife blade. This is a good time to remove the surface left by the bandsaw.

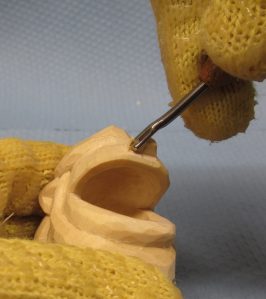
Mark a line parallel to the shape of the upper lip. Leave enough space for an optional row of teeth. The roof of the mouth is recessed using a #9, 9mm (3/8″) palm tool.

The same tool is used to taper the top of the hole to complete the transition to the roof of the mouth. Work from the bottom of the hole. Work around the inside of the hole to taper it toward the lower lip.


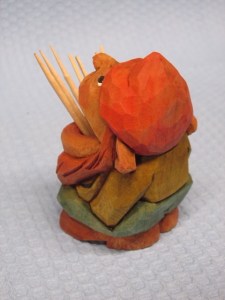
Scrub the carving with dish soap and warm water using a denture brush. Thin the paint with water to a stain consistency and apply with a brush to the damp wood. Light colors, such as white and pink should not be thinned as much, if any.
Paint the eyes when the flesh is dry. Use a round brush to apply a white oval shape for each eye. Keep the eyes simple by painting a black dot in the center of the dry white oval. Add a reflection to the eye with a tiny white dot to the side of the dry black dot. Position the white dot in the same spot in each eye.
Teeth are optional. If I add them, I just paint white dots inside the upper lip. A V-tool can be used to add separation to the teeth before painting.
Wait at least 8 hours for the wood and paint to dry. Brush on a liberal amount of polyurethane allowing it to soak in and to fill the valleys. Wait 10 minutes and use paper towels to remove any poly remaining on the surface. Use a clean natural brush to remove what the towel couldn’t reach in the corners. Allow the sealer 8 hours to dry.
For this project I mixed 30% dark and 70% light WATCO finishing wax. Apply the wax with a brush ensuring all surfaces and corners are covered and filled. I wait about 20 minutes before wiping the excess off with a clean cloth. This time do NOT remove the excess from the corners. This technique will darken the paint giving the project an aged look. Set the project aside overnight to dry completely. If it’s still sticky, buff with a cloth.
———————————- Please Note ———————————-
Dispose of the cloths properly. WATCO wax contains boiled linseed oil so cloths and paper towels soaked with the wax can spontaneously combust.

Definitely going to follow your blog!