
I’ve been carving thread spools since the early 1980’s. I can’t recall how many I’ve done but they’ve been great for practice. I’ve done two chess sets. One went to a set collector in Australia. I used to carve a spool in exchange for more spools. After friends passed the word, I now have a lifetime supply. I like to carve them for families that have some of grandma’s spools. Grandchildren can have a memory trigger.
The most common question is about the kind of wood. My research has found that white birch was commonly used. I’ve found some too hard to carve but also, some too soft. Toss the hard ones you find. They’re rough on knife points. I’ve found some with grain blemishes but never with knots. Thread doesn’t work well with sap. The grain is usually pretty straight and sometimes is hard to locate. Manufacture of wooden spools stopped in the mid 1970’s. Of course modern spools are not made of wood so you’ll have to find yours at flea markets, antique stores, or EBAY. You may have friends that never throw anything away and still have a bag of them. You can also use what I call counterfeit spools. They’re made for crafting and have never had thread on them. Some of those are basswood. I like the old ones and like to keep the original labels on them.
Spools come in many sizes and shapes. The one I used for this project is 2 1/8 inches tall and 1 3/16 in diameter. Try to find one a couple of inches tall for your first attempt unless you’re also a watchmaker. The shape may offer special challenges to your creativity. Some spools have a thin waist to allow for more thread. Some are shaped like a barrel. Some are only a half inch tall. My goal is to make the spool into a head rather than a relief carving of a face. There’s more wood available than you think so go deep. Of course a cylinder of wood is just a cylinder and not the proportion of a skull and neck. Space is limited and ears end up close to the eyes or the hair takes up the space for the ear. On most of mine, the edges of the carving just blend into the rest of the spool. Due to poor planning, I sometimes run out of space to develop a chin. Except for long whiskers, walking stick faces can be carved into spools.
Antique bobbins from weaving looms can also be carved. They’re the taller cousins of thread spools. Most of those I’ve found are oak or maple. I like the oak bobbins that have absorbed lots of natural lanolin from wool yarn. The lanolin softens the wood. Otherwise the wood is hard and was chosen because it can take a beating.
I always wear a carving glove to hold the spool. I’ve been told about devices to clamp the spool and allow a better grip. I still recommend a carving glove. After carving and signing the spool, I use Howard’s Feed-n-Wax to completely cover the wood. Buff with an old toothbrush. The tools I used for this project are: 2mm and 4mm V-tools, 8mm and 10mm #11 gouges, 2mm and 3mm #9 gouges, and a knife.

Tools used for this spool. Knife not shown.
The following description appeared in Carving Magazine issue #31. The publisher is now out of business but you may be able to locate a copy somewhere in the woodcarving universe.

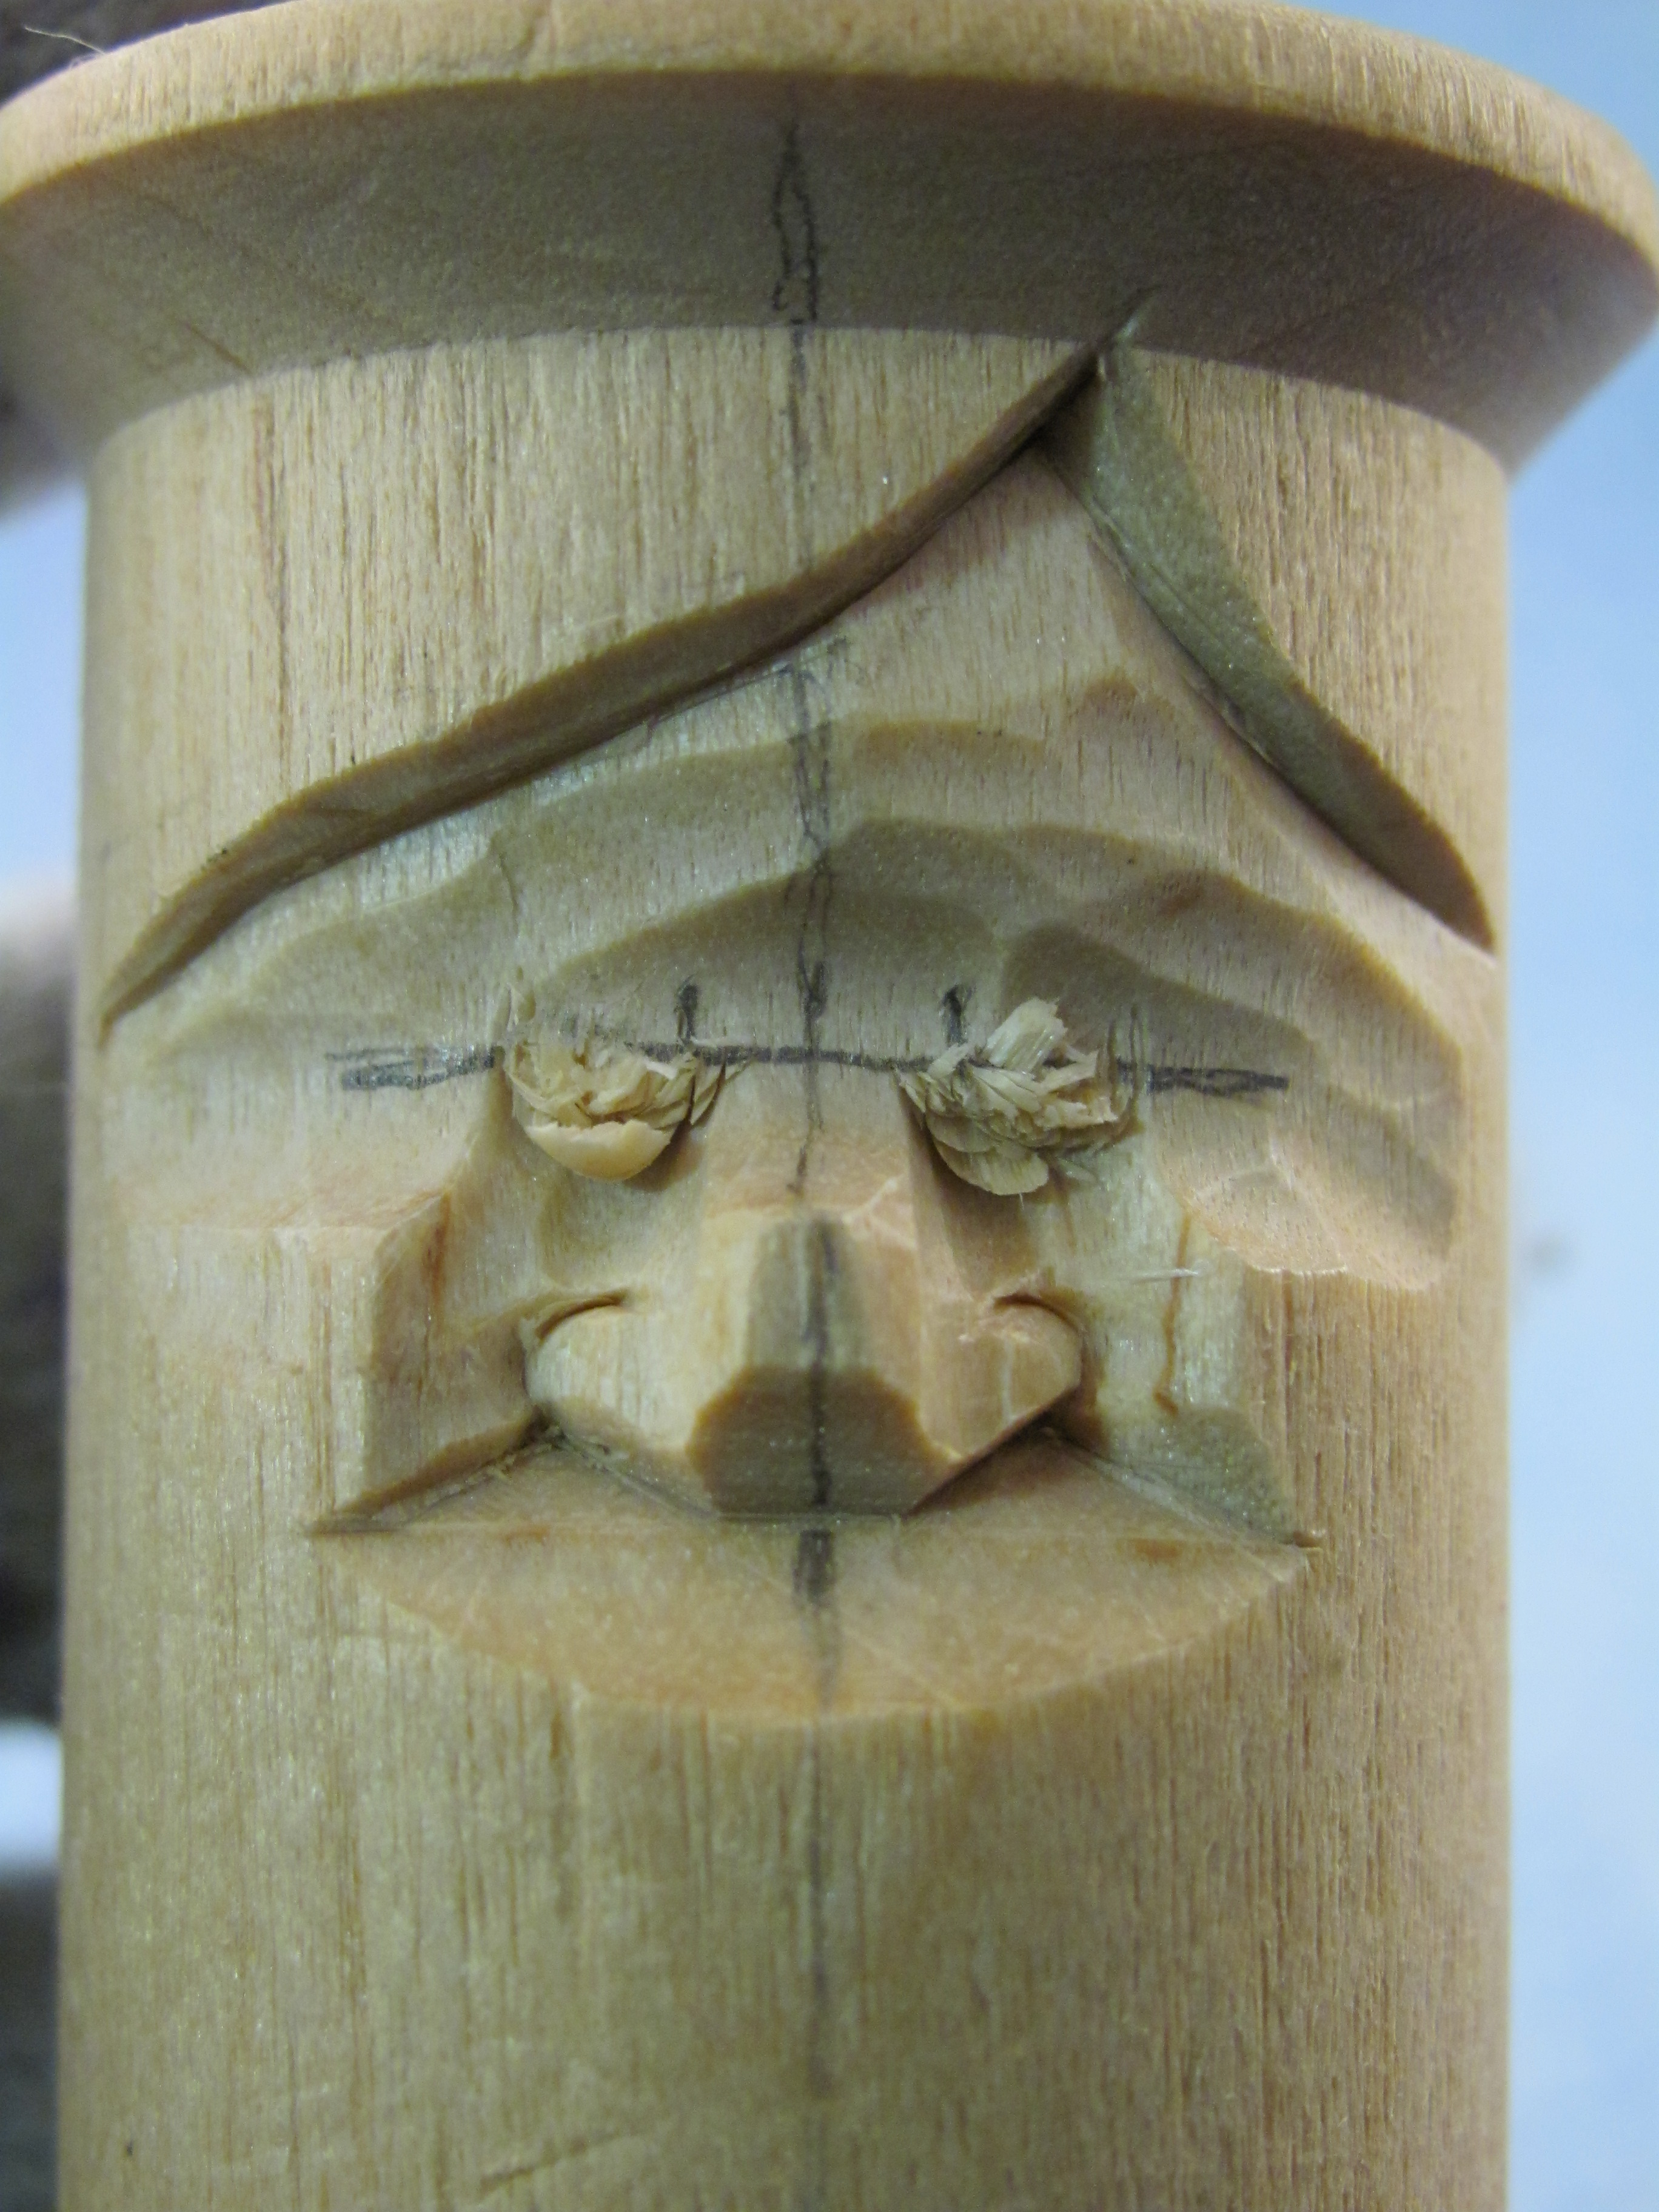
Draw a center line and add lines for the hair. The ends of the hair line just fade into and around the spool. Place the part in the hair to the side of the centerline to add interest. Notice I added a line for the eyes and the bottom of the nose.

Use a 4mm V-tool to cut below the hair line. Using a knife, begin to reduce the forehead {continuing the work done with the V-tool.)

Use an 10 mm #11 gouge to cut the eye line. I used the same tool to reduce the forehead more to allow room for the gouge to deepen the eye line. Check the profile occasionally to gauge the relative depth of the forehead, eyes and nose tip.

Cut below the nose at the line. Just use a knife. Make sure the cut deep enough to expose the width of the nose.

Use an 8mm #11 gouge to define the width of the nose. I like to draw lines before I use the gouge to make sure the nose will be symmetrical. Pencil lines are easily adjusted.

Use a knife to raise the wings of the nose.

I taper the nose to resemble a tent. Notice in the picture the bridge of the nose retains a flat area. The nose is small and could break easily, so I carefully use a knife. For a nose this size, I used a 3mm #9 gouge to remove wood from the front of the wings continuing up the sides of the nose into the corner of the eye.
I use the 3mm #9 again to form the outside edge of the wings. Make a stop cut by pushing the gouge in at an angle that causes the tool handle to extend across the center line. This way you avoid cutting behind the wing. With the same tool, make the removal cut by cutting into the cheek.

Use an 8mm #11 to develop the eye area. Be sure to reserve space between the eyes at the top of the nose to be able to start working in the eyebrows.

Use the 10mm #11 to narrow the face at the eye line and a knife to smooth the ridges at the temple.

Use a #9 gouge to separate the eyebrows. I used a 3mm. The forehead was not recessed enough so I used a knife to push it back. Using the area near the tip of the blade, roll the brow up to the hair line, leaving the brow area for some eyebrow hair later.

It helps to redraw the eye line and upper eyelid line. Using a very sharp 2mm V-tool, cut the upper eyelid line. Notice this cut dips slightly below the eye line and continues around the head.With the knife tip, lightly trace the lid cuts to make a stop-cut. Still using the knife, remove a tiny amount of wood below the stop-cut. Using the V-tool again, make a cut parallel and slightly below the lid line. This cut makes the lower edge of the upper lid. Again use the knife tip to trace the new cut and remove wood while shaping what will become the eye ball.

Here is another view of the eye cuts.

With the knife tip, lightly trace the lid cuts to make a stop-cut. Still using the knife, remove a tiny amount of wood below the stop-cut. Using the 2mm V-tool, make a cut parallel and slightly below the lid line. This cut makes the lower edge of the upper lid. Again use the knife tip to trace the new cut and remove wood while shaping what will become the eye ball.

Use the V-tool again to define the upper edge of the lower lid. Because space is limited, I start these cuts in the middle and toward the corners. Remember the lower lid is shorter than the upper lid.

Trace the v-cut and use the knife tip to clean and shape the eyeball. Remember to remove a little triangle from each corner of the eye to create the impression of a ball. Try to eliminate flat spots on the exposed ball. I like to mark the iris/pupil location with a pencil before committing to the cut. To make him look more interesting, I’ll have him look to his left.

I take the easy way out on these tiny eyes by just making a negative space for the iris/pupil. For this face, a 2mm #9 just fits between the upper and lower lids. Push straight in and avoid nicking the lids. I use the point of my knife and sometimes a 1.5 mm #9 to remove the wood and create the shadow.

Now for a few last details around the eyes. Reduce the outside end of the lower lid to create a tiny shadow that suggests the lower lid is covered by the upper one. Use the small V-tool to cut a lower lid line curving like a reclining “S”. With a knife, round over any ridges and blend the brow with the rest of the face. While you’re rounding and shaping, work on the cheek mounds. Use the small V-tool to add a few eyebrow hairs. Don’t get carried away. A few will do.

We can finish the hair now. Use a knife to remove ridges and taper both sides toward the part. I use either of the V-tools to add random hair lines (sometimes both). The hair lines shouldn’t be cut completely from end to end – they should be carved to suggest they’re going to meet at the part. Just blend them into the spool as they disappear around the sides. Don’t go around too far or the viewer will expect as much detail on the rest of the head. You can cut up into the flared part of the spool to round the top of the hair and get a few more strands. Remember the cuts will be across the grain so have a sharp tool. Notice the extension of the smile lines.
Even though the spool is round, the mouth and teeth must fit the head. Remember grandpa’s dentures were not as wide as his head. We’re going to concentrate on the dental mound. Use an 10mm #11gouge to deepen the area under each cheek. Because the muscles stretch the mouth a little, the mouth will be a little wider than the distance between the center points of the eyes. Use a knife to shape the upper lip back into the area prepared under the cheeks. Draw the lip line. Notice the ends do not touch the expression lines that form the cheeks.

Read above.
Use a V-tool to remove wood under the lip line. Use a knife to trace a stop cut into the v-cut and continue removing more wood below the lip.
Draw the upper edge of the lower lip and cut above it with the V-tool. Once again trace the cut and begin removing wood to shape the teeth. Keep in mind the teeth should appear to protrude from behind the upper lip and tuck behind the lower lip. The curve of the teeth should be the same on both sides of the center line. Invert the spool to double check the balance. Because the lower lip dips below the upper teeth on the right side, mark a line for the lower edge of the teeth. I use a knife to create the negative space between the teeth and the lower lip. Rest the blade on the lip as a guide. This will make the lip disappear into the mouth. A variation of this face could show a lower tooth (or two) instead of the opening.

Lay out the teeth with a pencil. Start with the center teeth. They should be the same width. The teeth on the left side are easy because they just get tiny cuts to create a shadow between them. Because the right side of the mouth exposes more of each tooth, and maybe one more than on the left, most of the work is done there. Remember the curve has already been established so avoid changing it as the teeth are defined. Note how I have created a shadow inside the mouth at the back tooth. Remove wood from inside the cheek, not the tooth, to achieve this effect.

I use a knife tip to divide and shape the teeth. If you need to expose more tooth area, you can do this by lowering the lip line. This will be more difficult after the bottom of the lip is carved. Each tooth on the right side should be shortened a bit as they continue toward the back of the mouth. Think of stair steps.

We move to the lower lip. Use the 8mm #11 gouge to cut below a line drawn parallel to the upper edge. This cut will create the bottom edge of the lower lip.

Shape the corners of the mouth and lip with the 10mm #11 gouge. The lower lip tapers as it approaches the corners, both from both the bottom and the side. Notice the vertical opening that connects the upper and lower lips. Leave a little mound of wood on the cheek side of the vertical cut. Continue smoothing the area under the lip toward the sides of the spool. Also notice I used a 2mm #9 gouge to create nostril openings.

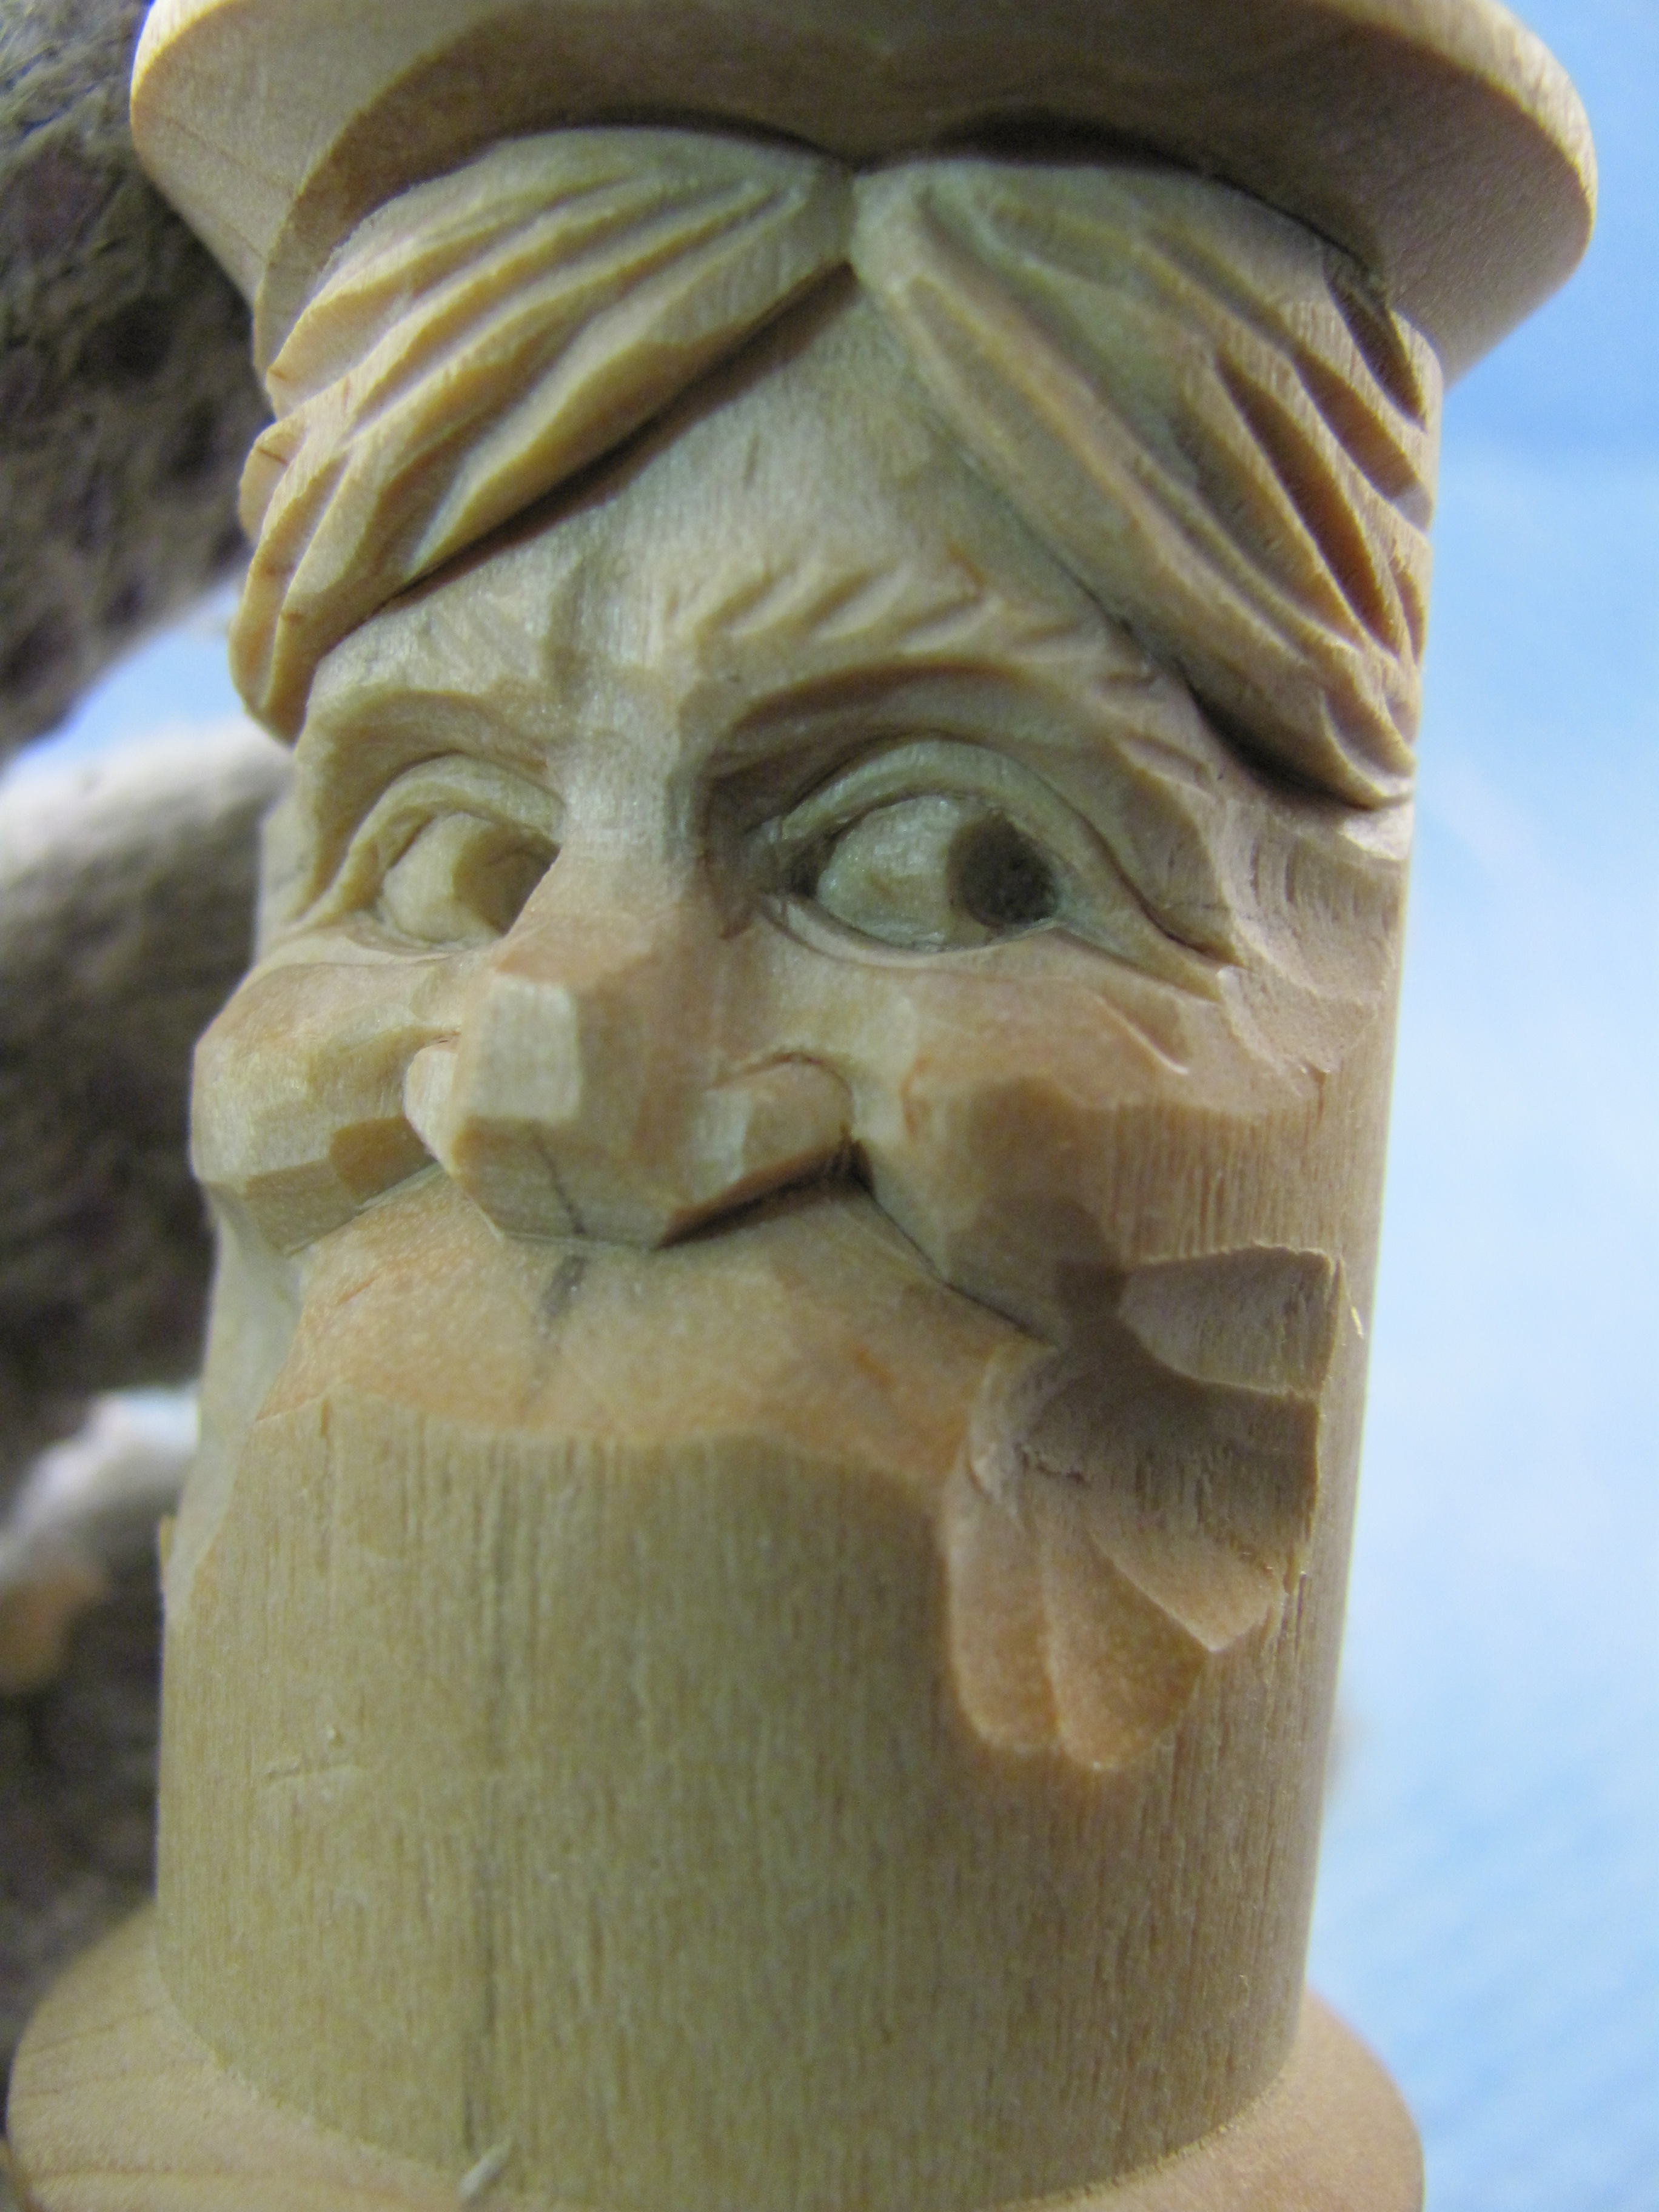
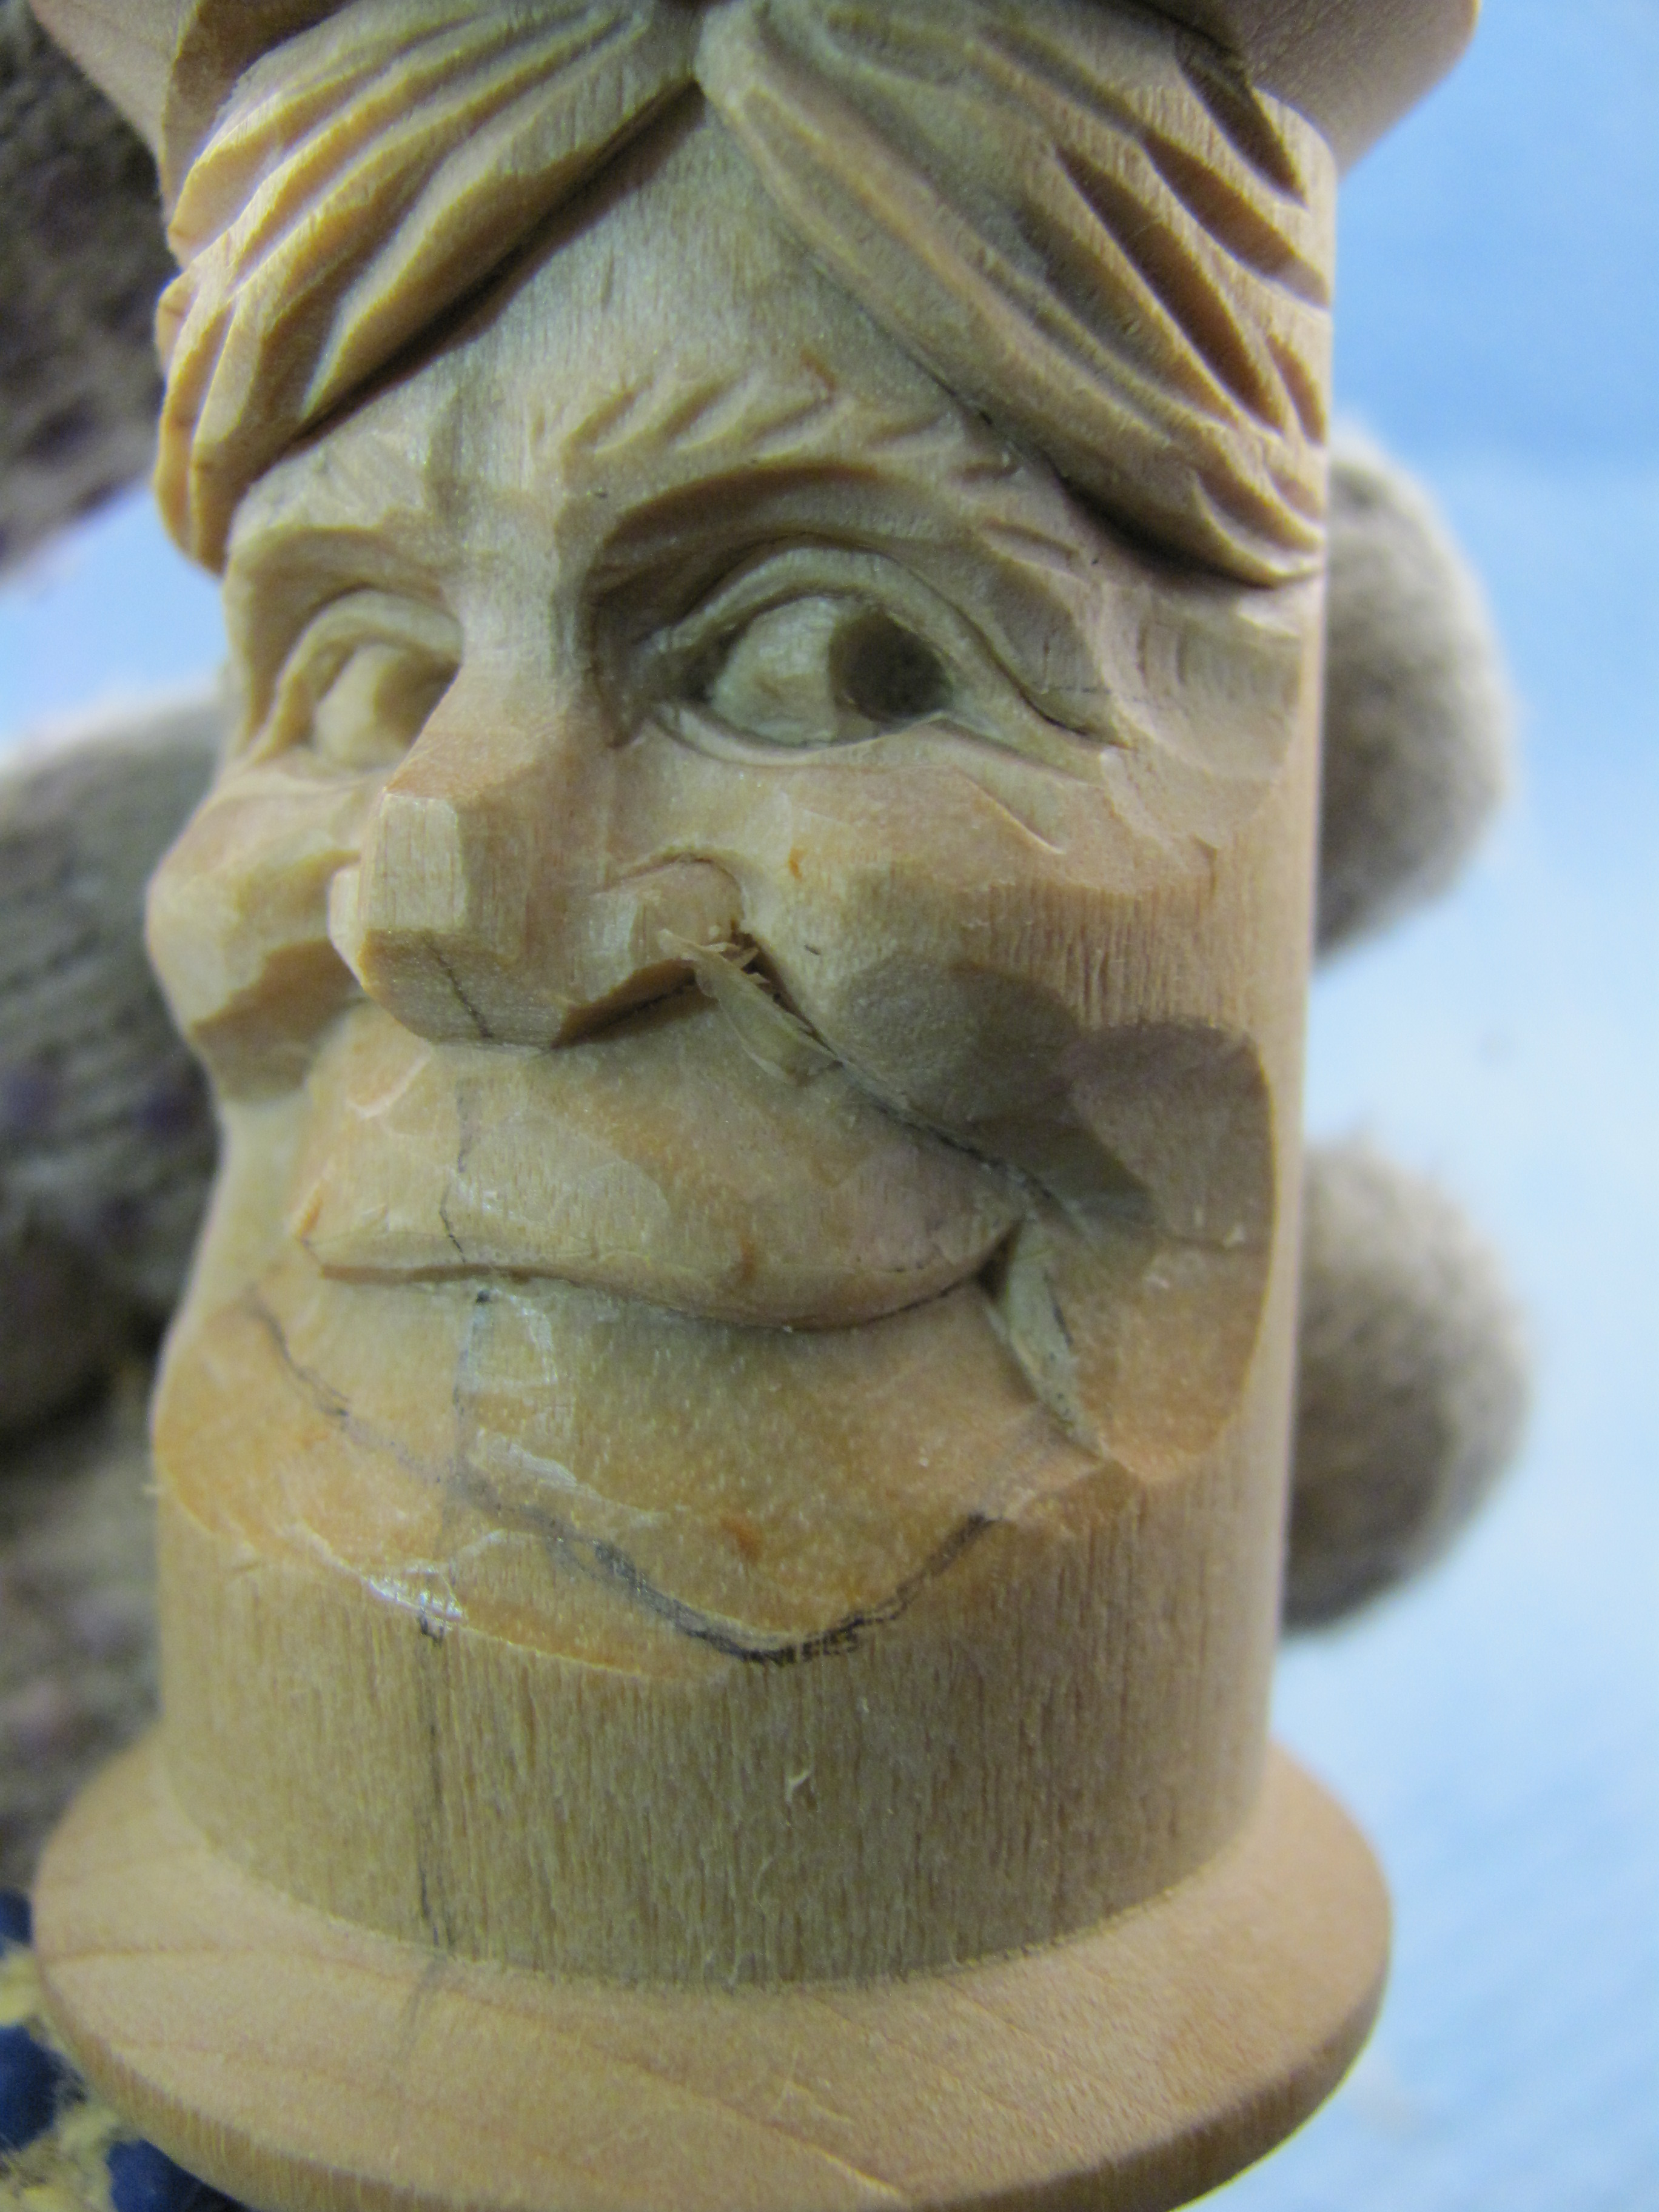
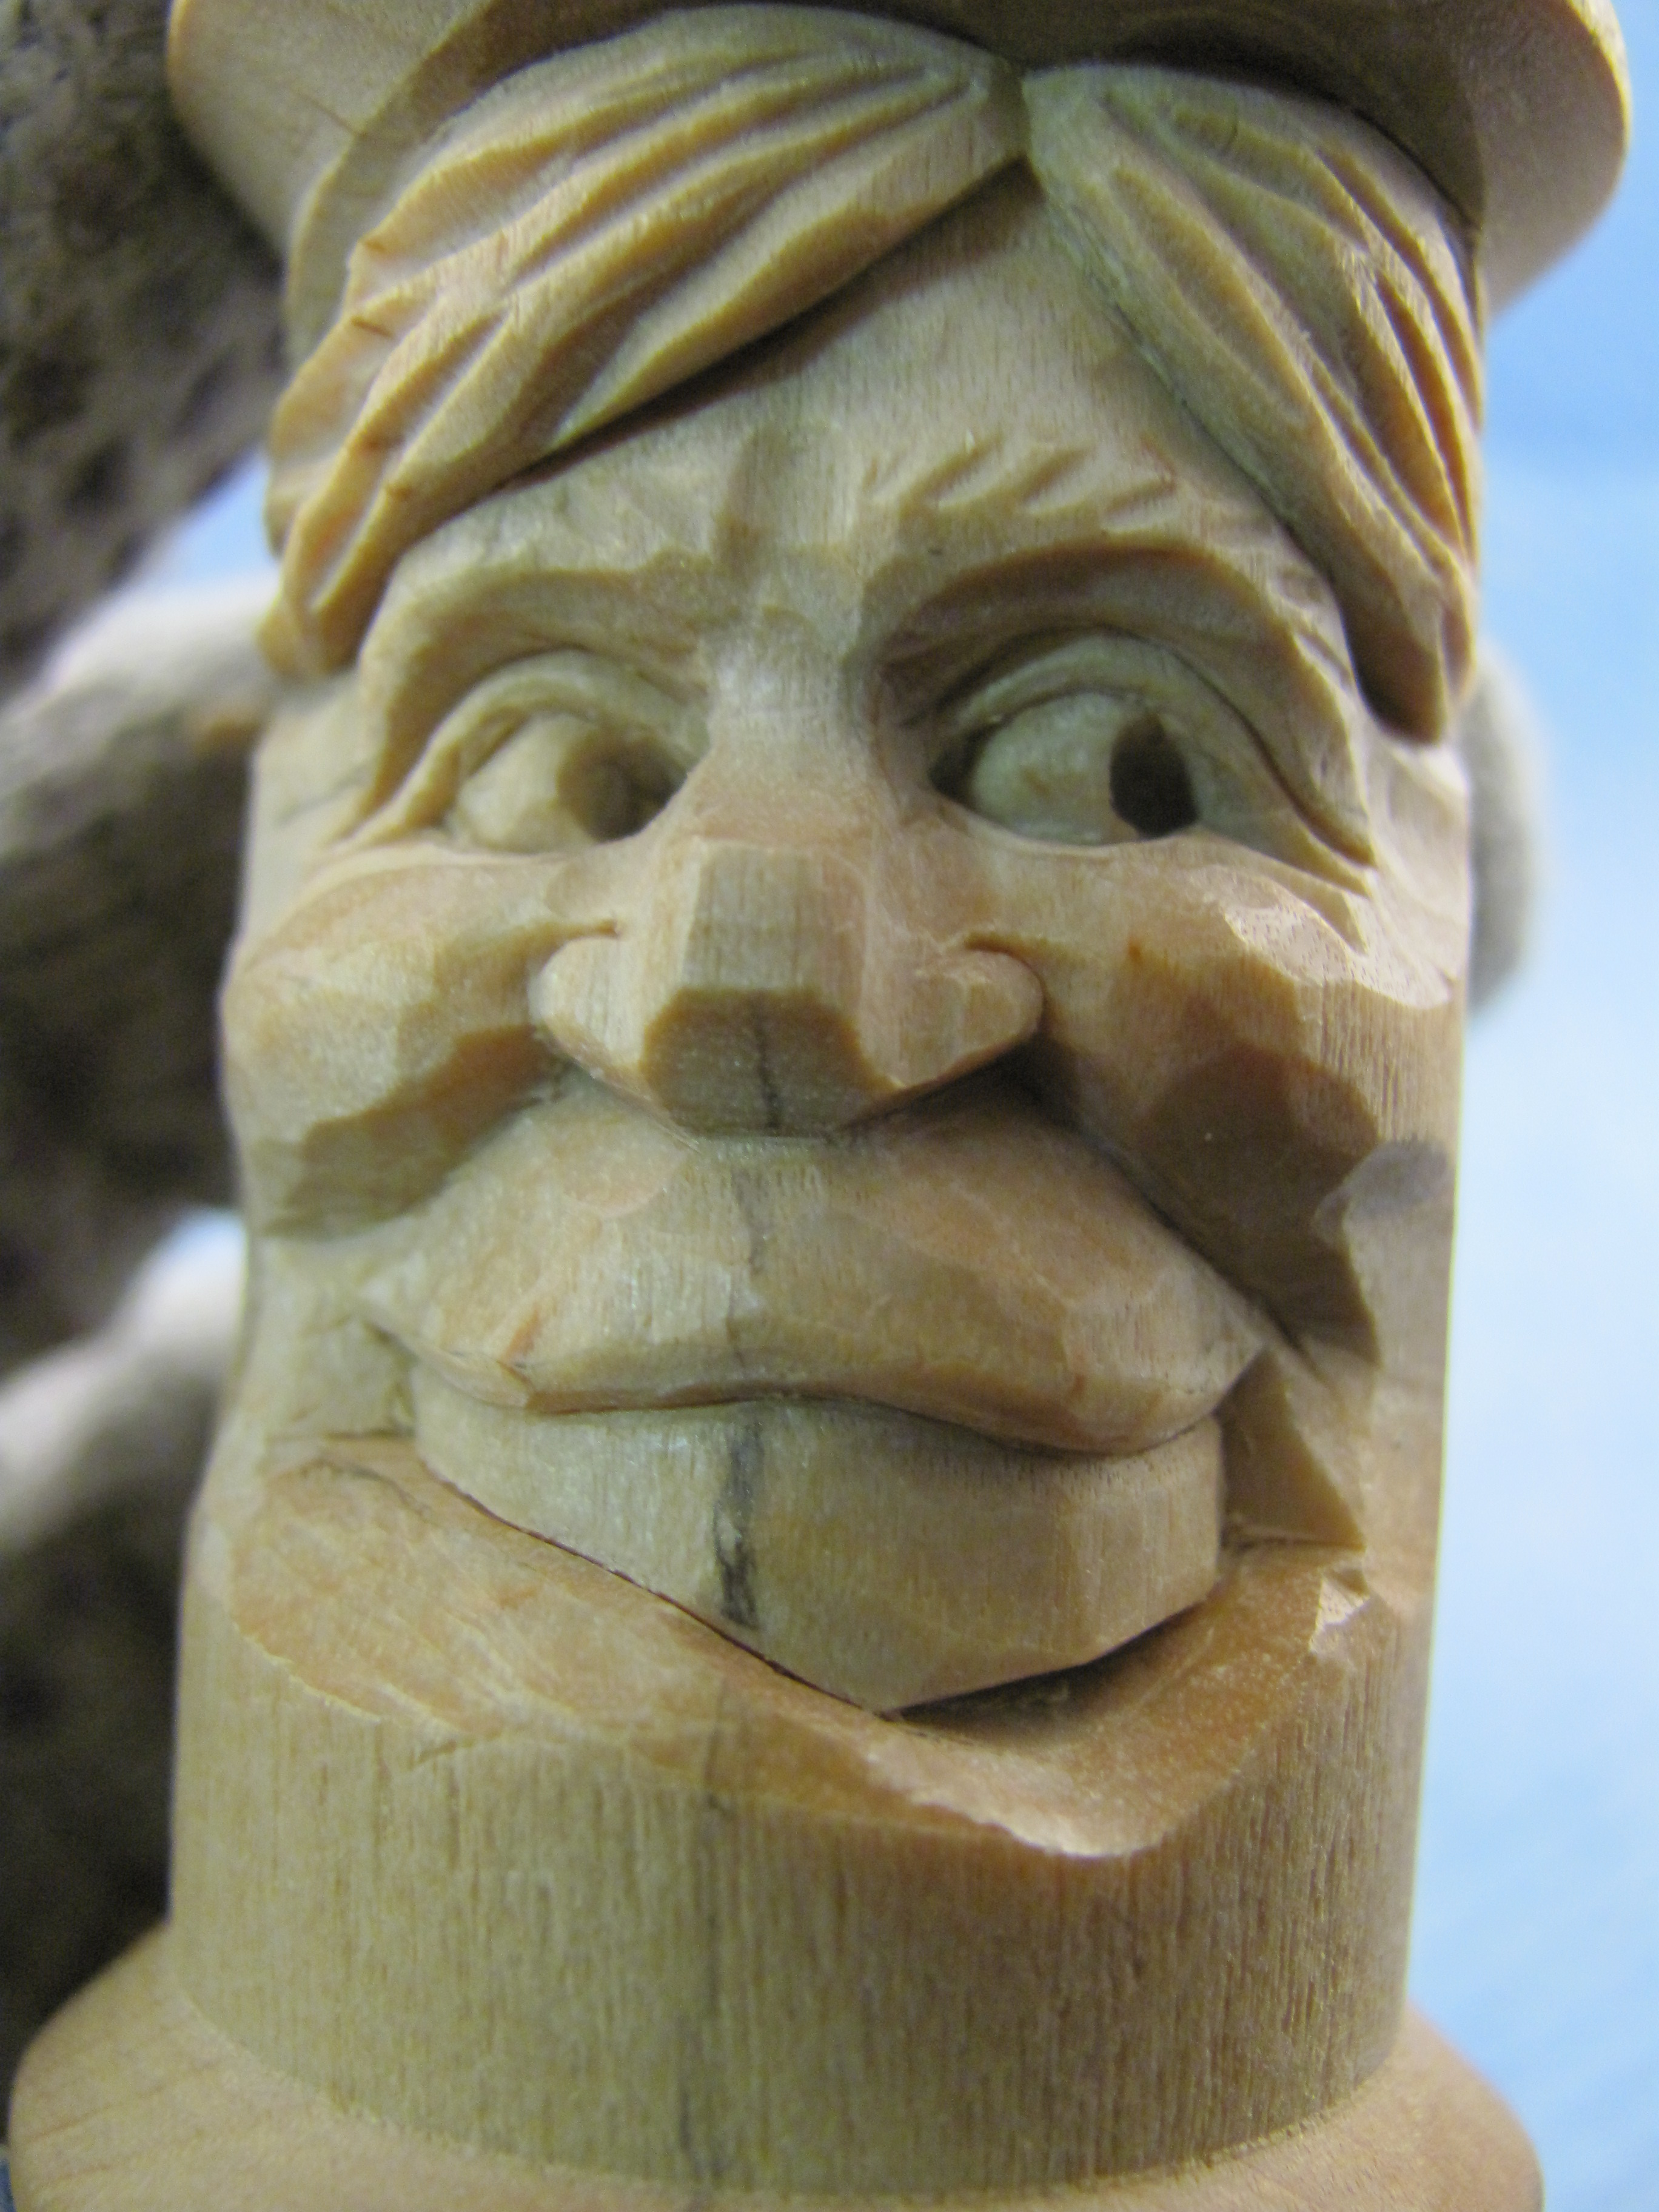
Another view.

Finished view.
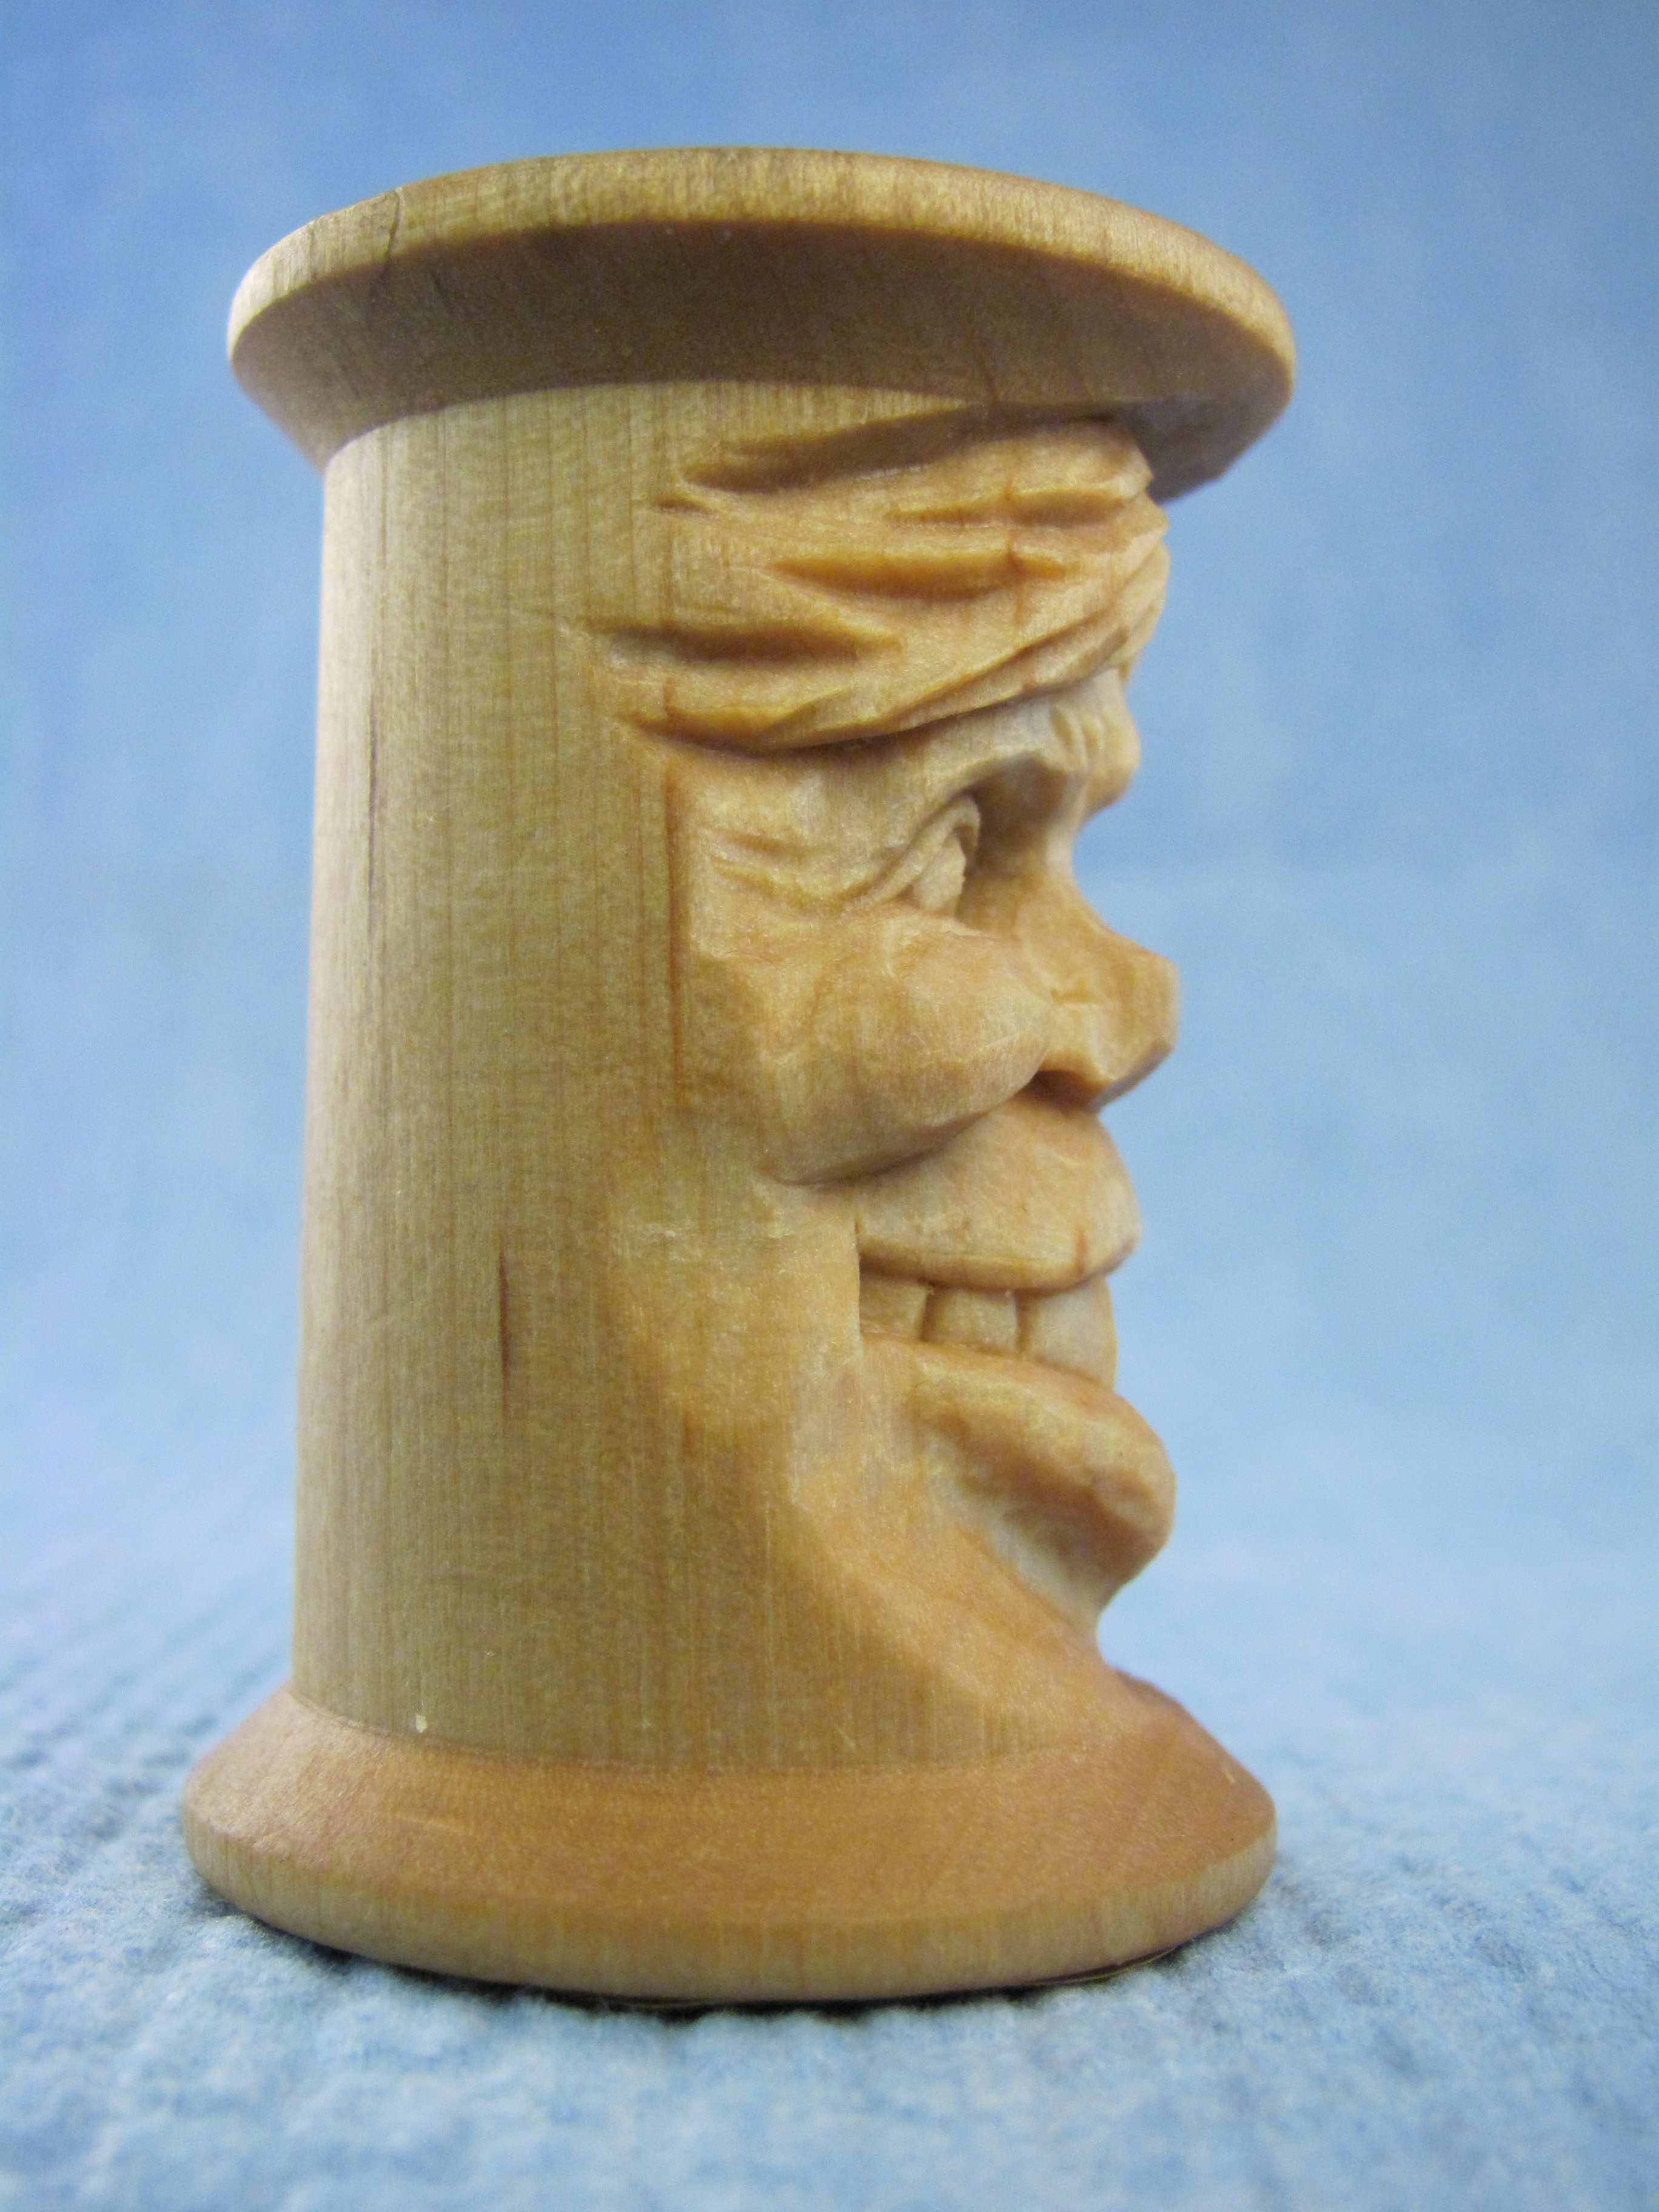
Finished view.

Finished view.
To view more carved spools in my Flicker account, click here.

Spools would really make a uniquely, interesting chess set. Do you have pictures of your chess pieces?
Tom,
I don’t have any pictures of my chess piece spools. It was a long time ago and actually they weren’t that good. Carving spools have been used for practice. One set had pawns with 8 different mustaches. Each type piece was a different size. The Kings were the tallest and pawns the shortest. One team had red labels on the top, the other had blue labels.
Dave, do make and sell this spools or take orders and if so whatis the cost?